
Planner Tab (Medical)
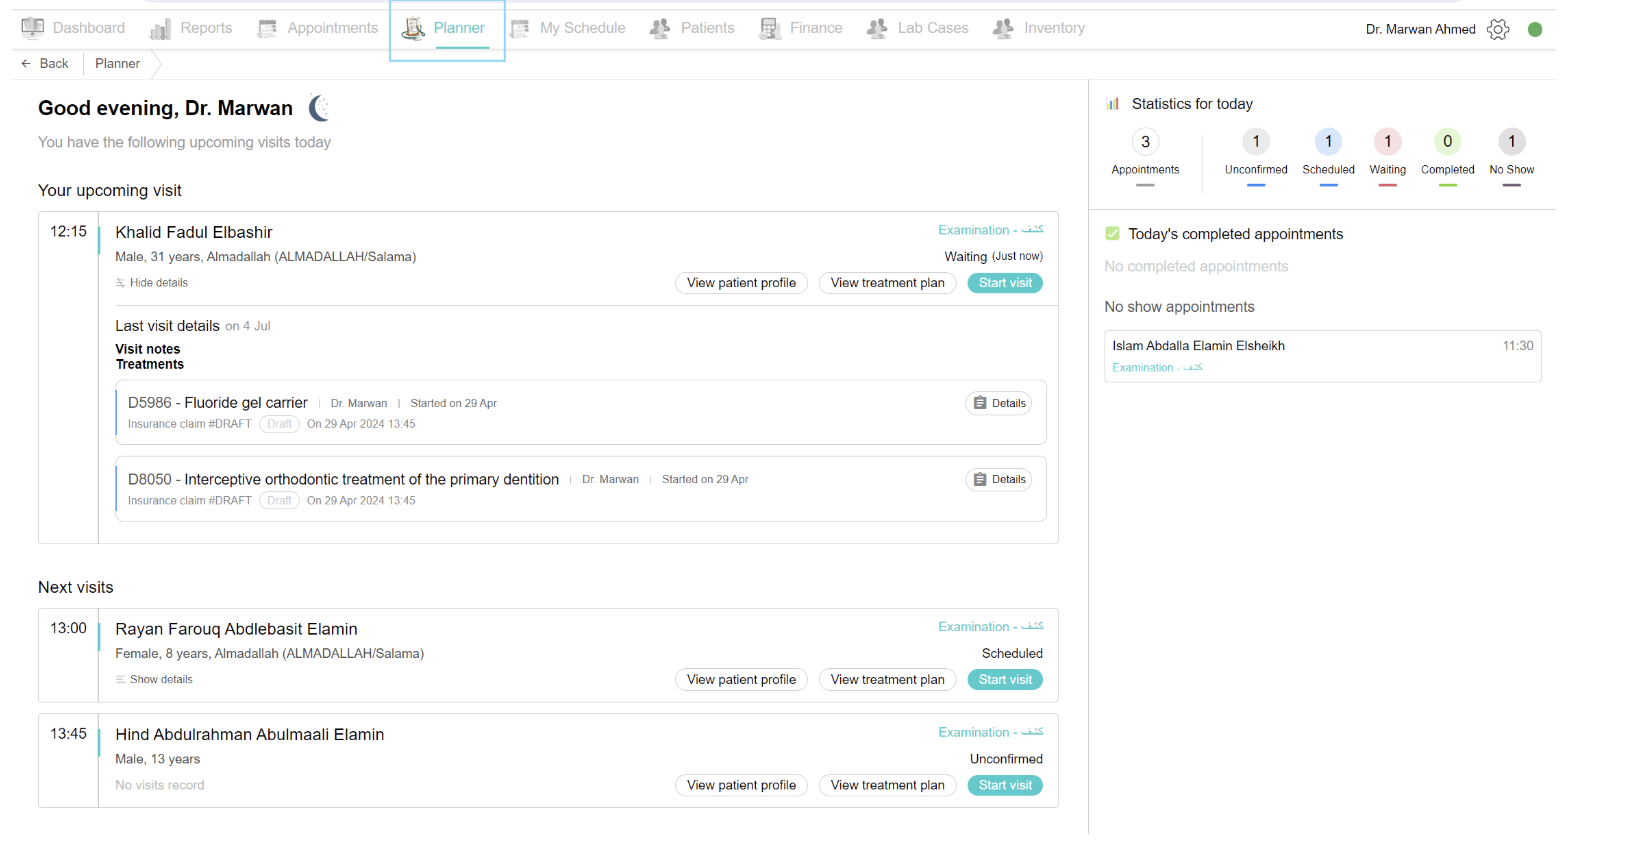
If you want to see all appointments for today and start your visits as a doctor, go to the planner tab. You will see on the left side your upcoming visit and subsequent visits with the patient's name and details. You can quickly access the patient profile by clicking on the "View Patient Profile" button under the patient's name. And if it’s not the first visit for the patient, you can quickly access their treatment plan by clicking the “view treatment plan” button. If you want to start a patient’s visit, click on the “start visit” button.
On the right side, you will see all of your appointments for today with their statuses.
What happens when you start the visit:
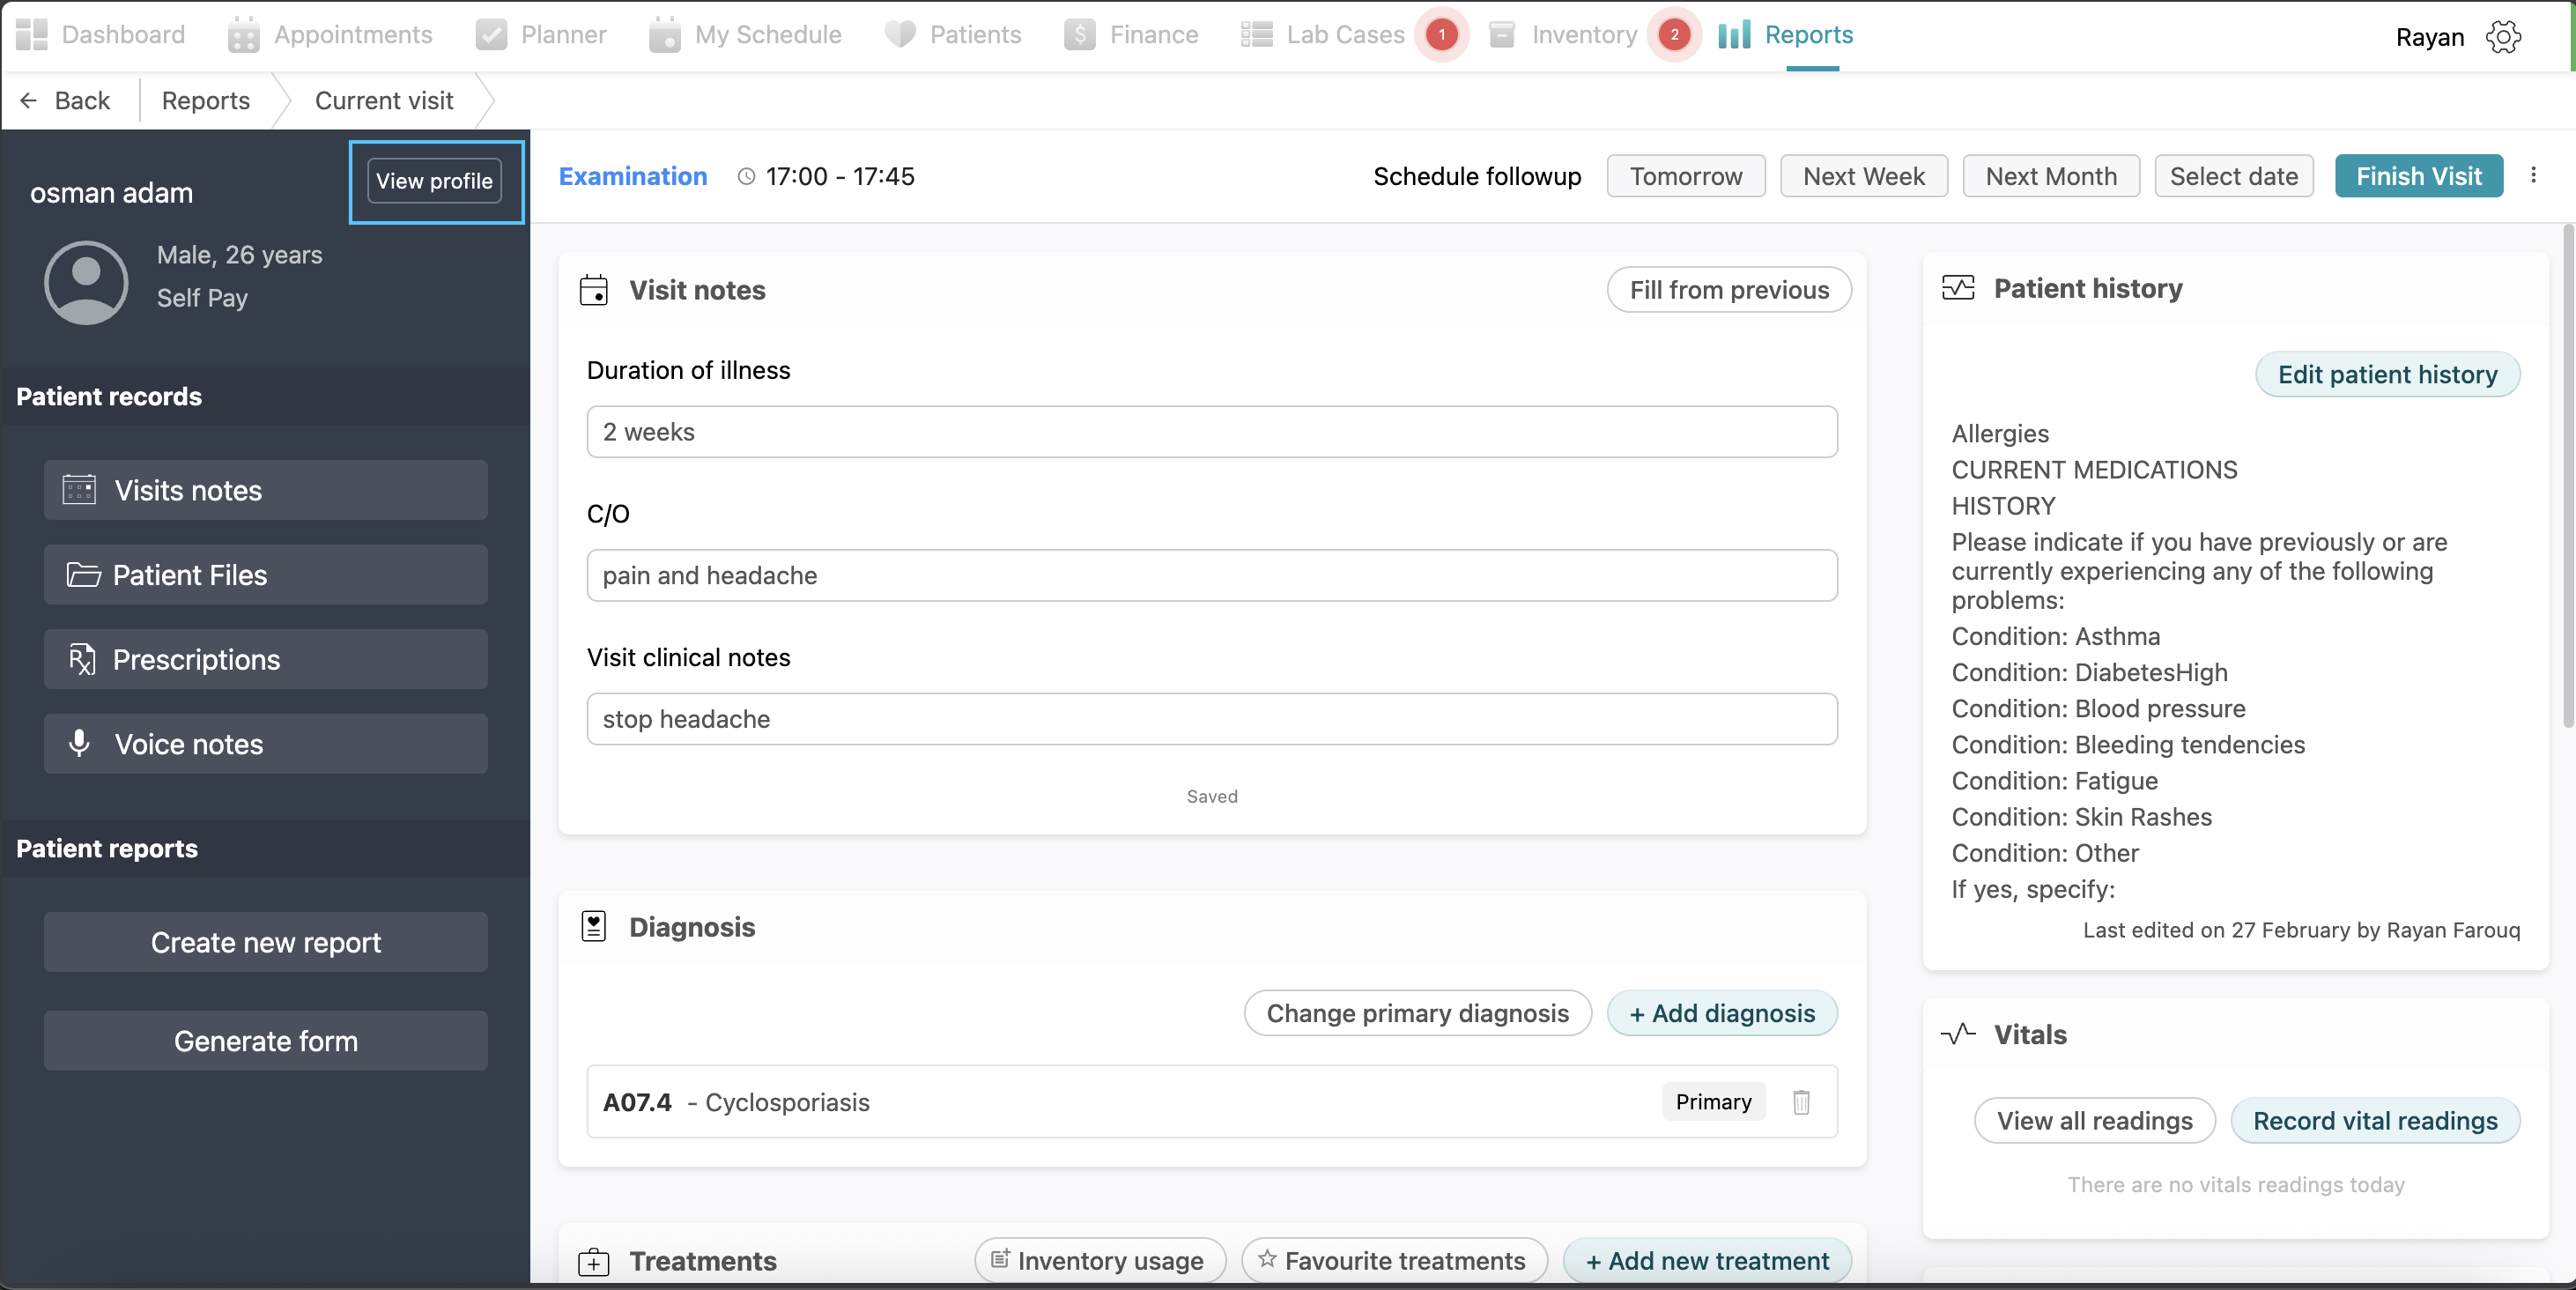
The “Current Visit” page opens, it consists of everything needed for the doctor on one page.
Middle Page View
Visit Notes
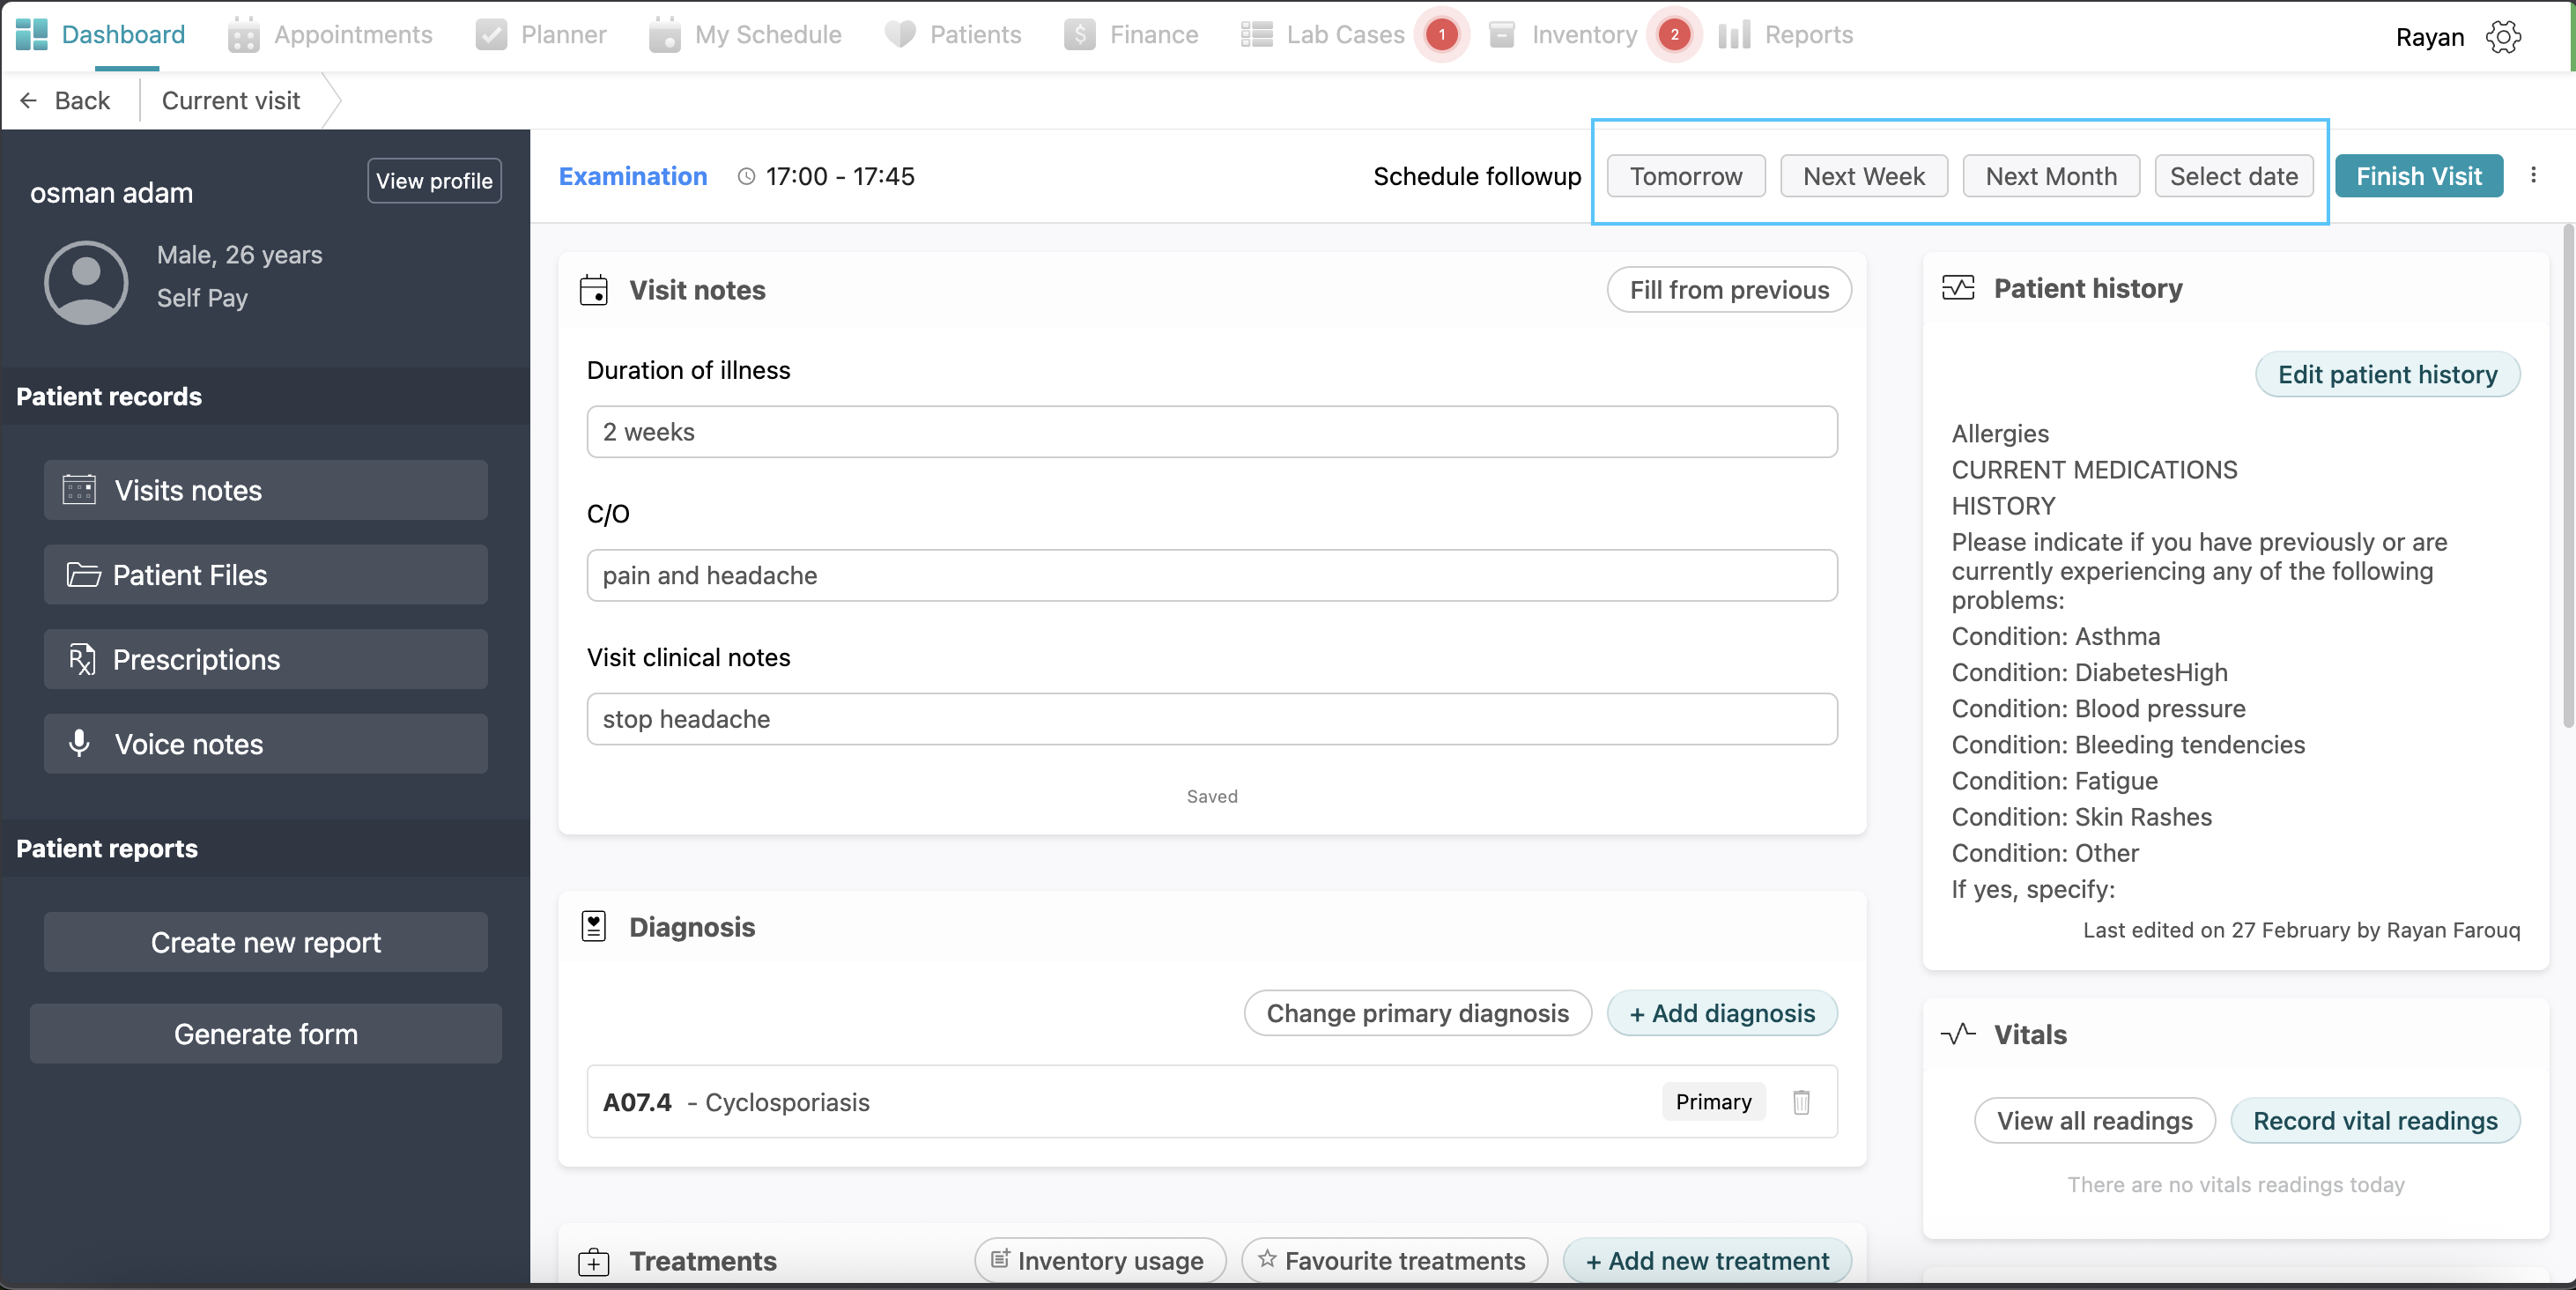
The Visit notes section, located in the center of the page, is used to document the primary details of the current consultation. You can enter the Duration of illness, Chief Complaint (C/O), and Visit clinical notes in the provided text fields. If the patient has attended previous sessions, you can click the Fill from previous button to automatically fill these fields with data from the most recent visit. The system indicates that your entries are saved automatically as you type.
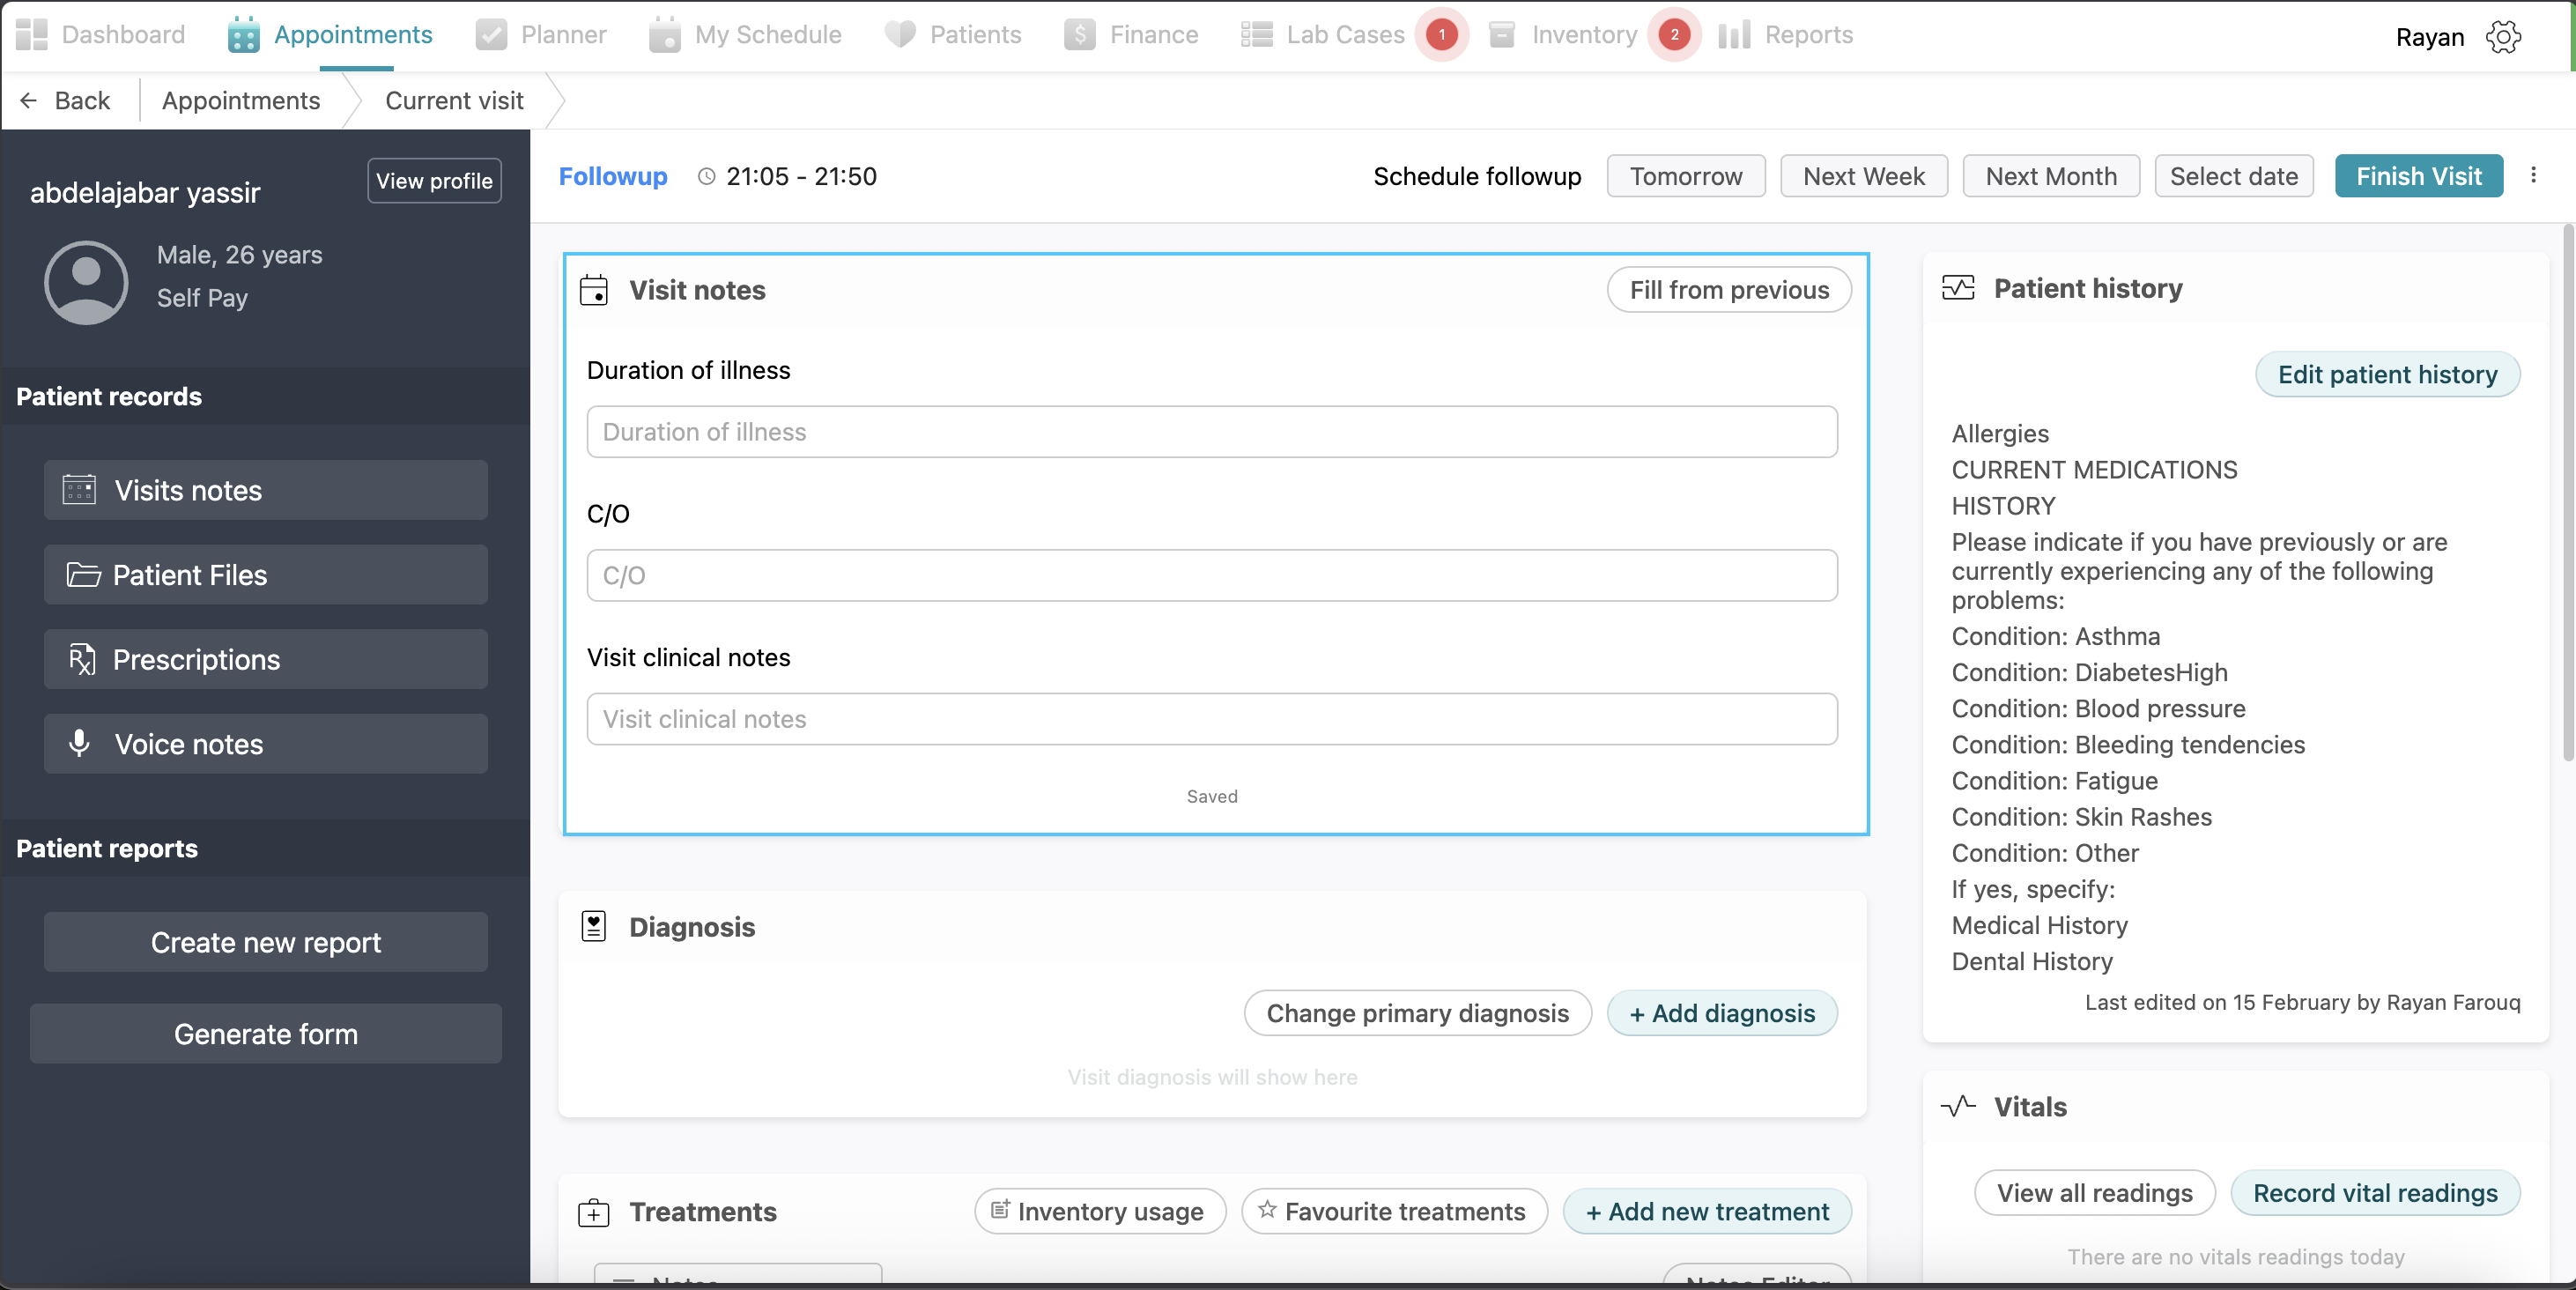
Note: Visit notes are required and you can’t add a treatment without visit notes
Diagnosis
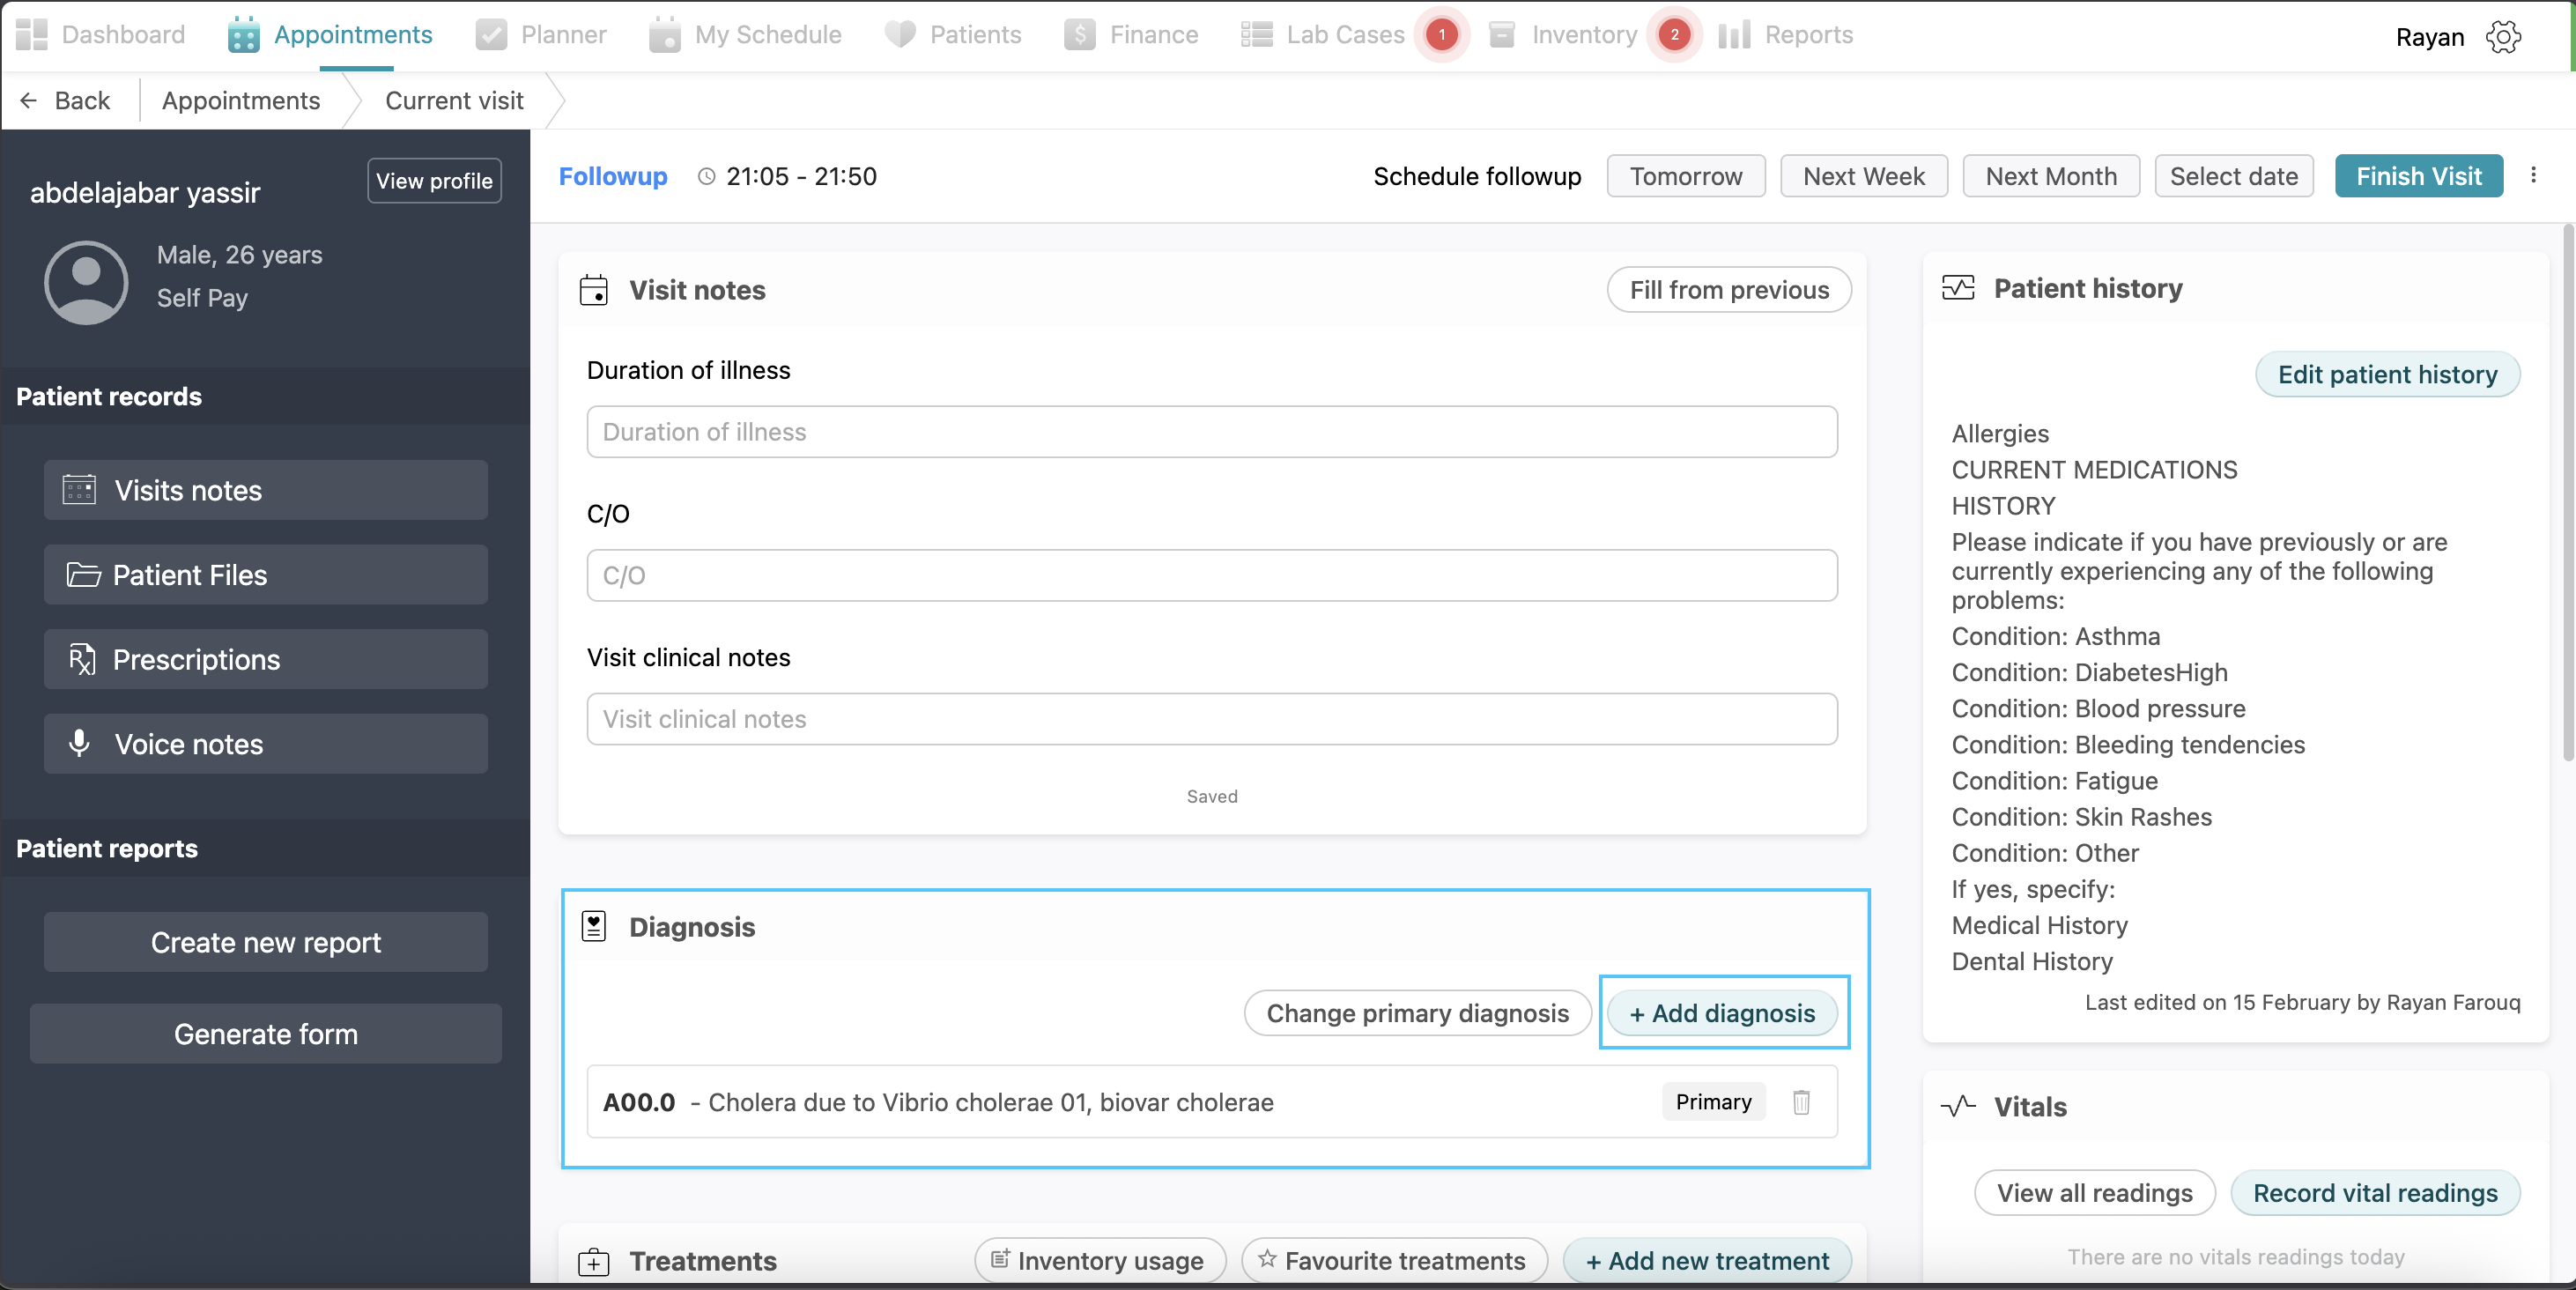
The Diagnosis section allows you to manage and prioritize the patient's medical conditions. To record a new diagnosis, click the + Add diagnosis button to open a search dropdown menu. You can select a diagnosis from the list or search specifically by name or medical code; once selected, click Save to add it to the patient's record. This process can be repeated to document multiple diagnoses. To establish clinical priority, click the Change primary diagnosis button and select the main condition, which will then be tagged as Primary. For faster documentation of common diagnosis, the + Add diagnosis button also displays suggested items. You can customize these by clicking Manage Favourite and selecting the yellow star next to your preferred diagnoses before clicking Done to save them.
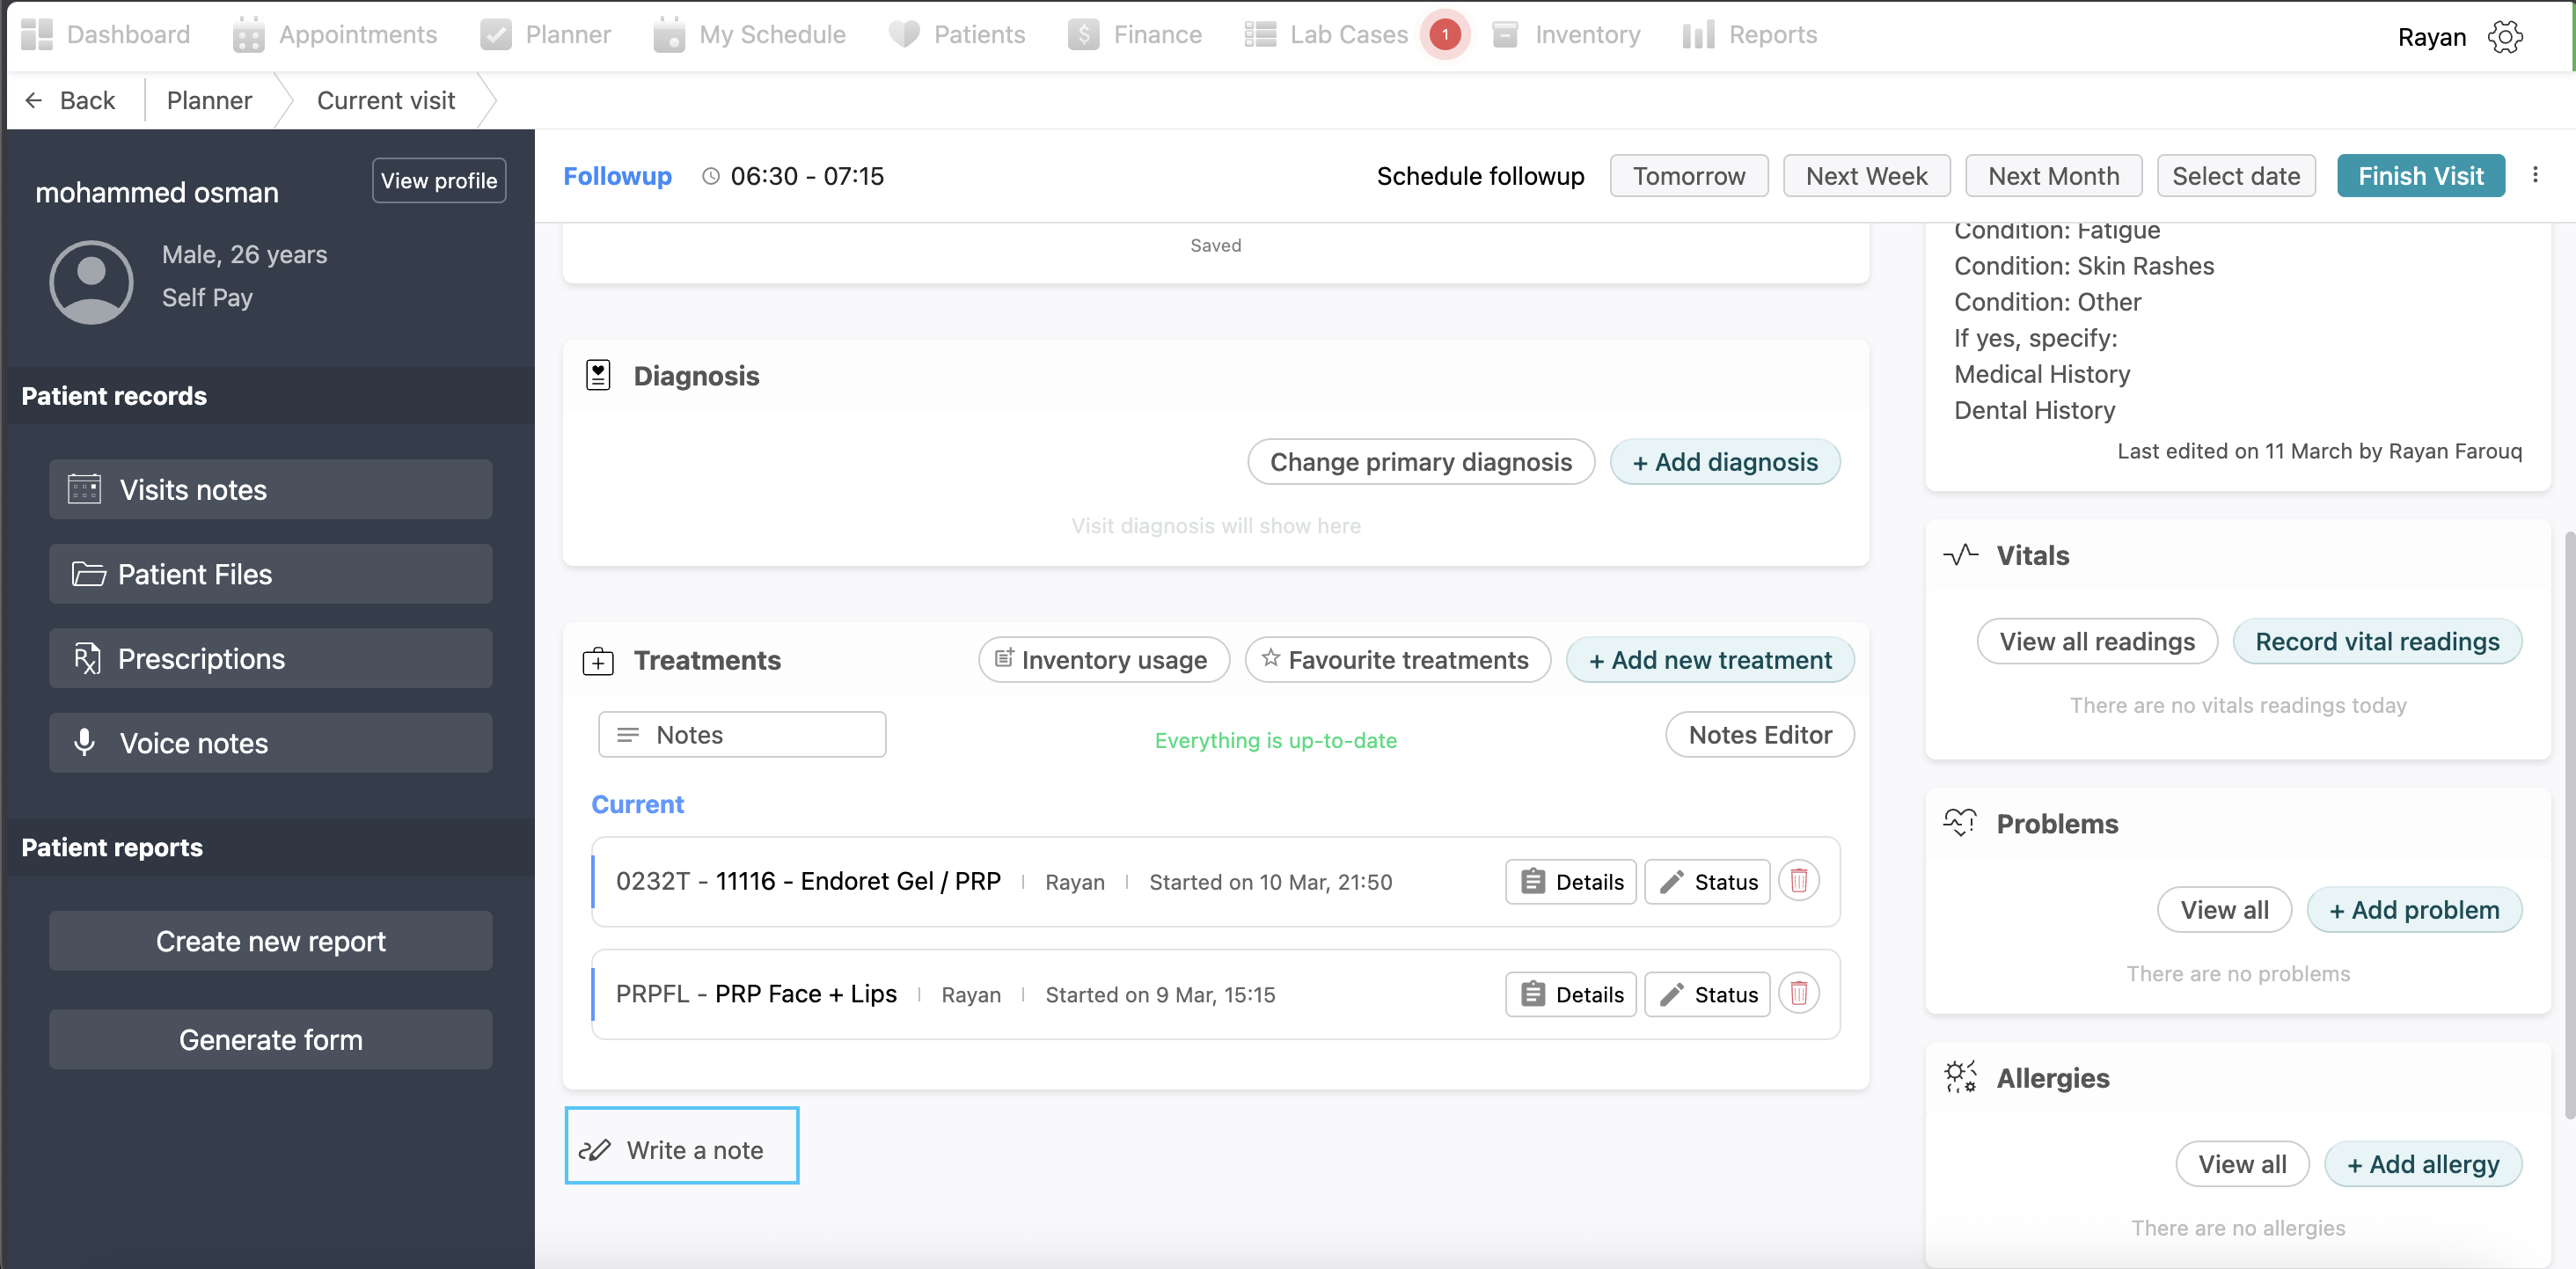
Treatments
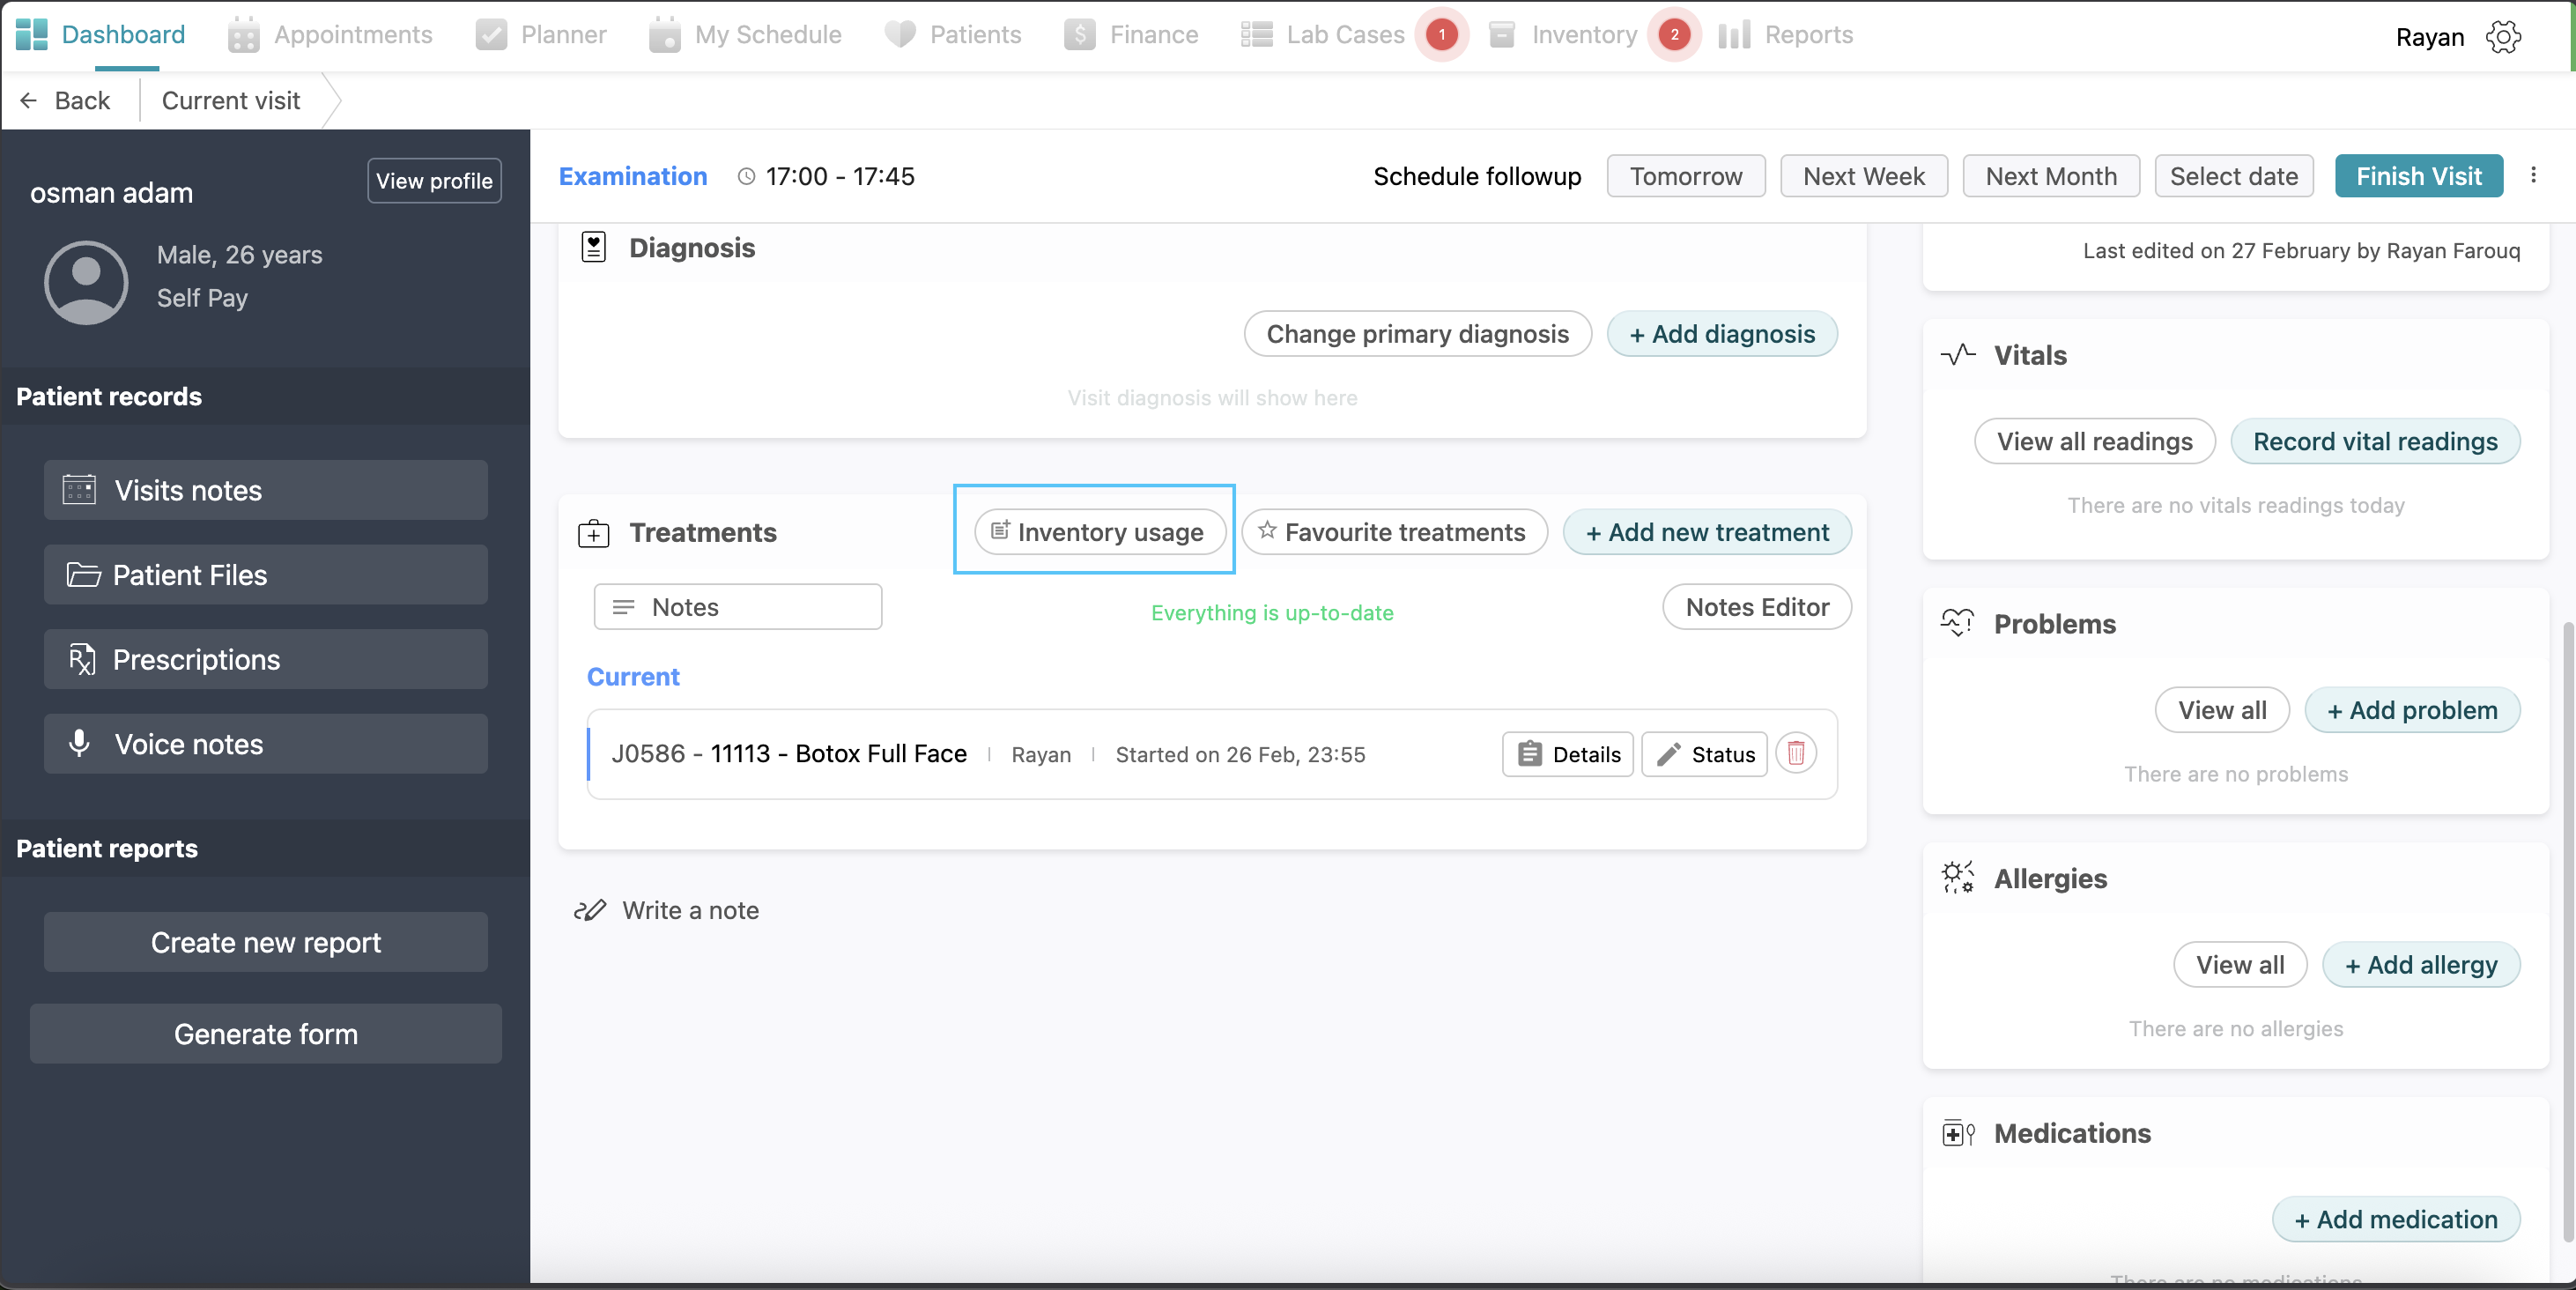
To document clinical procedures, navigate to the Treatments section and click the + Add new treatment button. You may choose the required treatment from the categorized list or use the search bar to find it directly. After selecting the treatment, set its Status and click Add and Start Treatment.
To streamline repetitive treatments, click the Favourite treatments button to open a pop-up, then select Manage favourite treatments. From here, you can search for and mark treatments with the yellow star in your right hand for easy access in future visits.
Treatment Statuses: (visualization: screenshot)
- Pending: The doctor didn’t decide whether to do this treatment or not.
- Current: The treatment is currently being performed
- Recommended: Suggested for a future visit.
- Existing: The patient has already received this treatment elsewhere before.
Adding Inventory Item
If you need to record clinical supplies used during the session, click the Inventory usage button, select + Add item, and specify the inventory item, batch, and usage amount. You may also include relevant notes before clicking Save.
Adding general notes to a treatment:
If you want to write some notes regarding the treatment plan for this patient, you can click on “notes”, write your notes and click save.
Progress Notes
For detailed observations regarding a specific procedure, click the Details button on the corresponding treatment row to open the Progress notes window. This allows you to record procedural feedback or track clinical milestones. Simply fill the progress note field and click Add note; you may add multiple notes as needed before clicking Save treatment.
Note that progress notes are a mandatory requirement and cannot be left empty. Furthermore, these notes can only be edited while the treatment remains in the current status. 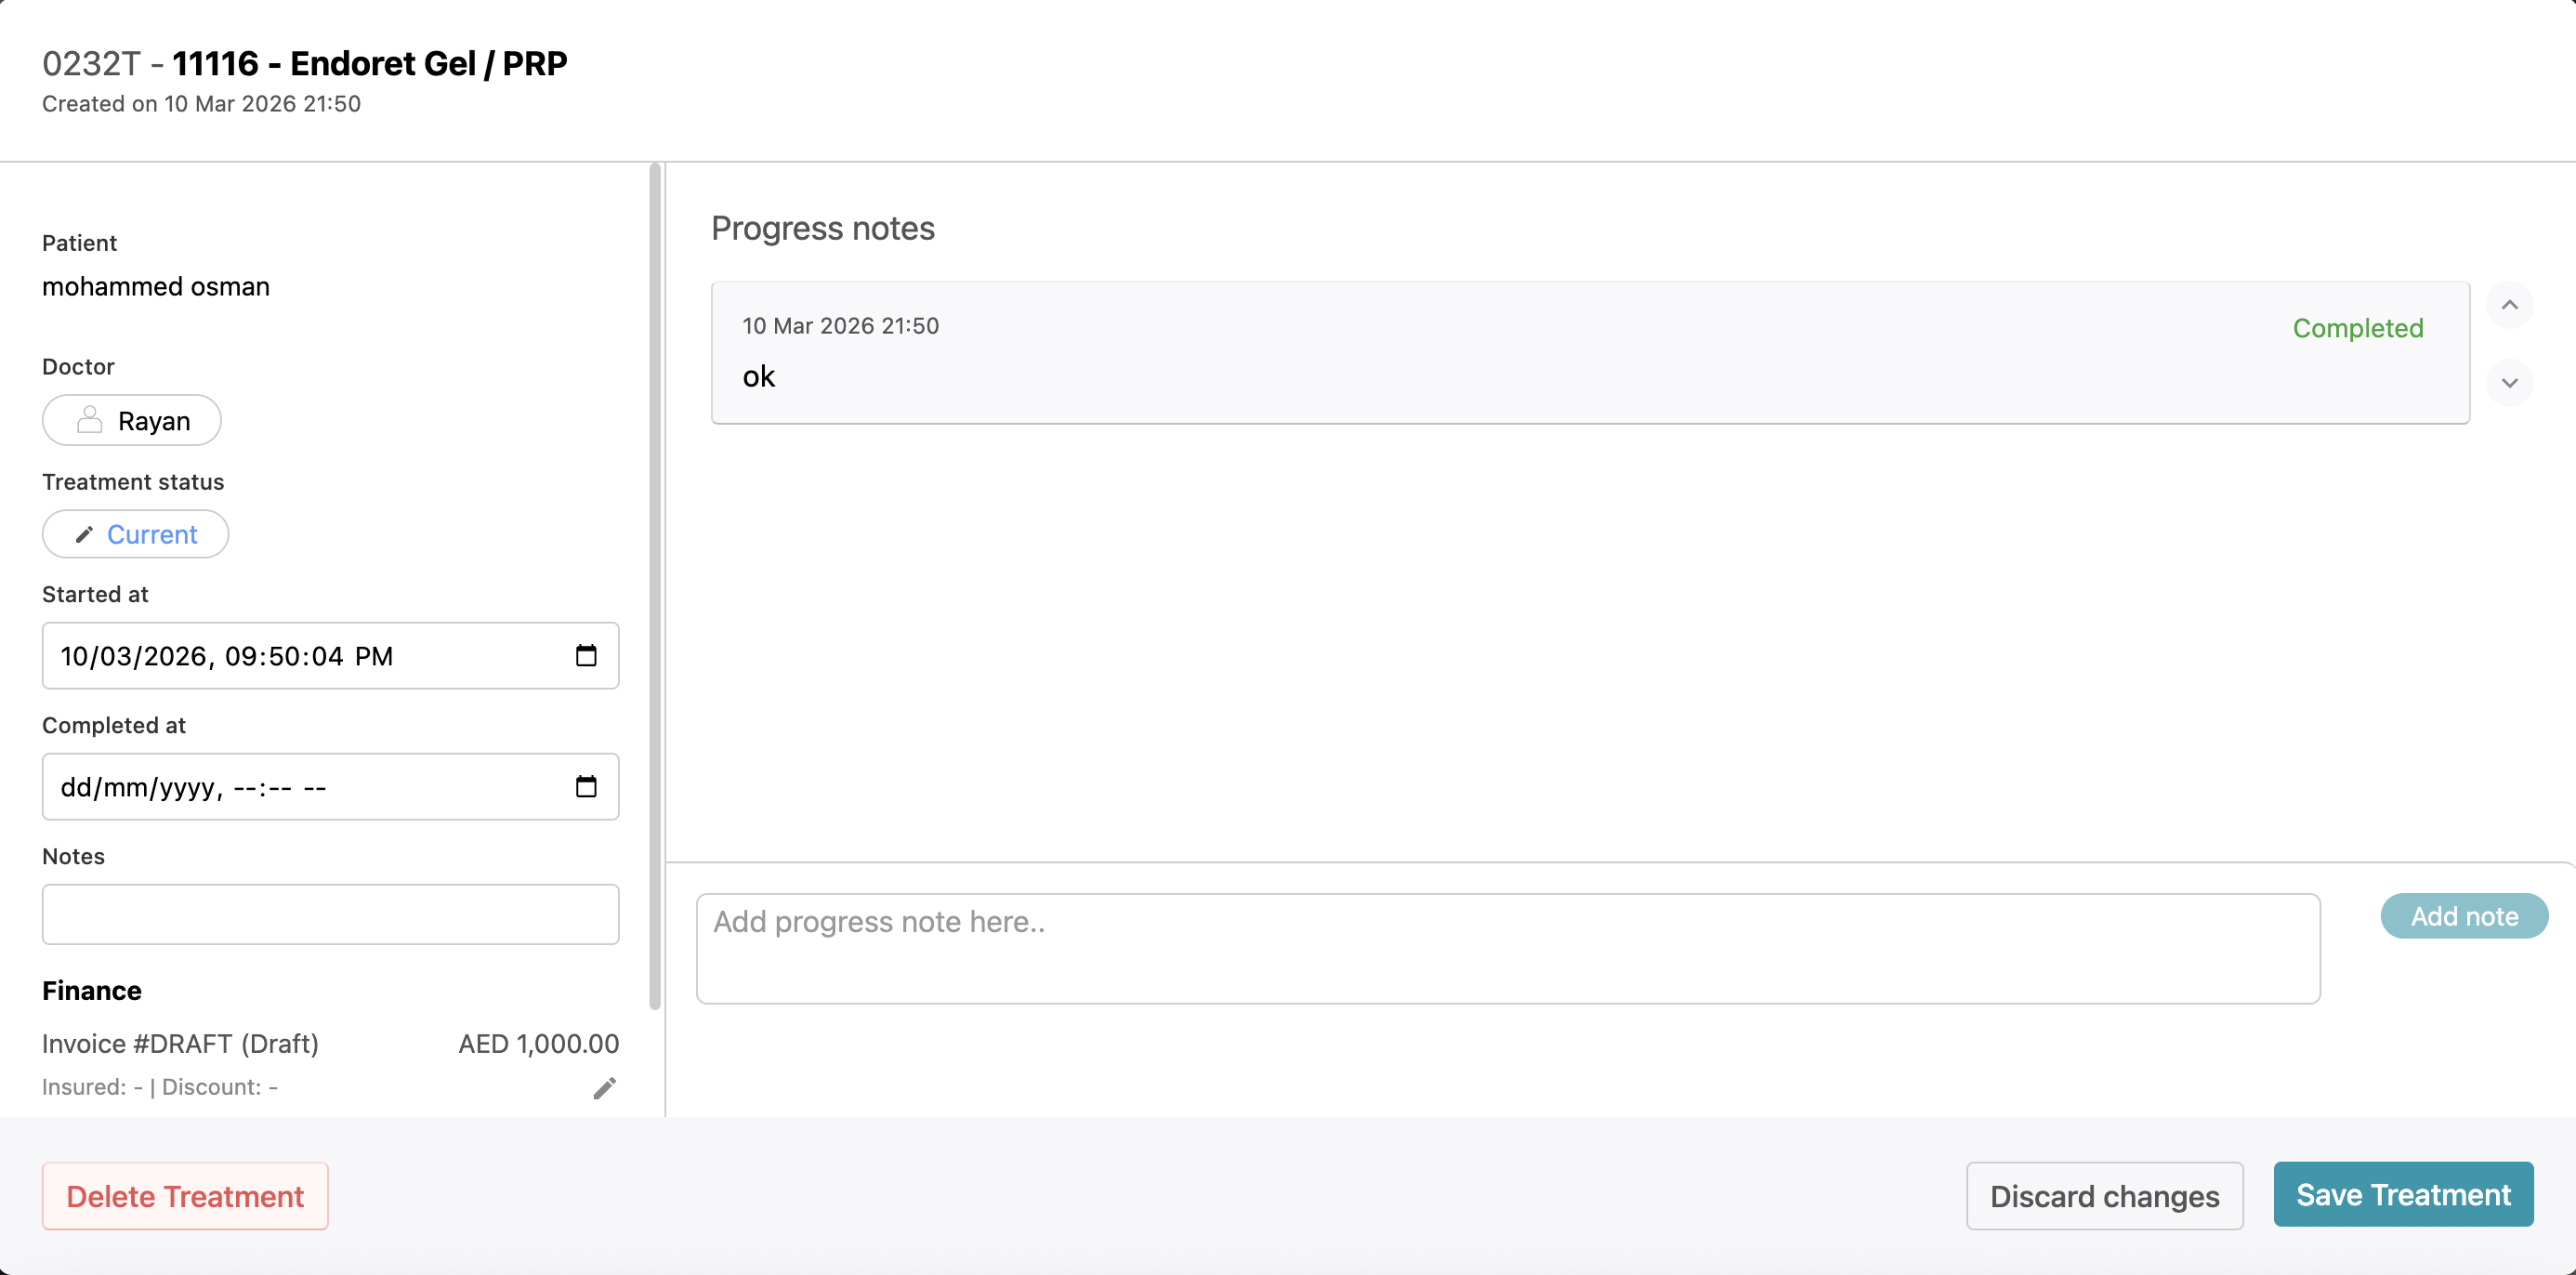
Notes Editor
To view a history of all progress notes written for a patient across all visits, click the Notes editor button. This tool also serves as the primary way to modify documentation once a treatment is finished. You are permitted to edit a progress note in the Notes Editor only if the treatment was set to Completed within the last 24 hours. After this 24-hour window has elapsed, the system locks the entries, and no further progress notes can be added or edited.

Writing a personal note:
At the bottom of the page you will find a “write a note” button, this is like a personal notebook for the doctor where they can write as many notes as they want and save them.
Right Side
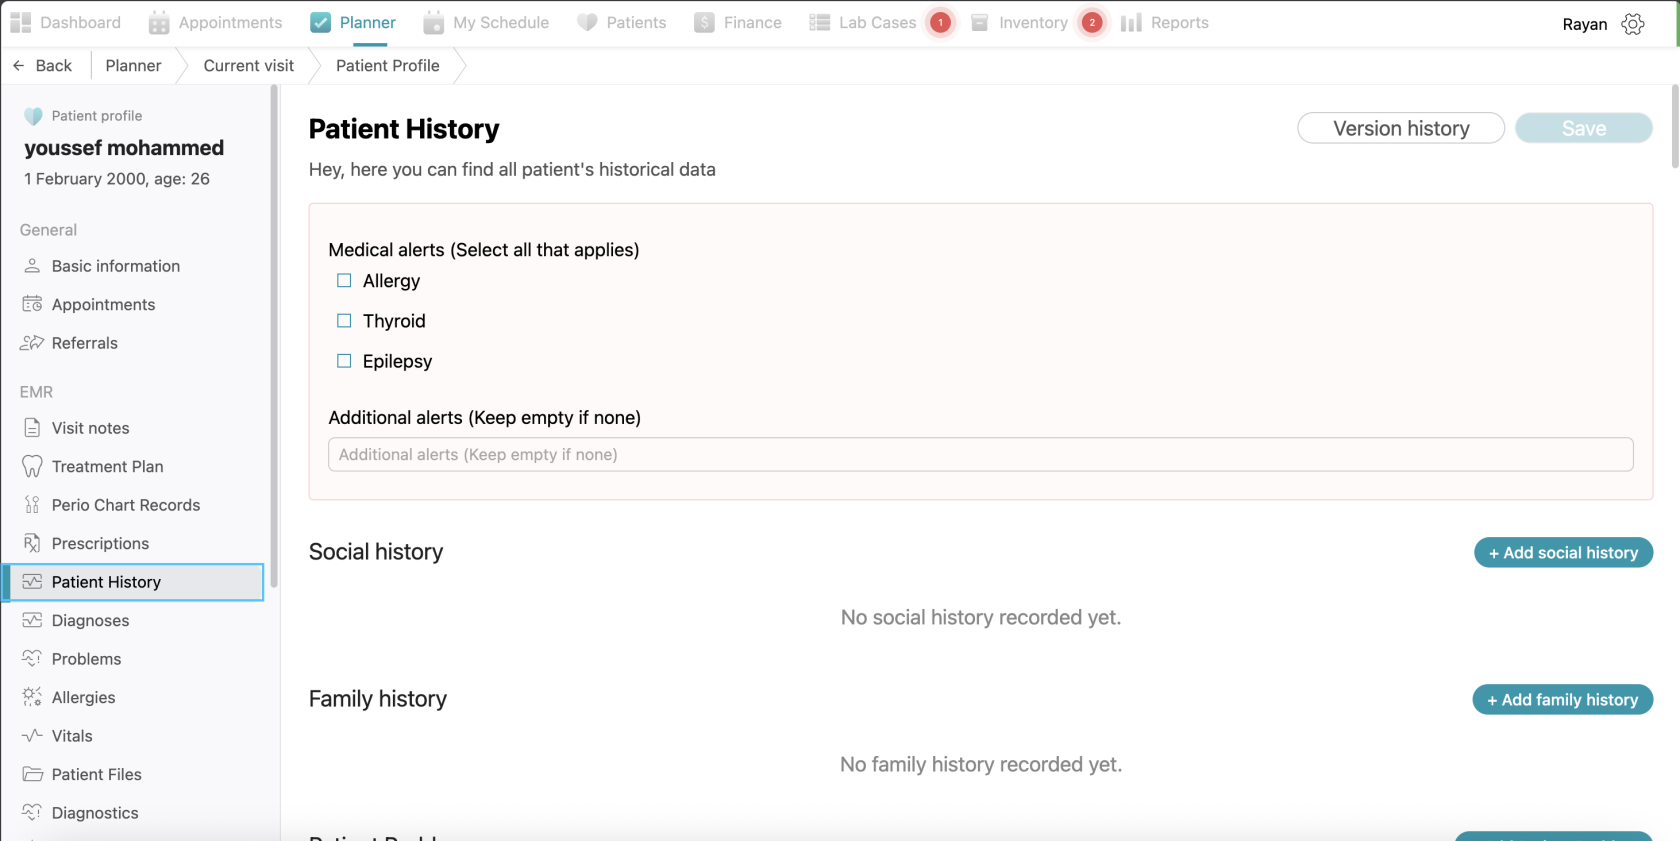
Patient history
At the right side of the page you will see the patient history. If you want to add patient history for the patient, click the “edit patient history” button, fill the information you want and click save (visualization: screenshot)

Vitals
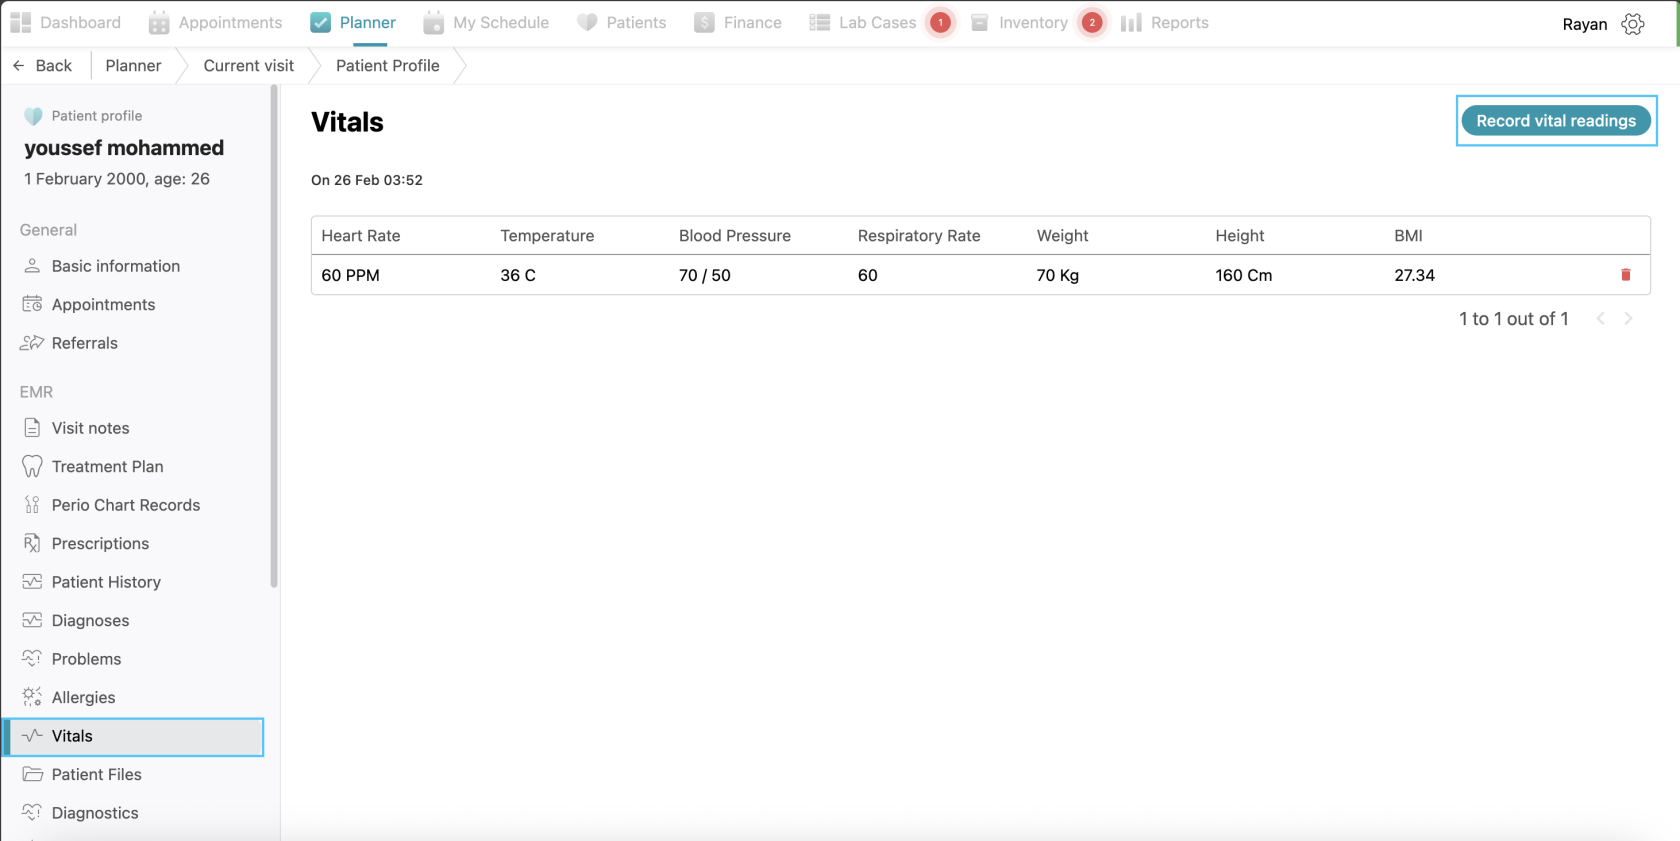
To add vitals to this patient, click on "Vitals" and then click on "Record Vital Readings." Fill it out and click on "Add Reading" after completing it. You can see all recorded vitals and dates in this view. Vitals can only be added for appointments with an “In Visit” status. Click on “view all reading” to see all previous recorded vitals for the patient.

Problems
The Problems section is used to track a patient’s long-term health issues and chronic conditions. To record a new issue, click the + Add problem button, which opens a configuration window. You must select the appropriate Diagnosis and specific Problem from the dropdown menus, then set the Lifecycle status (Active or Inactive) to indicate the current state of the condition. Then, you can specify the onset date and resolution date, then click save.

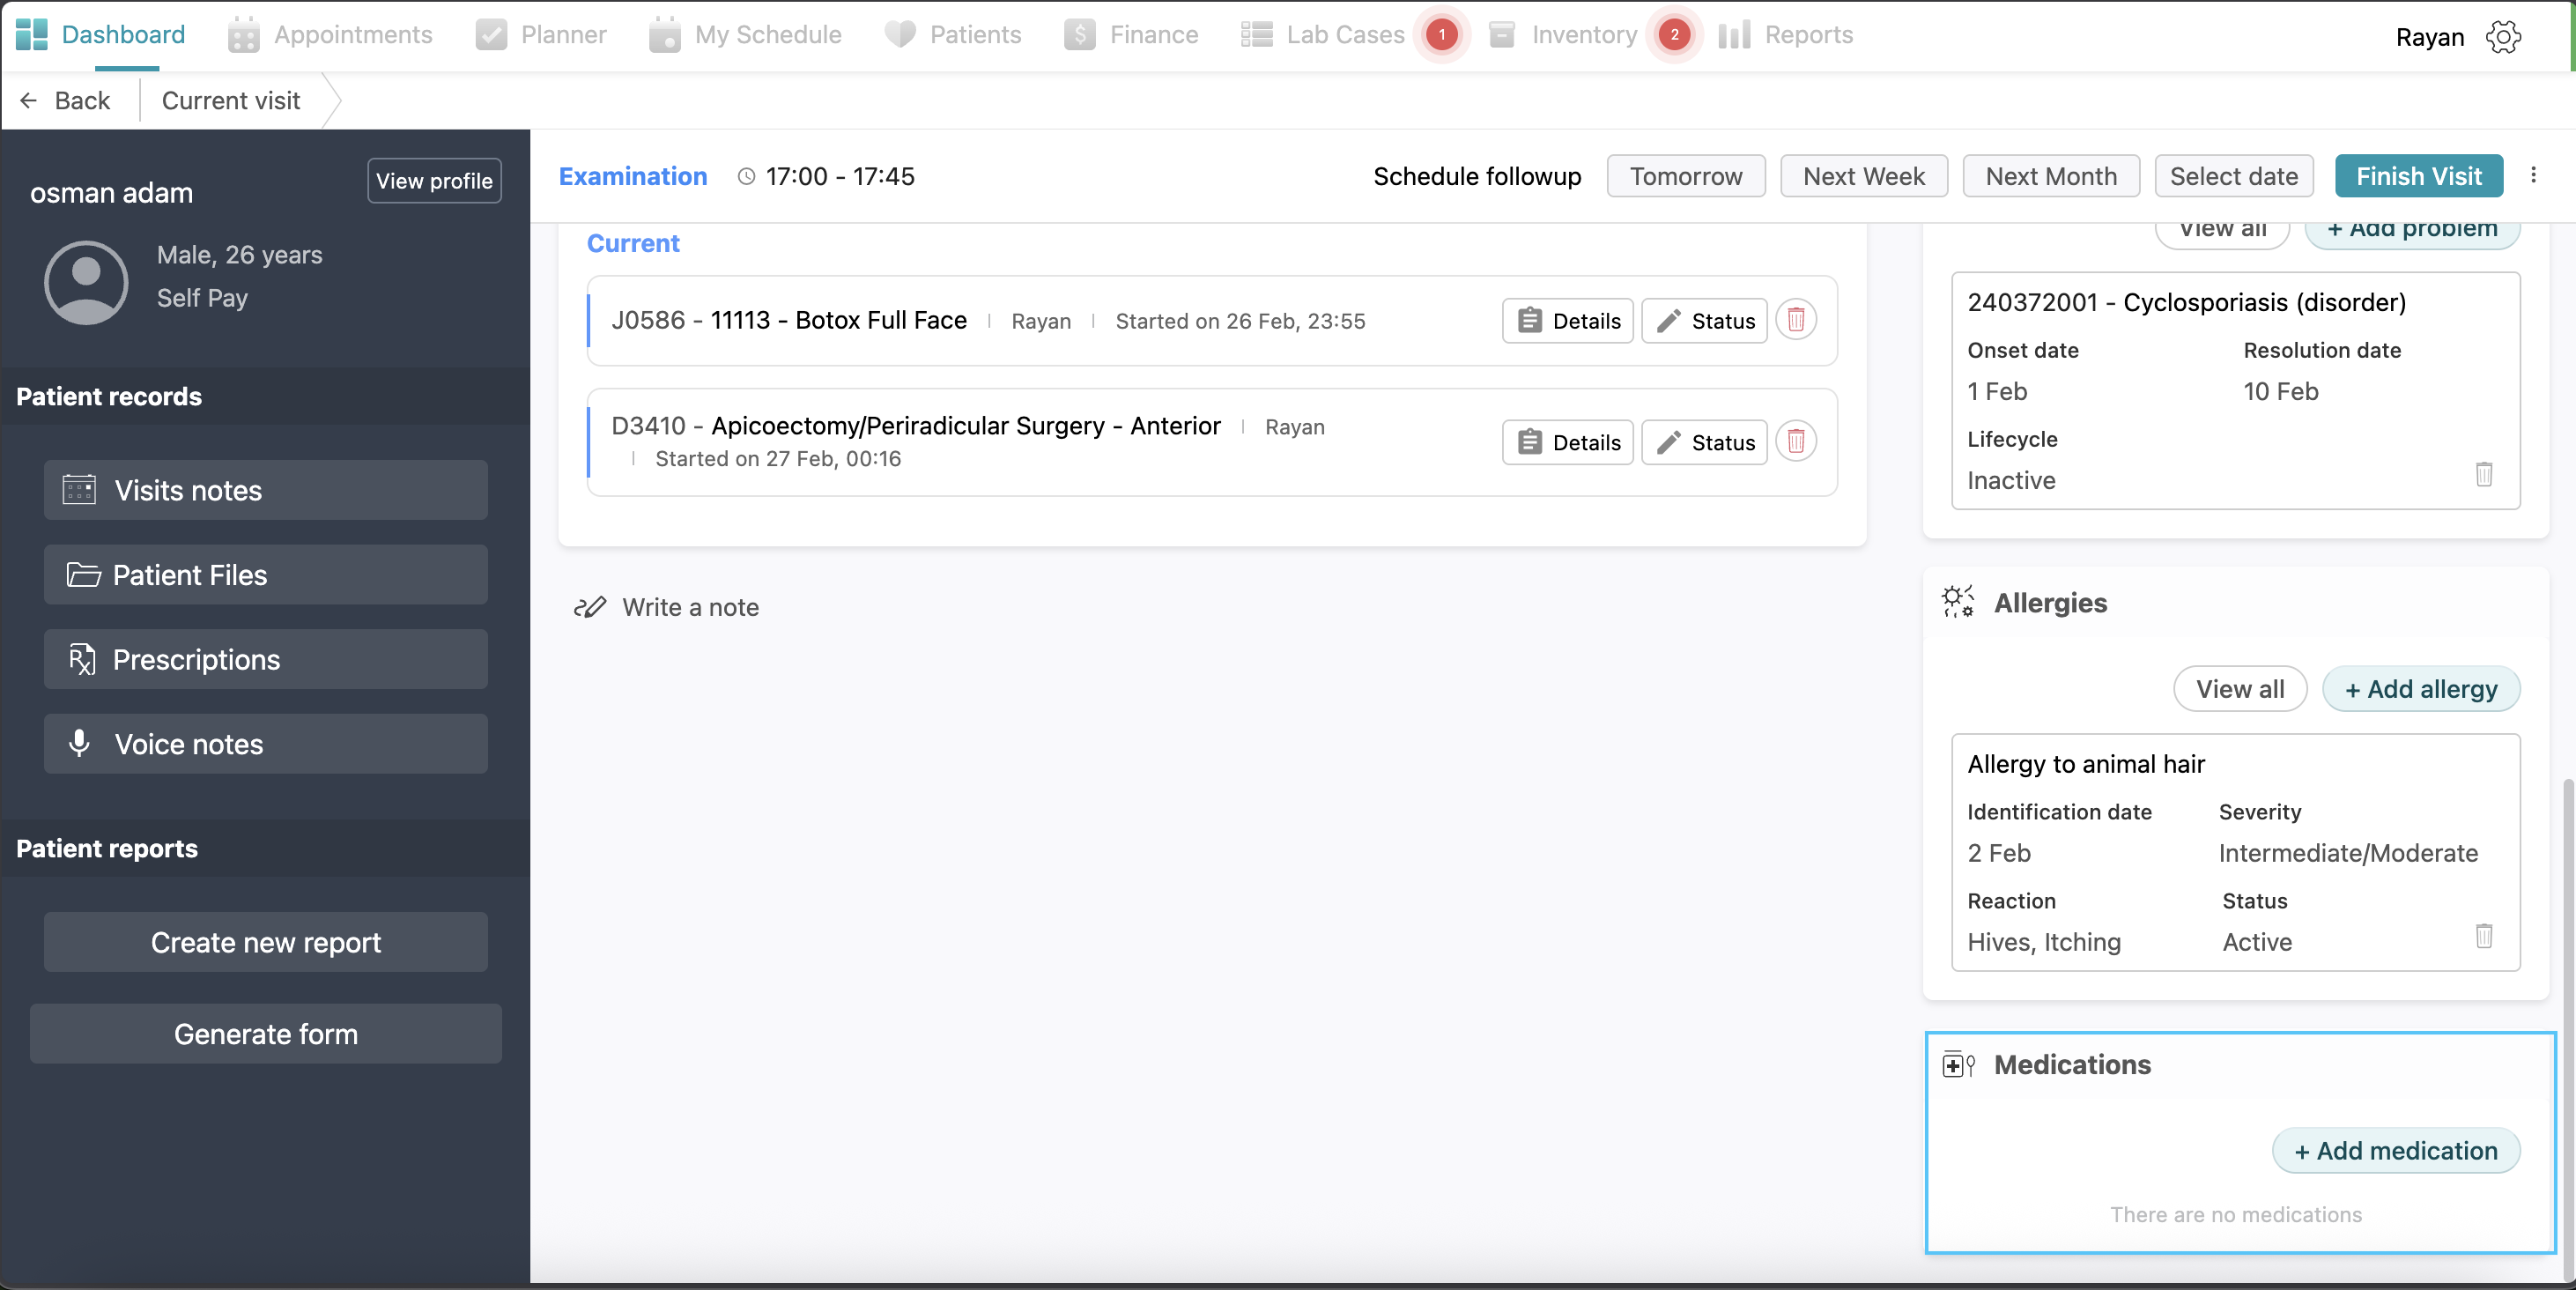
Allergies
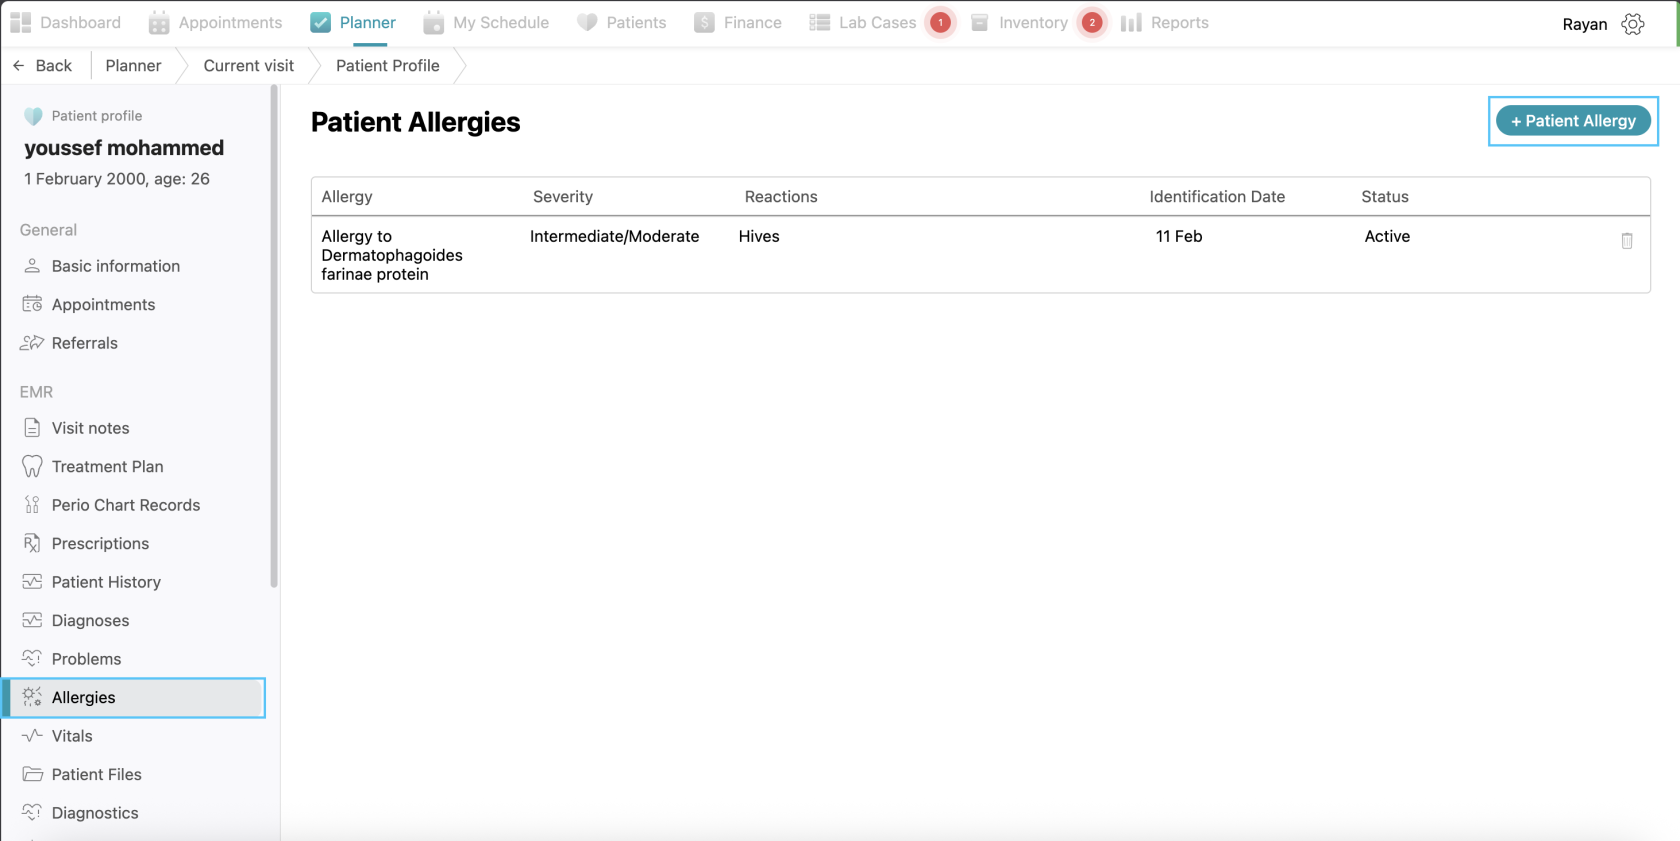
To document patient sensitivities and ensure clinical safety, navigate to the Allergies section and click the + Add allergy button. In the pop-up window, select the Allergy type, and identify the specific Allergy from the search list. You can also define the severity of the reaction and its current status. If known, you can record the Reaction details and the Identification date before clicking Save to display the alert prominently on the patient's dashboard.
Medications
To record a new medication for the patient, click the + Add medication button located at the bottom of the right-hand panel. This action opens the medication interface where you can search for and select the specific drug, then add all the details required and click save.
Patient Referral
If you need to refer a patient to another specialist or practitioner, click on the three dots icon located on the right side of the screen and click on Create Patient Referral. This will open a configuration window where you must provide the referral details. You are required to select the Referral type and identify the Doctor referred to from the available lists. Additionally, you must specify the Reason for referral by choosing an option from the dropdown menu or by entering a custom reason. If there are any further clinical details to include, you may write them in the Notes field before clicking Save to finalize the referral. After saving the referral it’s status will be changed to pending.
Follow ups
If a doctor needs to schedule a follow-up appointment for a patient, they can use the scheduling options located at the top of the medical view. You can quickly assign a time by clicking on the suggested timeframes; Tomorrow, Next Week, or Next Month. And if a specific appointment time is required, click on Select date to open the calendar and choose a custom day for the patient’s next visit.
Left Side
On the left side, you can see all the patient information.
Visit Notes
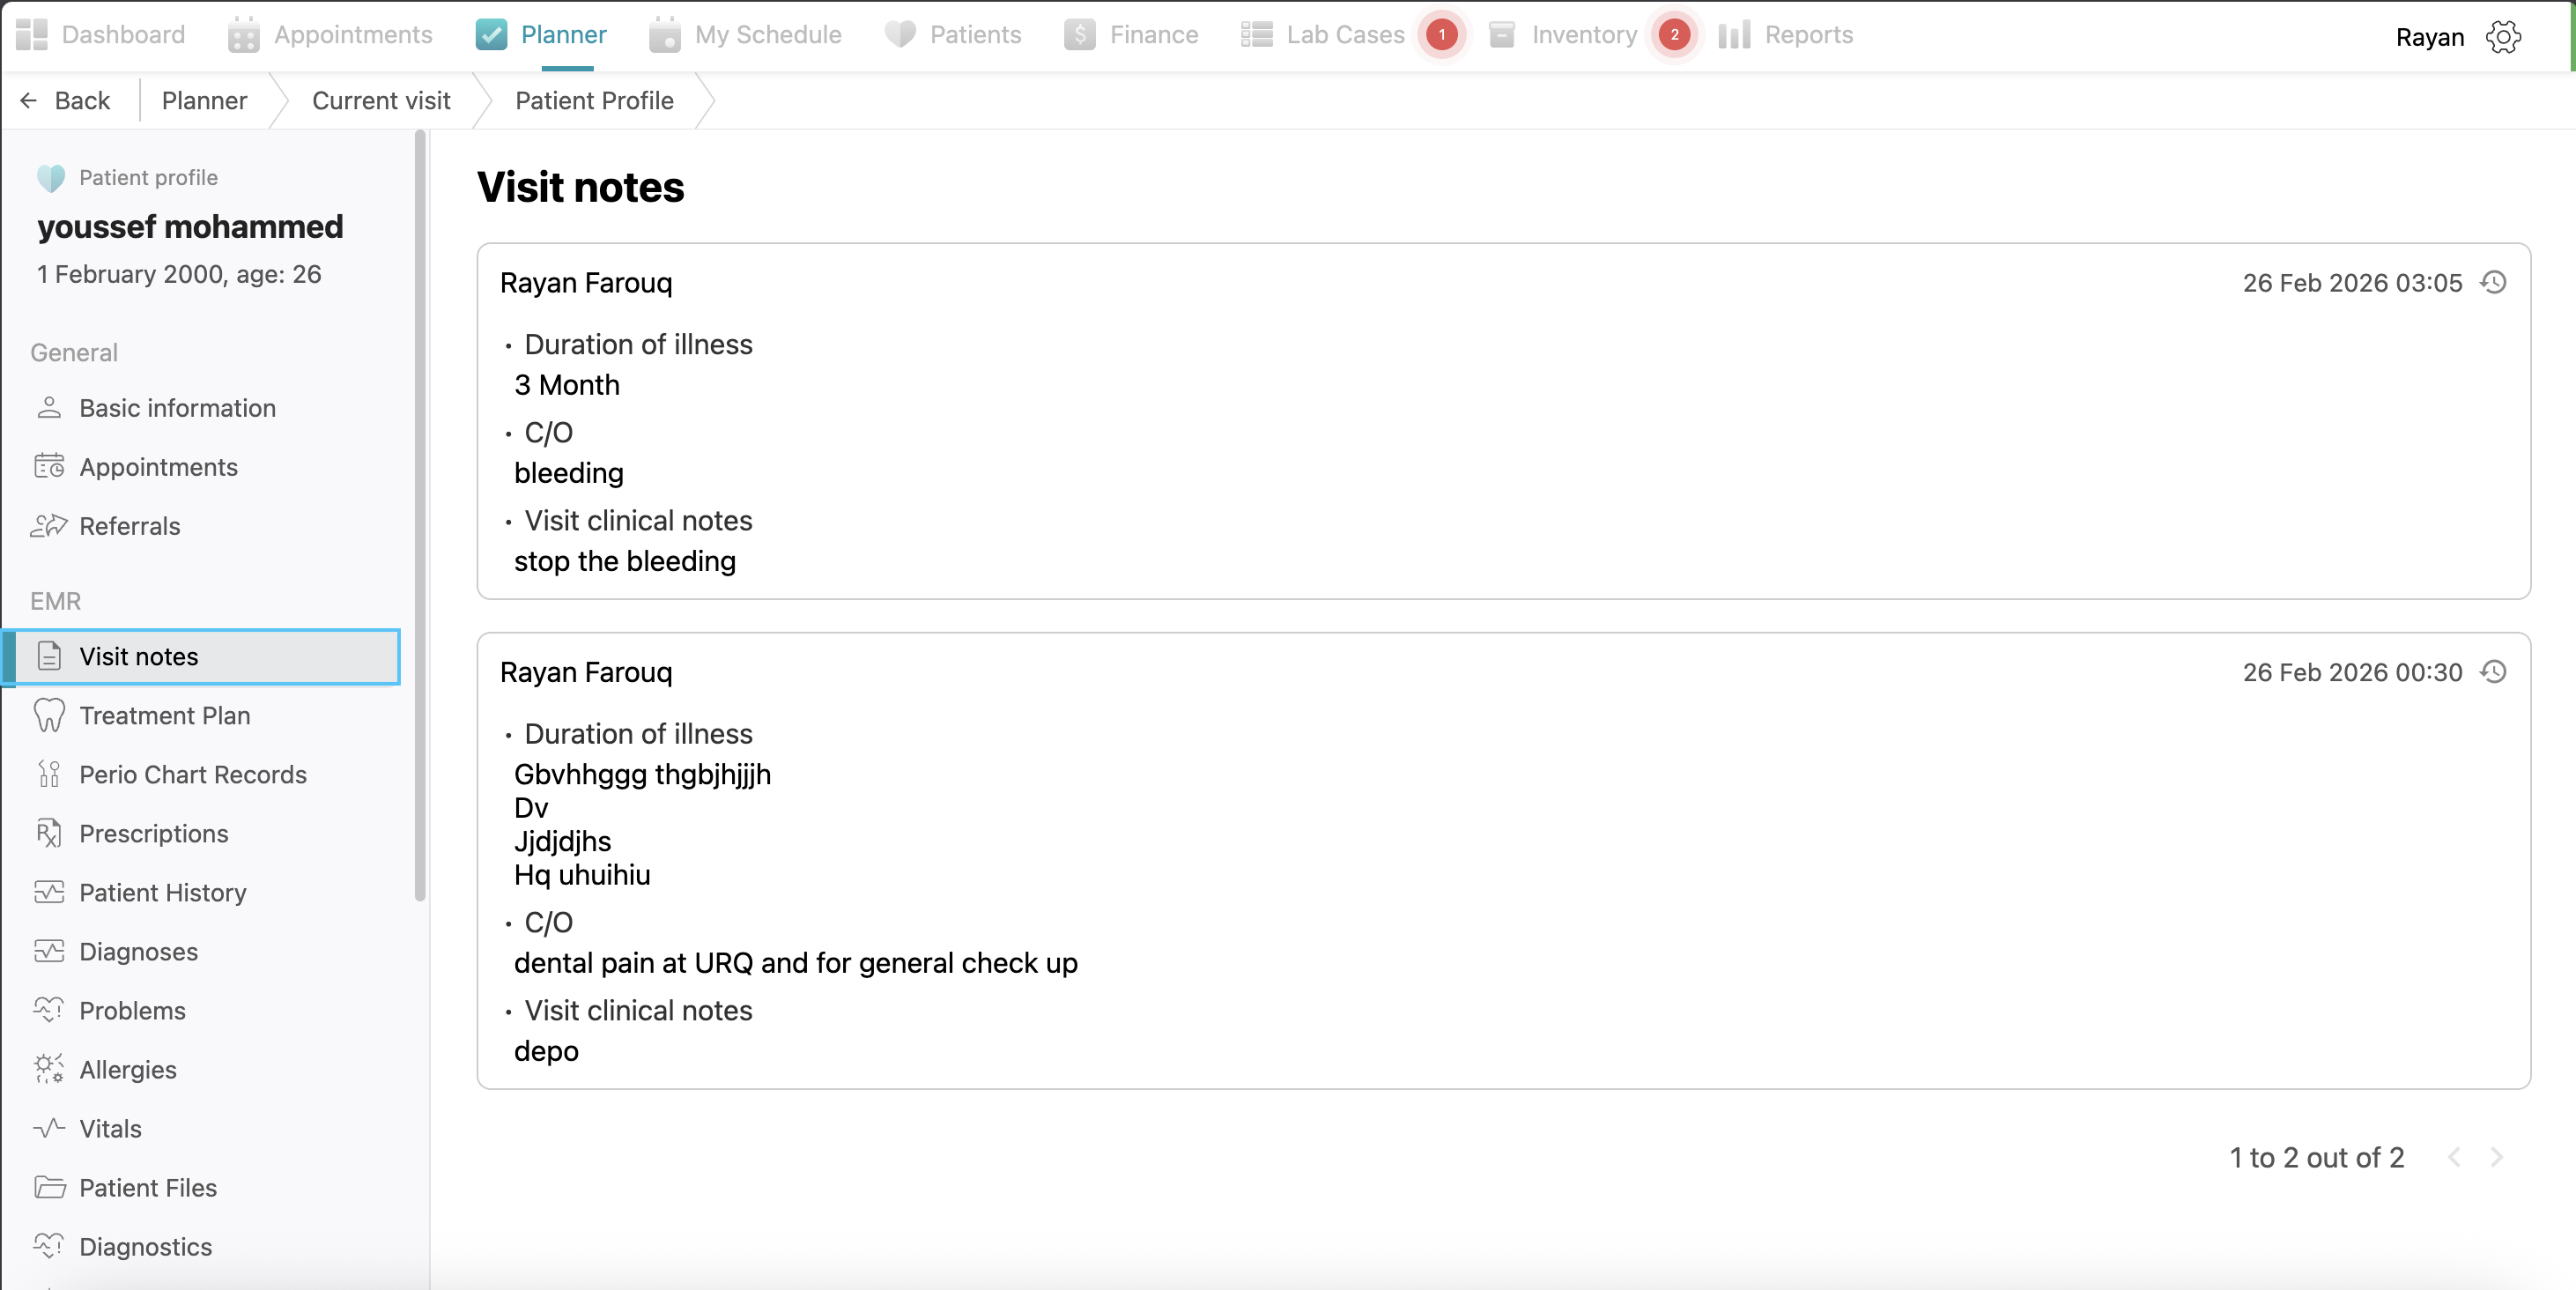
If you click on Visit Notes, you will see the record of the visit notes that have been added, including who added them and their dates.

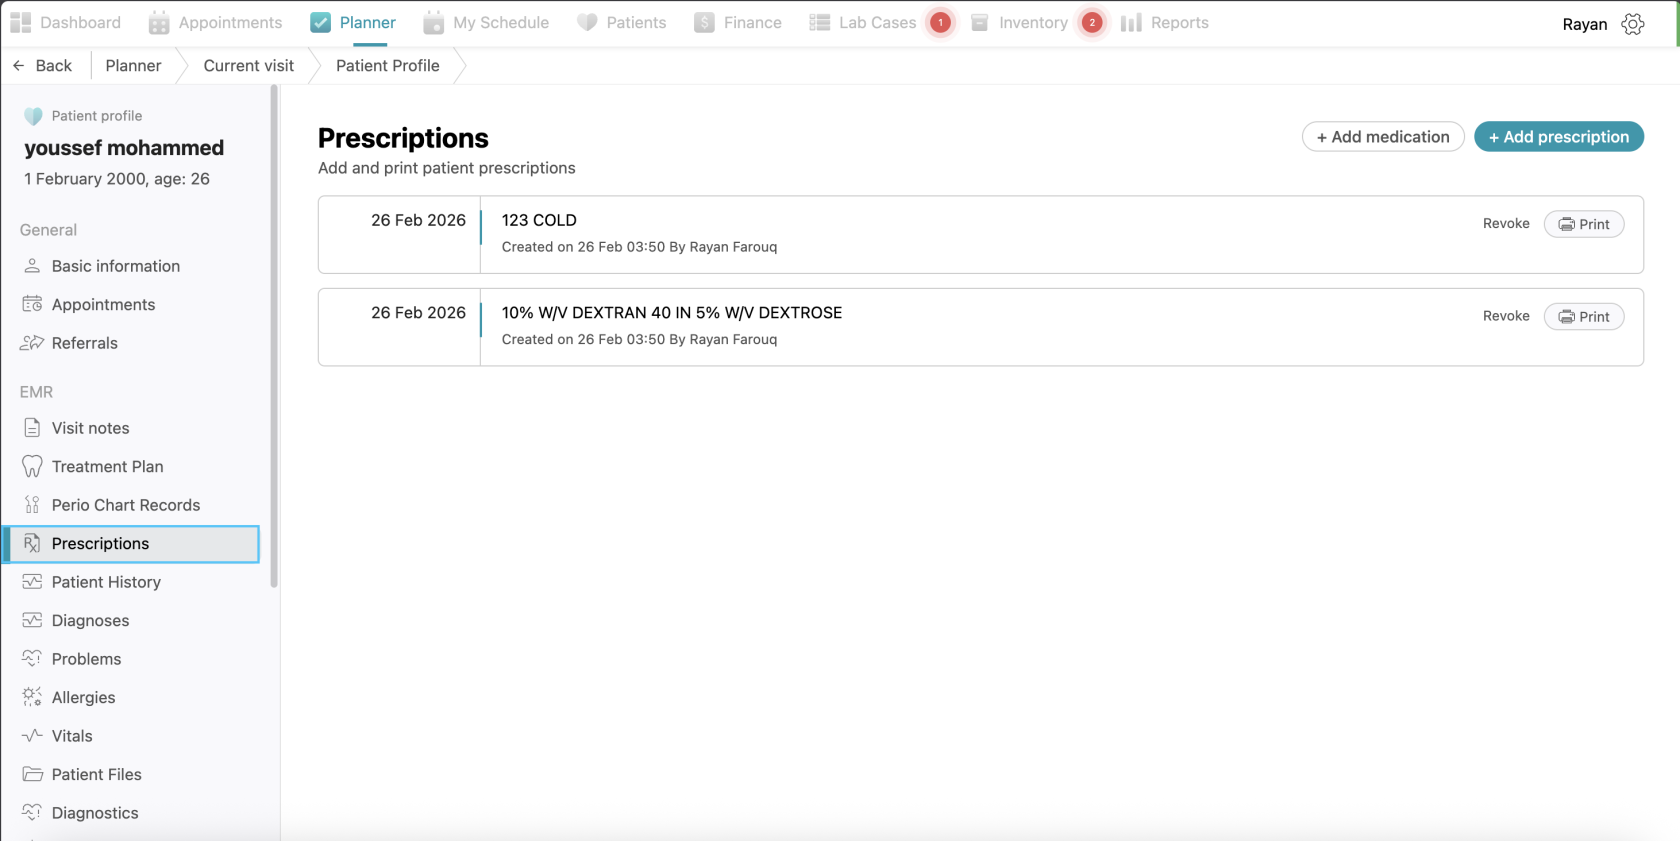
Prescriptions
This tab lists all prescriptions prescribed to the patient, showing the date, the medication name, and the prescribing doctor. If you want to write drugs for your patient, you can click on the "Add Prescriptions" button, select the drug from the drug list or add a new drug by clicking +add Drug button, and then you can write the instructions. After that, click on the "Print and Lock" button to save and print it. You can see all of the prescriptions for this patient in this view.
In the prescriptions tab also you will see a button named “+add medication”, if you clicked on it, you can write medications for the patient following the same process as for prescription.
Note: The difference between prescriptions and medications is that medications are given to the patient inside the clinic.
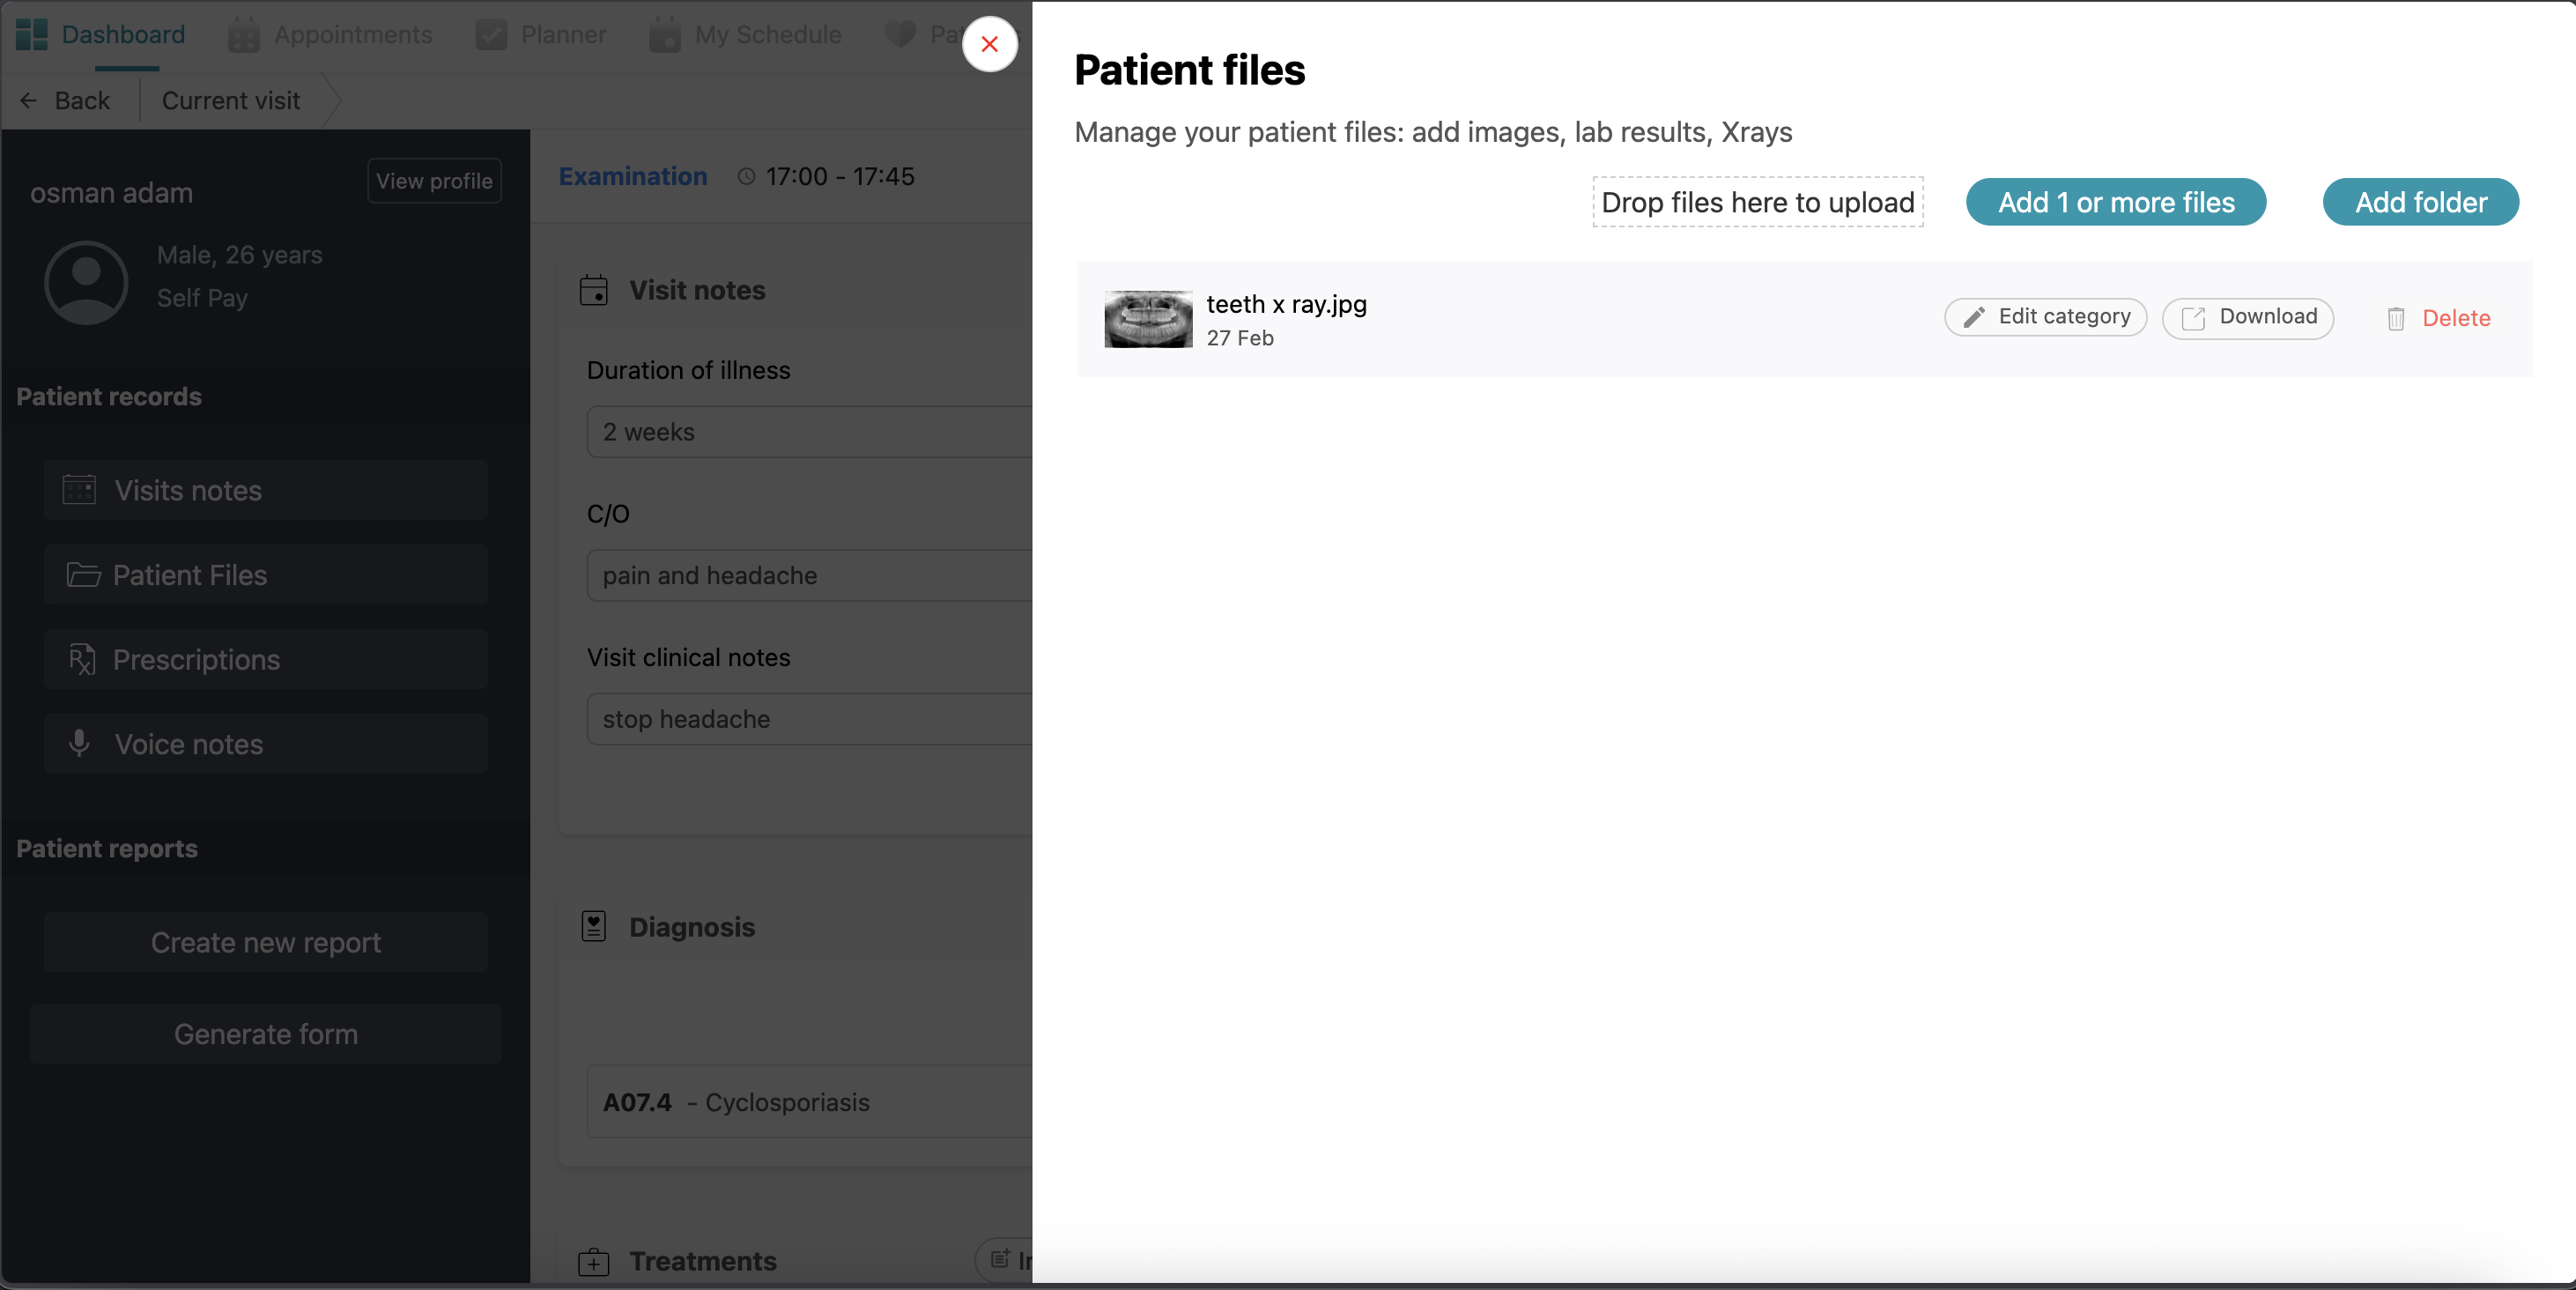
Patient files
If you want to add a file to this patient, such as an x-ray or before and after images or lab results, click on "Patient Files". Click on "Add More Files" or "Add Folder" (a folder contains files) and select the file you want to add and upload it. You can see all of the files added to this patient at any time in this view.
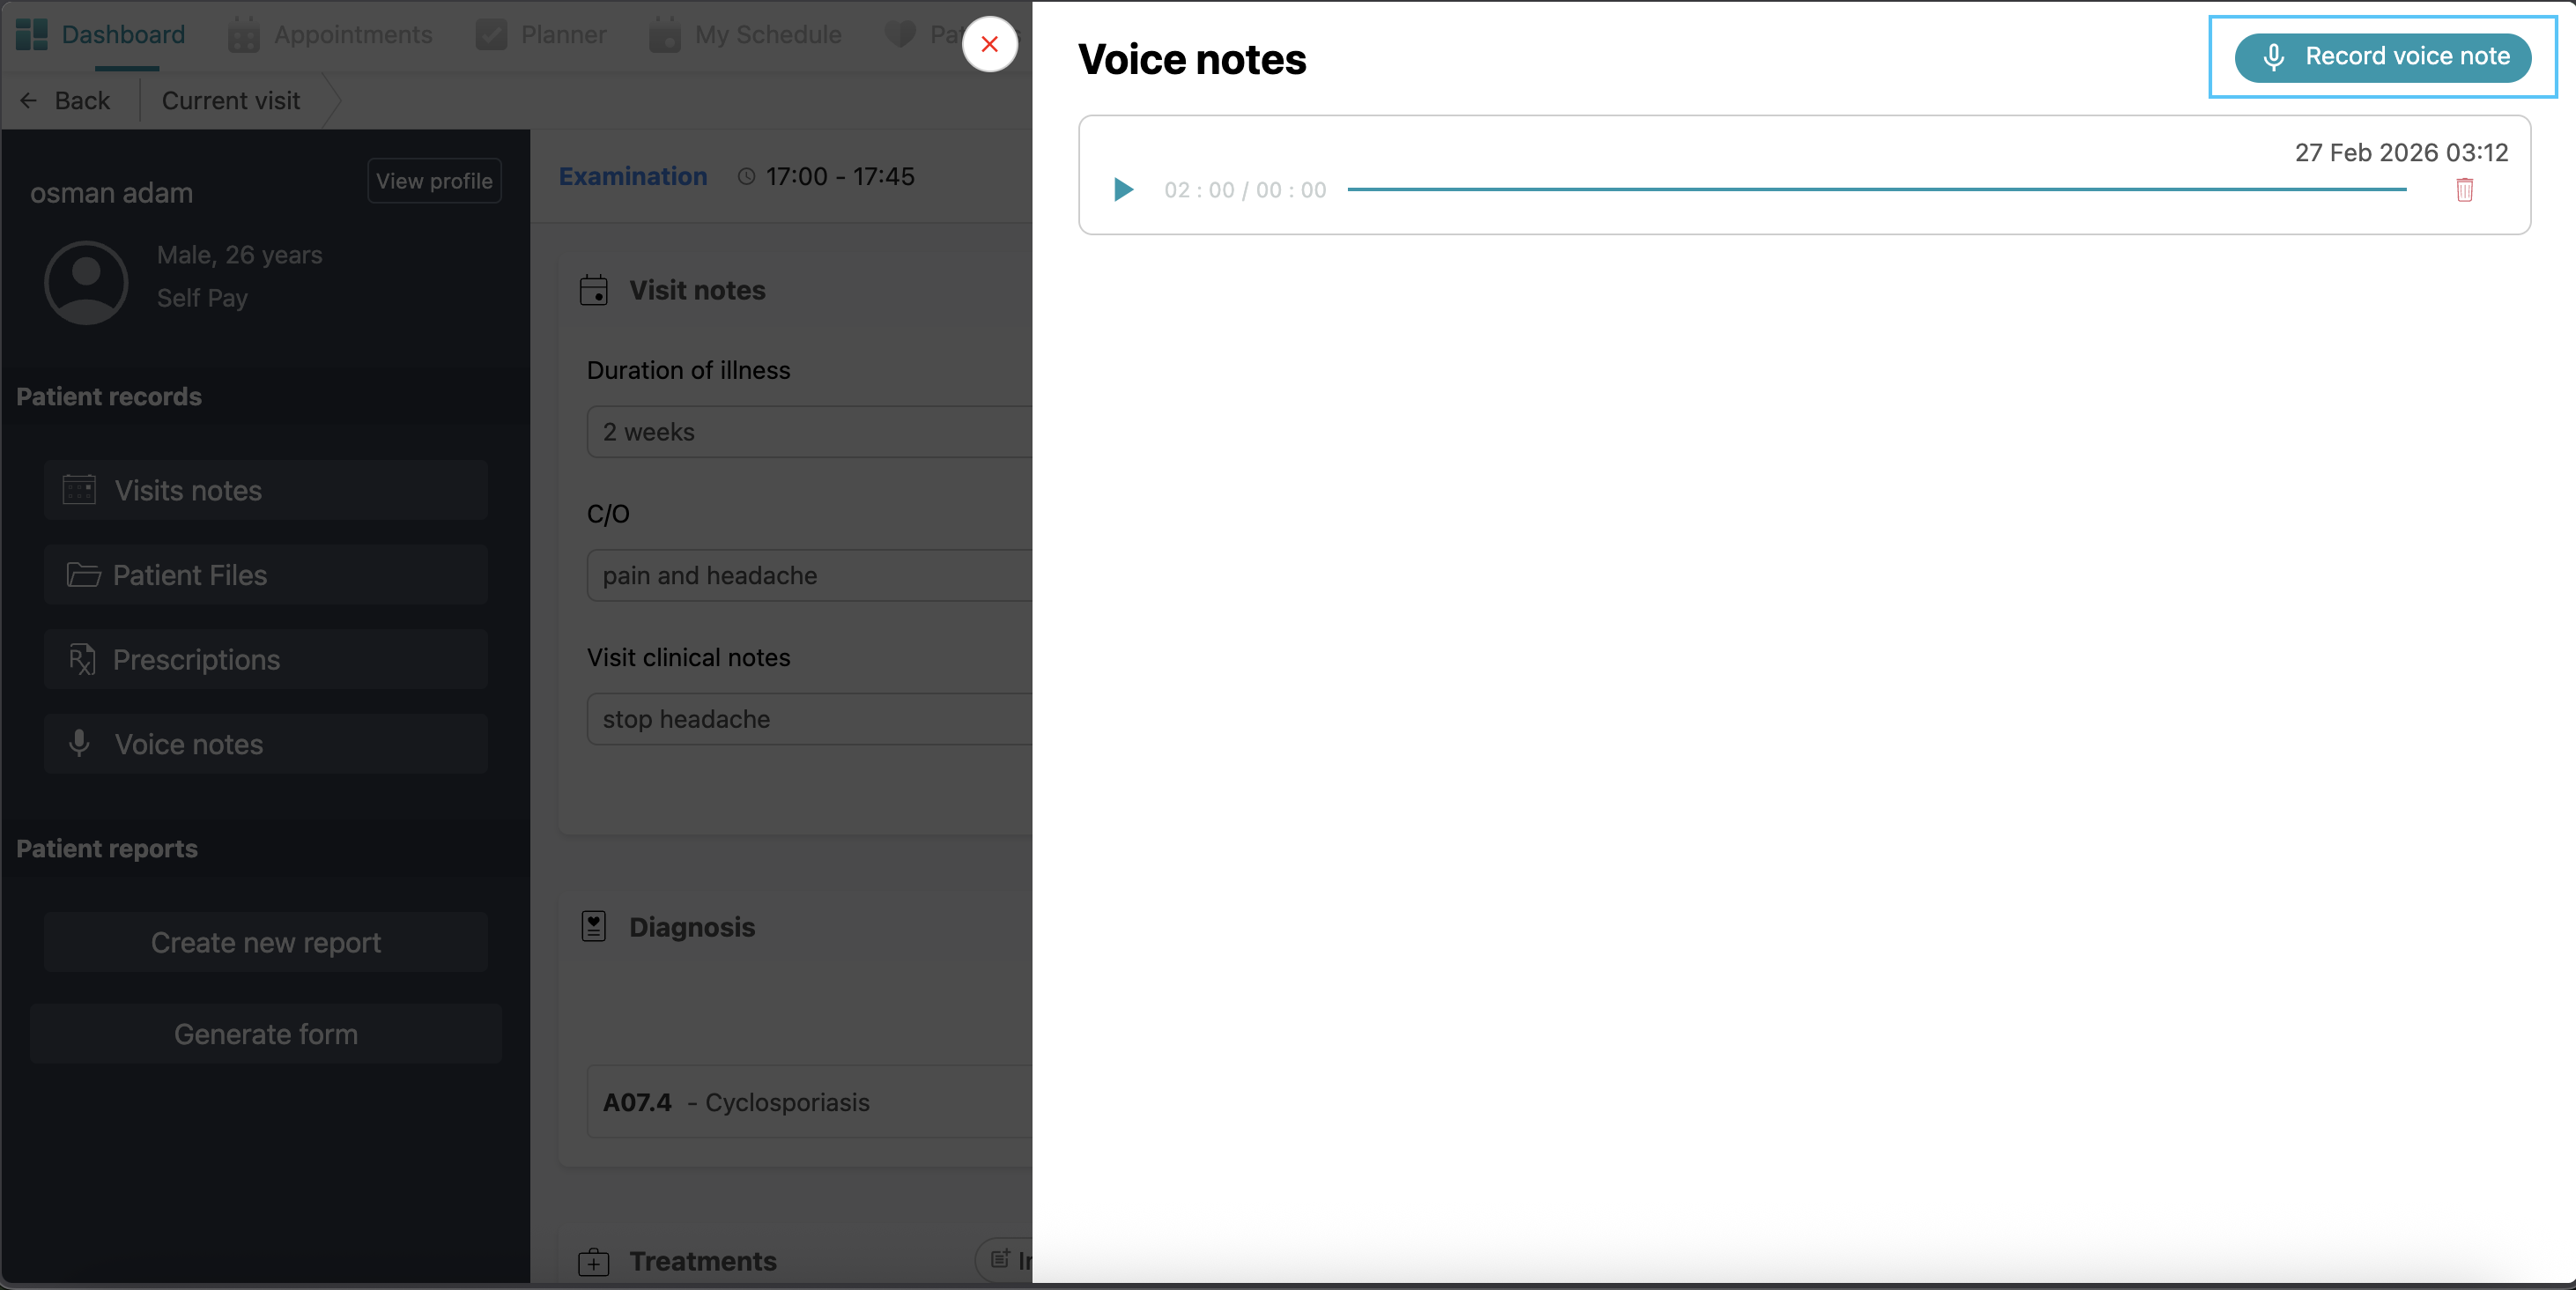
Voice Notes
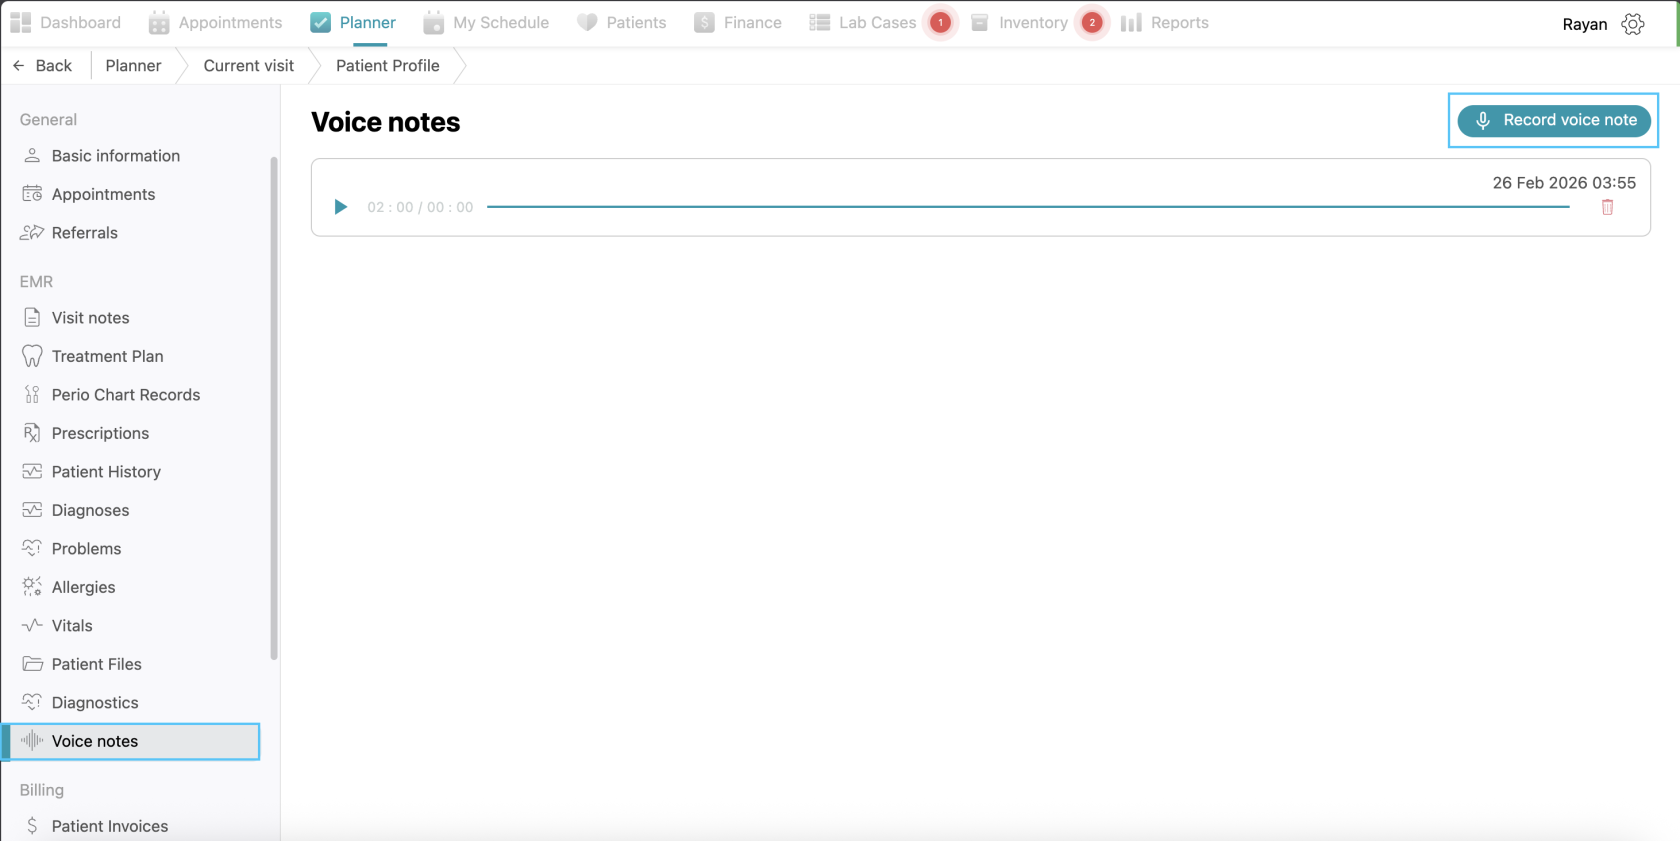
Doctors can record and save audio notes regarding the patient’s case for hands-free documentation. Simply click the voice notes tab and click on the “record voice note” button, record the note and click save.
Patient Reports
Under patient reports you will find the option of "Generate Form"
Generating Forms
Generating Insurance Claim Form
To generate a report for insurance purposes, click the “Generate form” button and select “Insurance claims”. Choose the relevant insurance company from the list (e.g., NGI, NAS, Daman, etc.). A pop-up will allow you to select the specific Planned Treatments and Clinical Notes you wish to include in the claim. Finally, click “Generate form”.
Generating clinical form
To prepare a document for patient signature, click the “Generate form” button and select “Clinic forms”. Choose a template, such as the “Consent Form,” and click “Generate form” Once the form is created, the patient can access it for signing by scanning a QR code with their phone that will appear automatically once you generate the form. After the patient submits their signature via their device, it is automatically added to the form. Alternatively, if your clinic utilizes a tablet, with an installed webform that’s integrated with Balsam Medico, the form will be sent to the tablet and ready to be signed by the patient. The patient will sign in the tablet and it’s done.
View Patient Profile
Finally, we have the “view profile” option at the top left side. This is like a summary of everything added in the current visit page with more details. You can access it it by simply clicking the “view profile” button.
Patient Profile
In the patient profile you will find:
Basic Information
Here you can see the patient’s basic data like name, phone number…etc, and additional information like insurance, address,...etc.
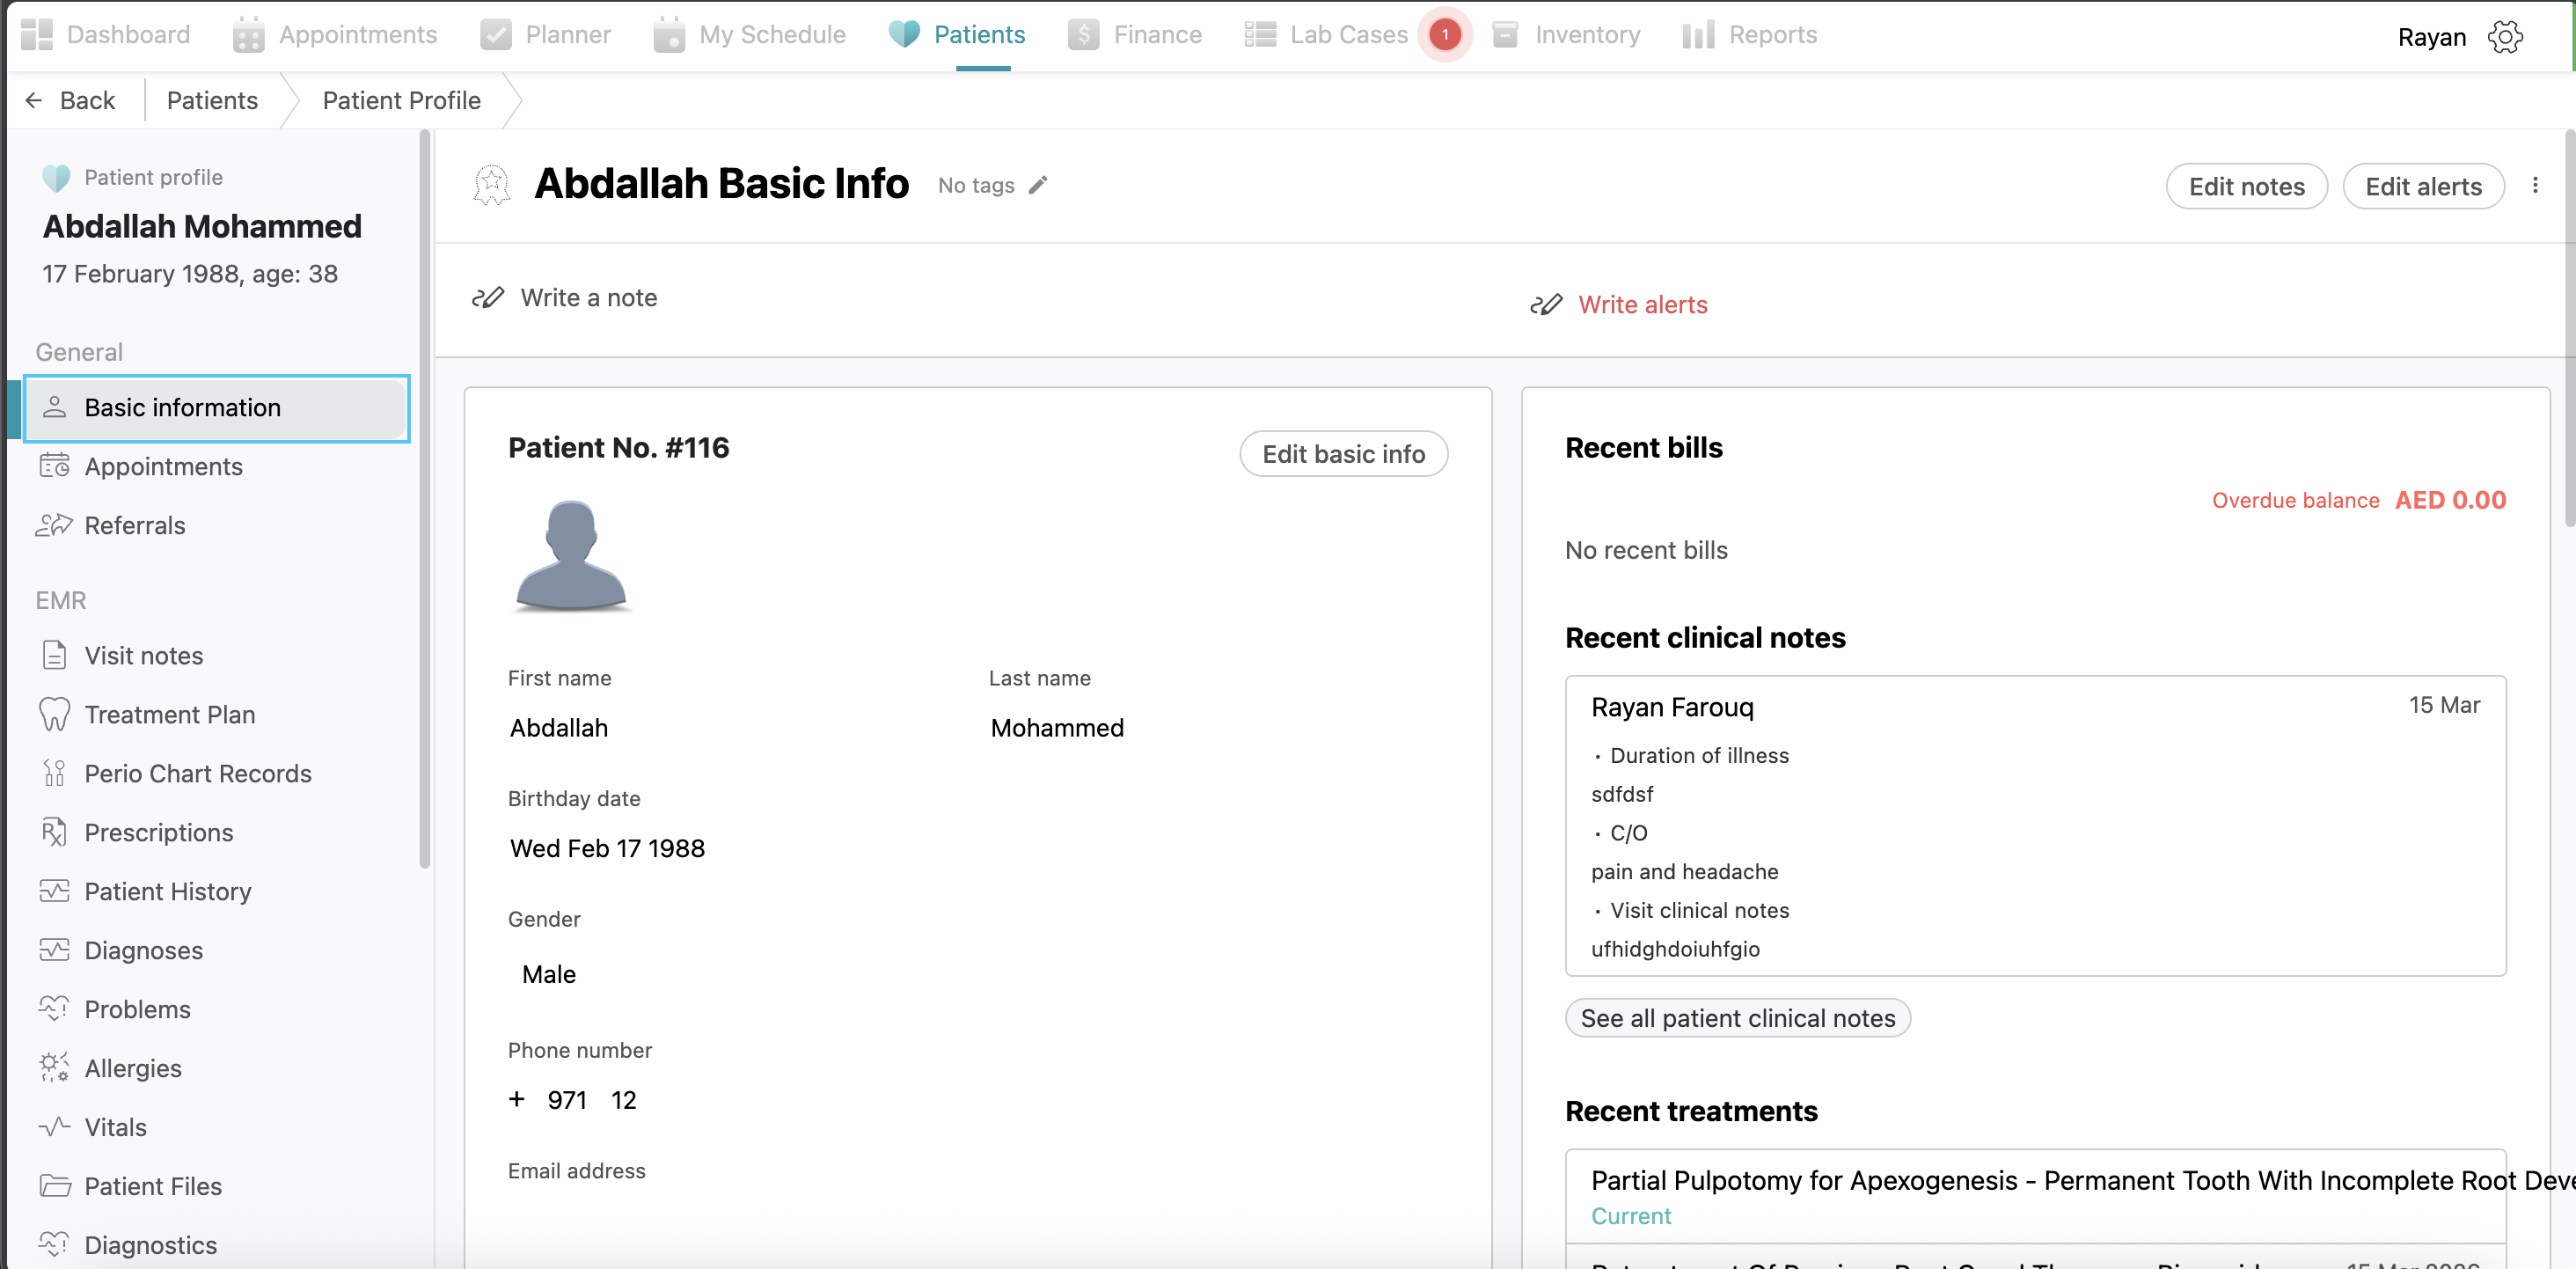
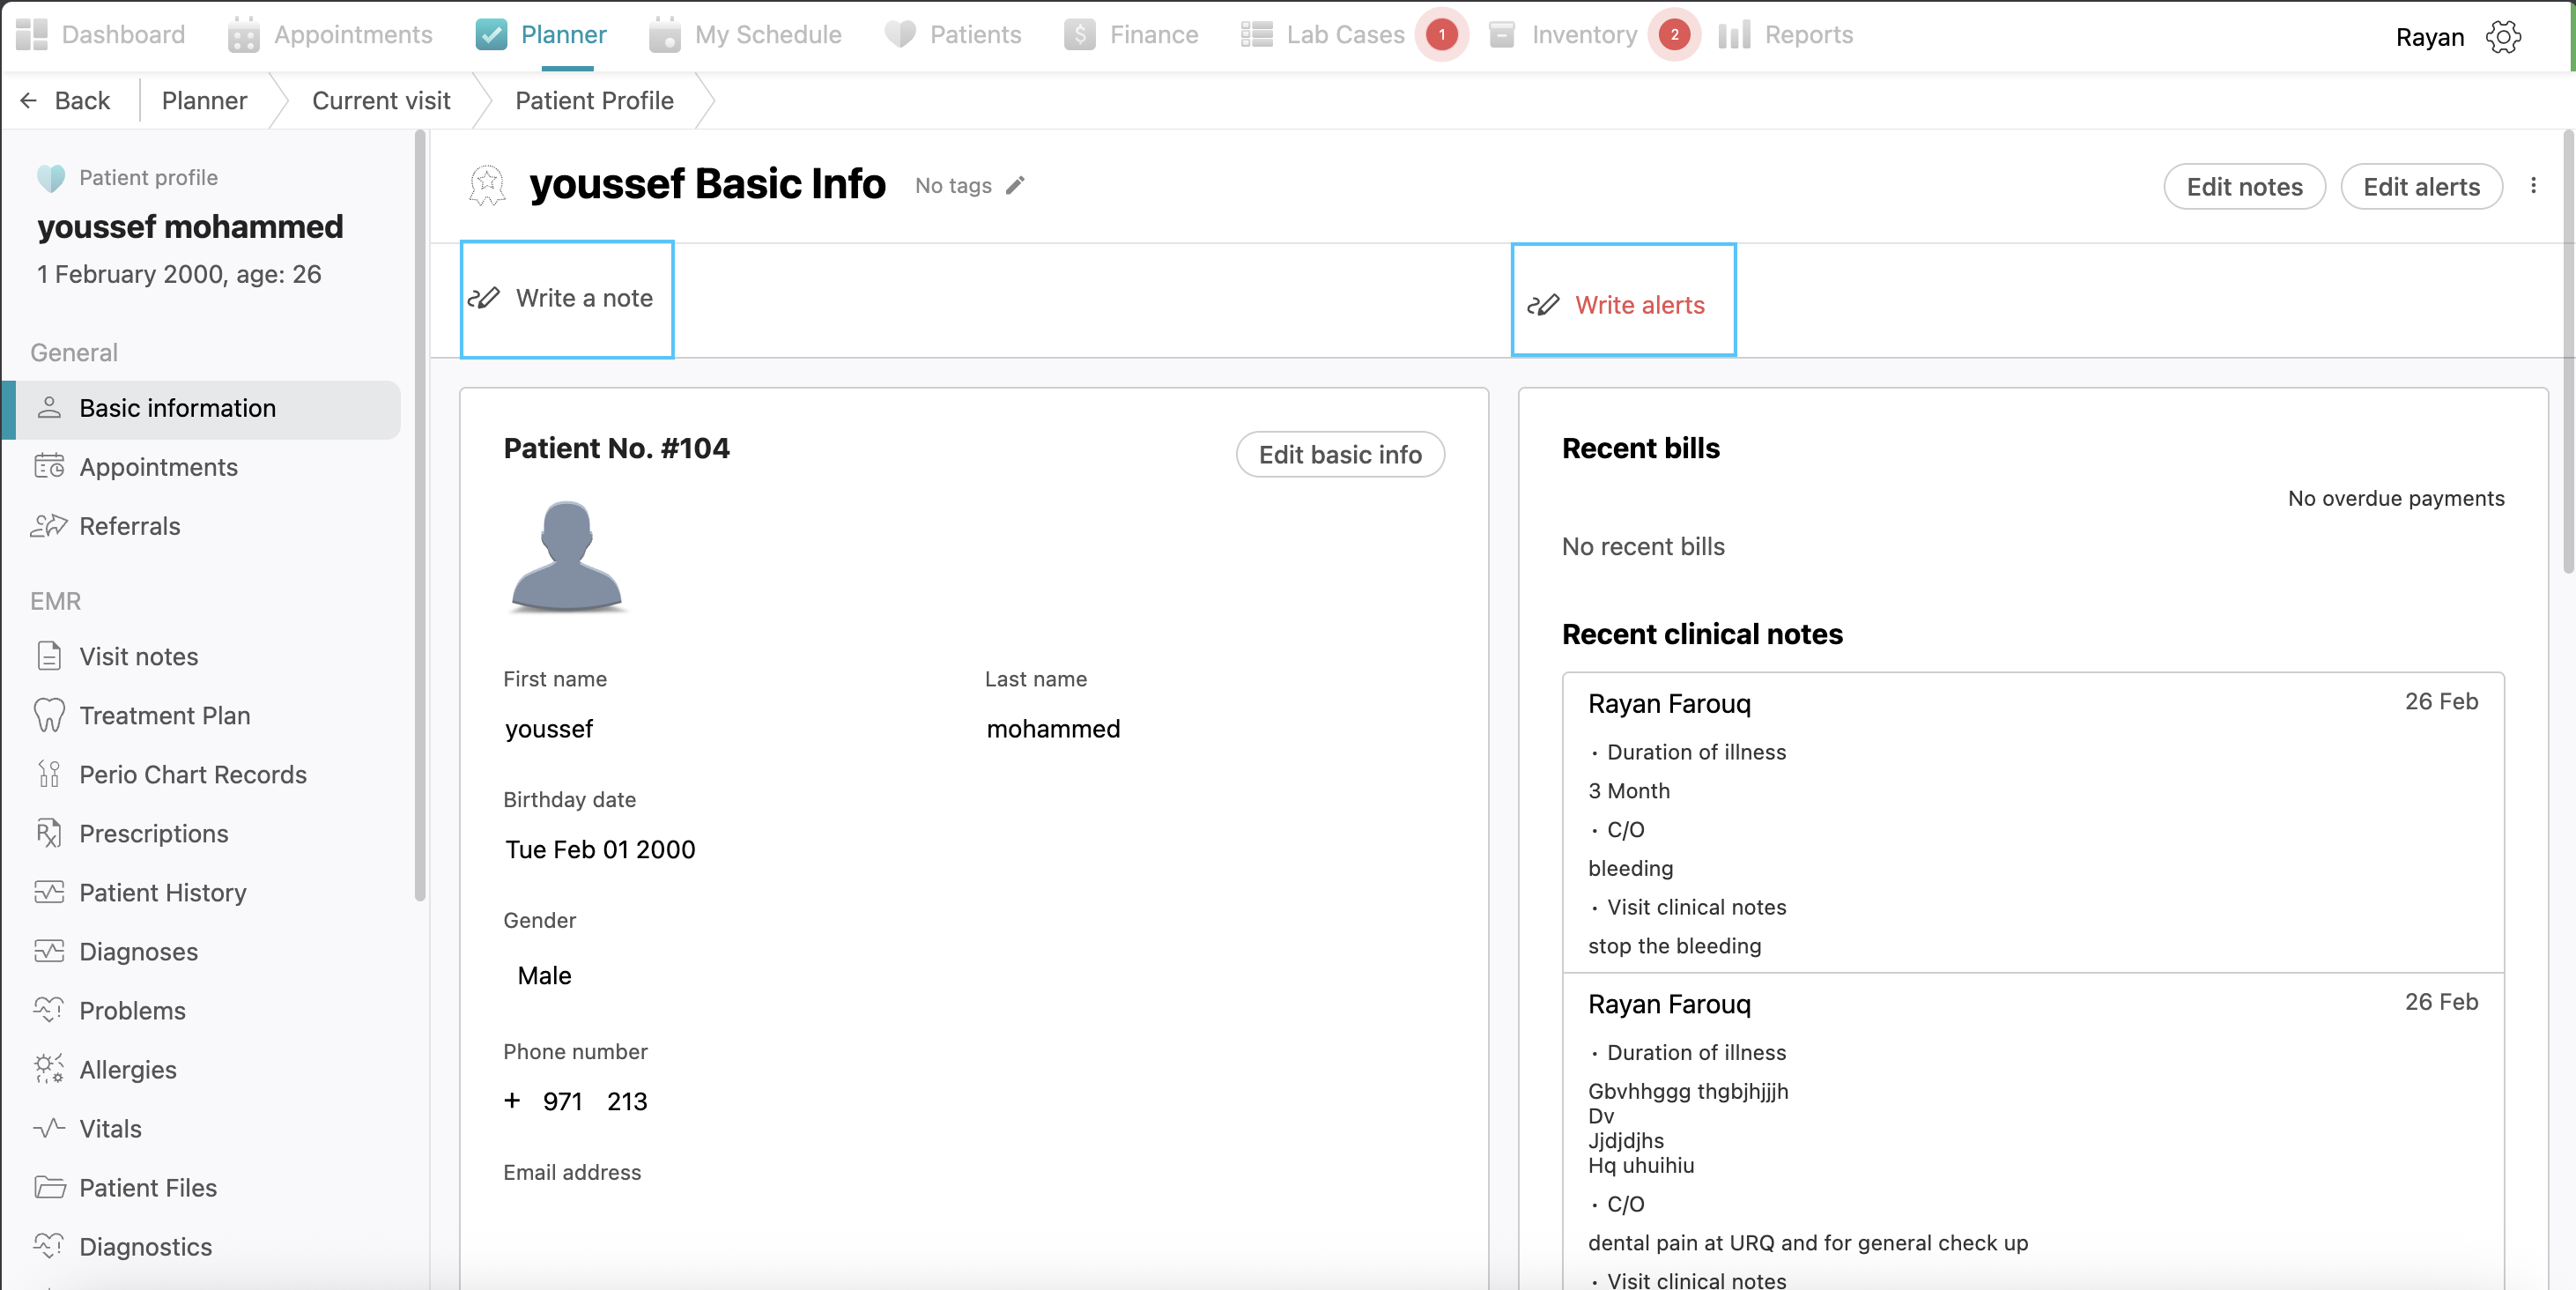
Notes and Alerts
At the top of the page you will see two options: “Write a note” and “Write alerts.”
To record general information, click the “Write a note” button to open a digital notebook where you can add multiple personal notes regarding the patient. If there is a critical condition or specific concern that needs to be highlighted, such as "ADHD," click the “Write alerts” button. Alerts are similar to notes but appear prominently in red color in the appointments view to ensure they are well taken care of.
After entering the required information in either section, click the “Save” button to store your changes. If you need to modify existing information later, you can click the “Edit notes” or “Edit alerts” buttons to update the content.
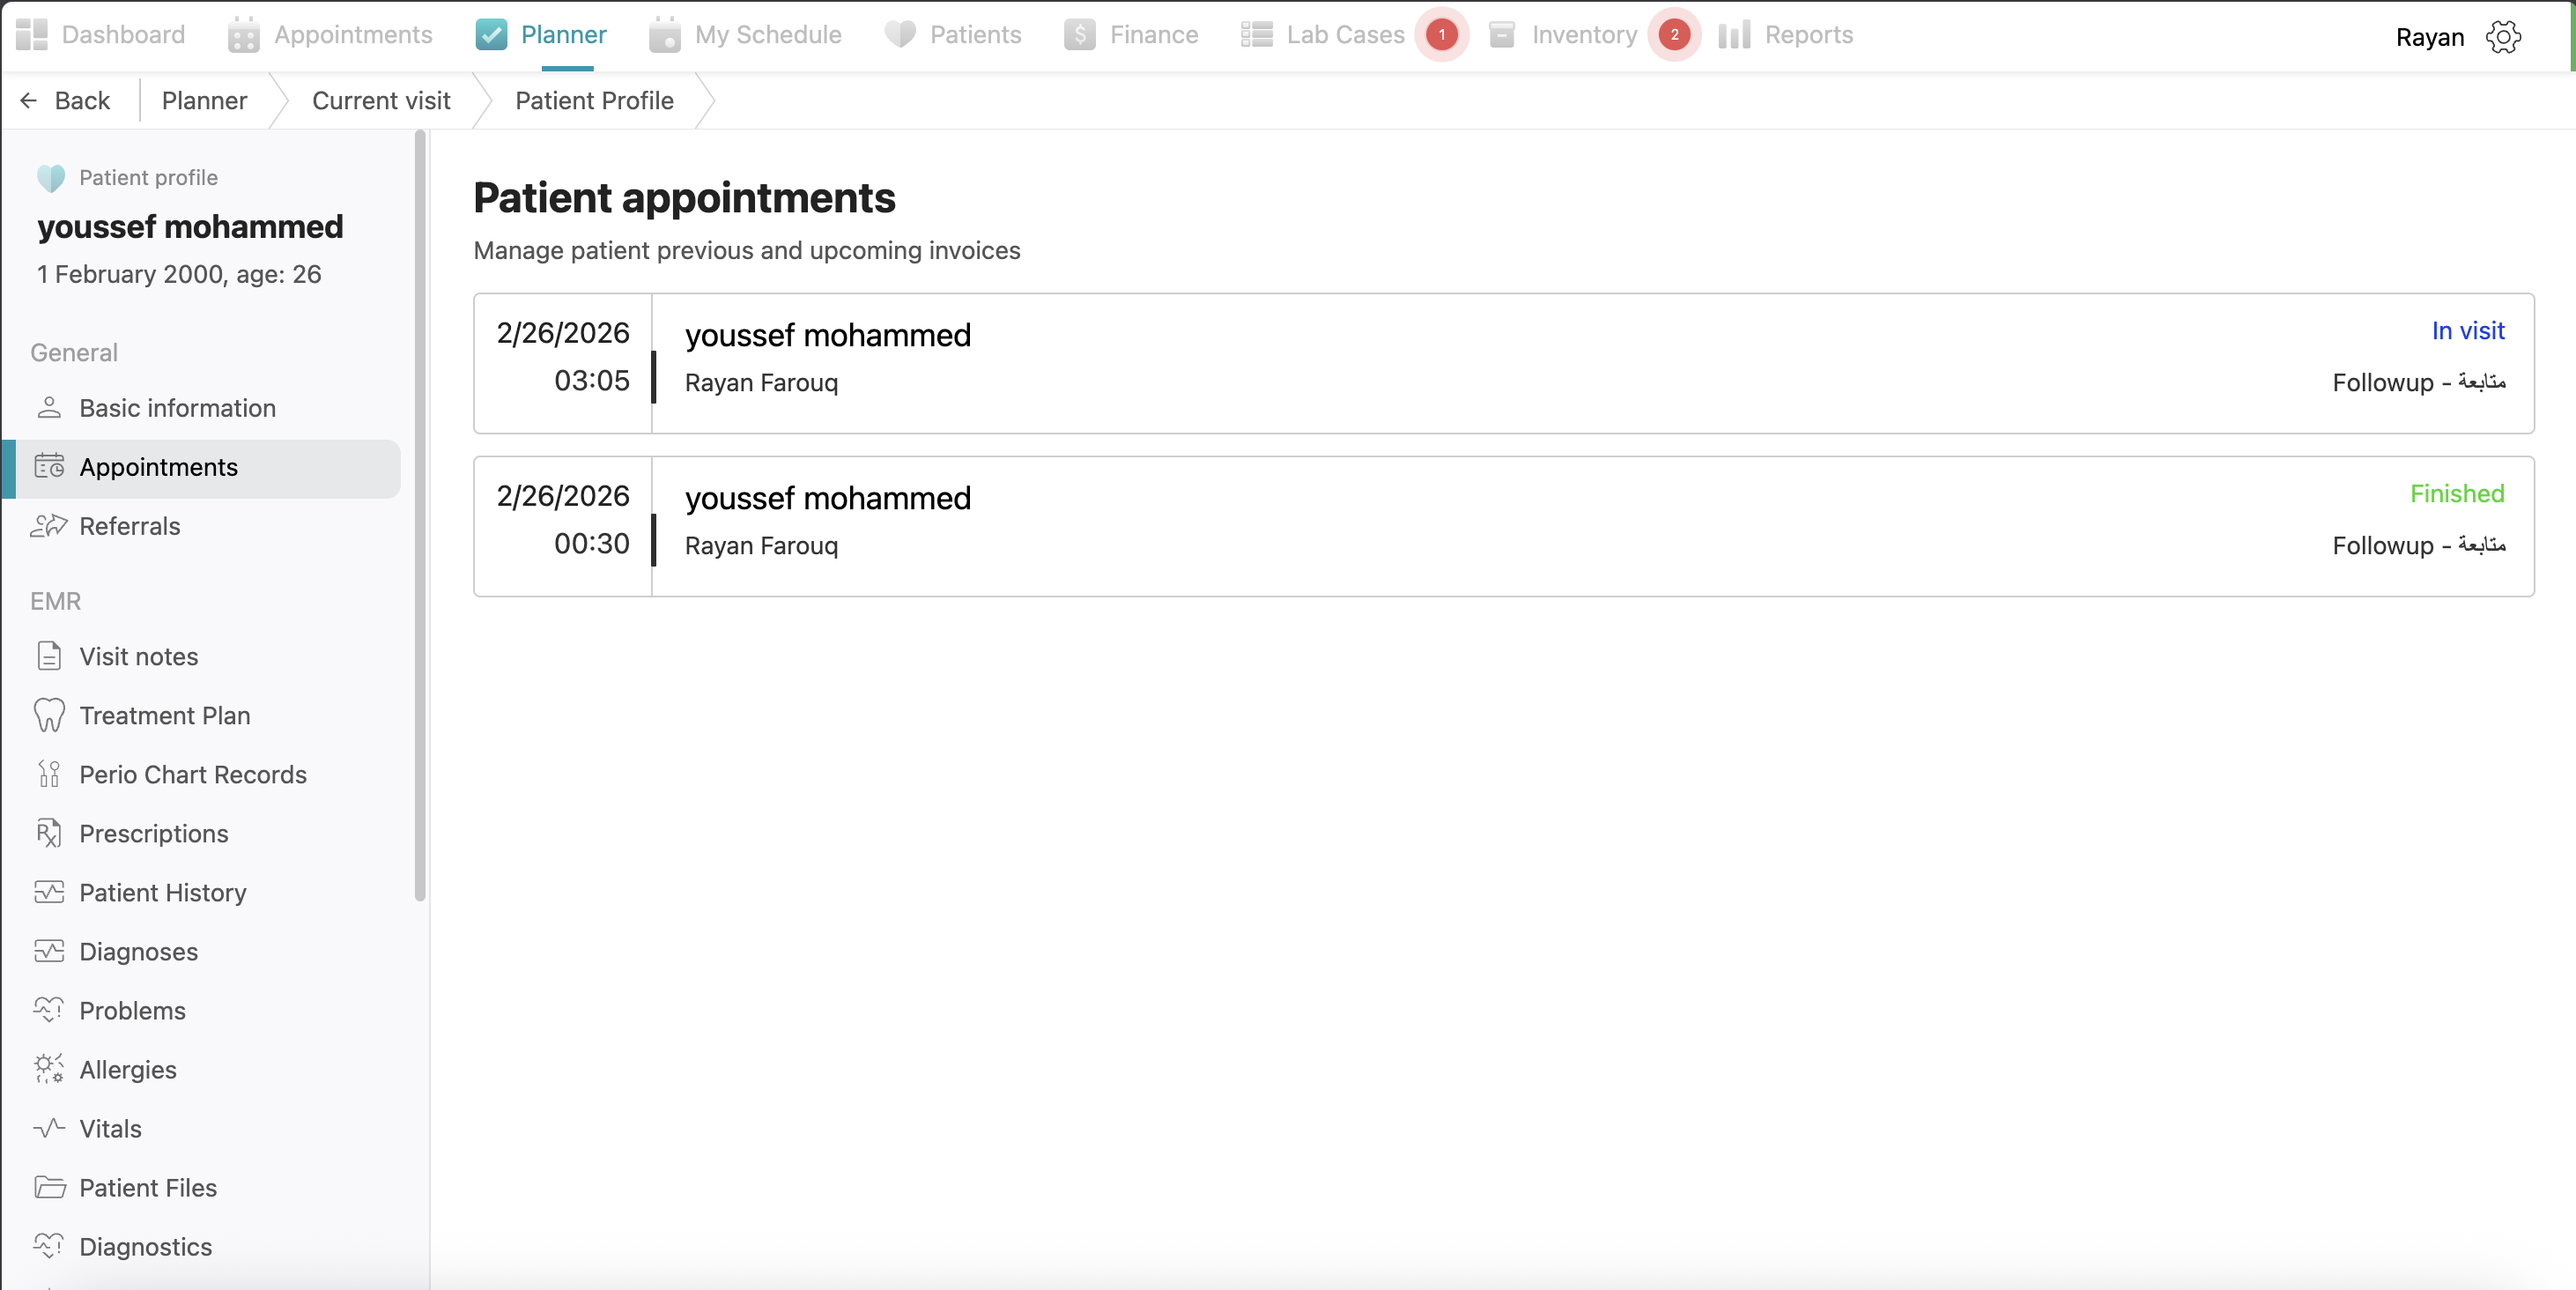
Appointments
This tab allows you to view all previous and upcoming appointments for the patient.
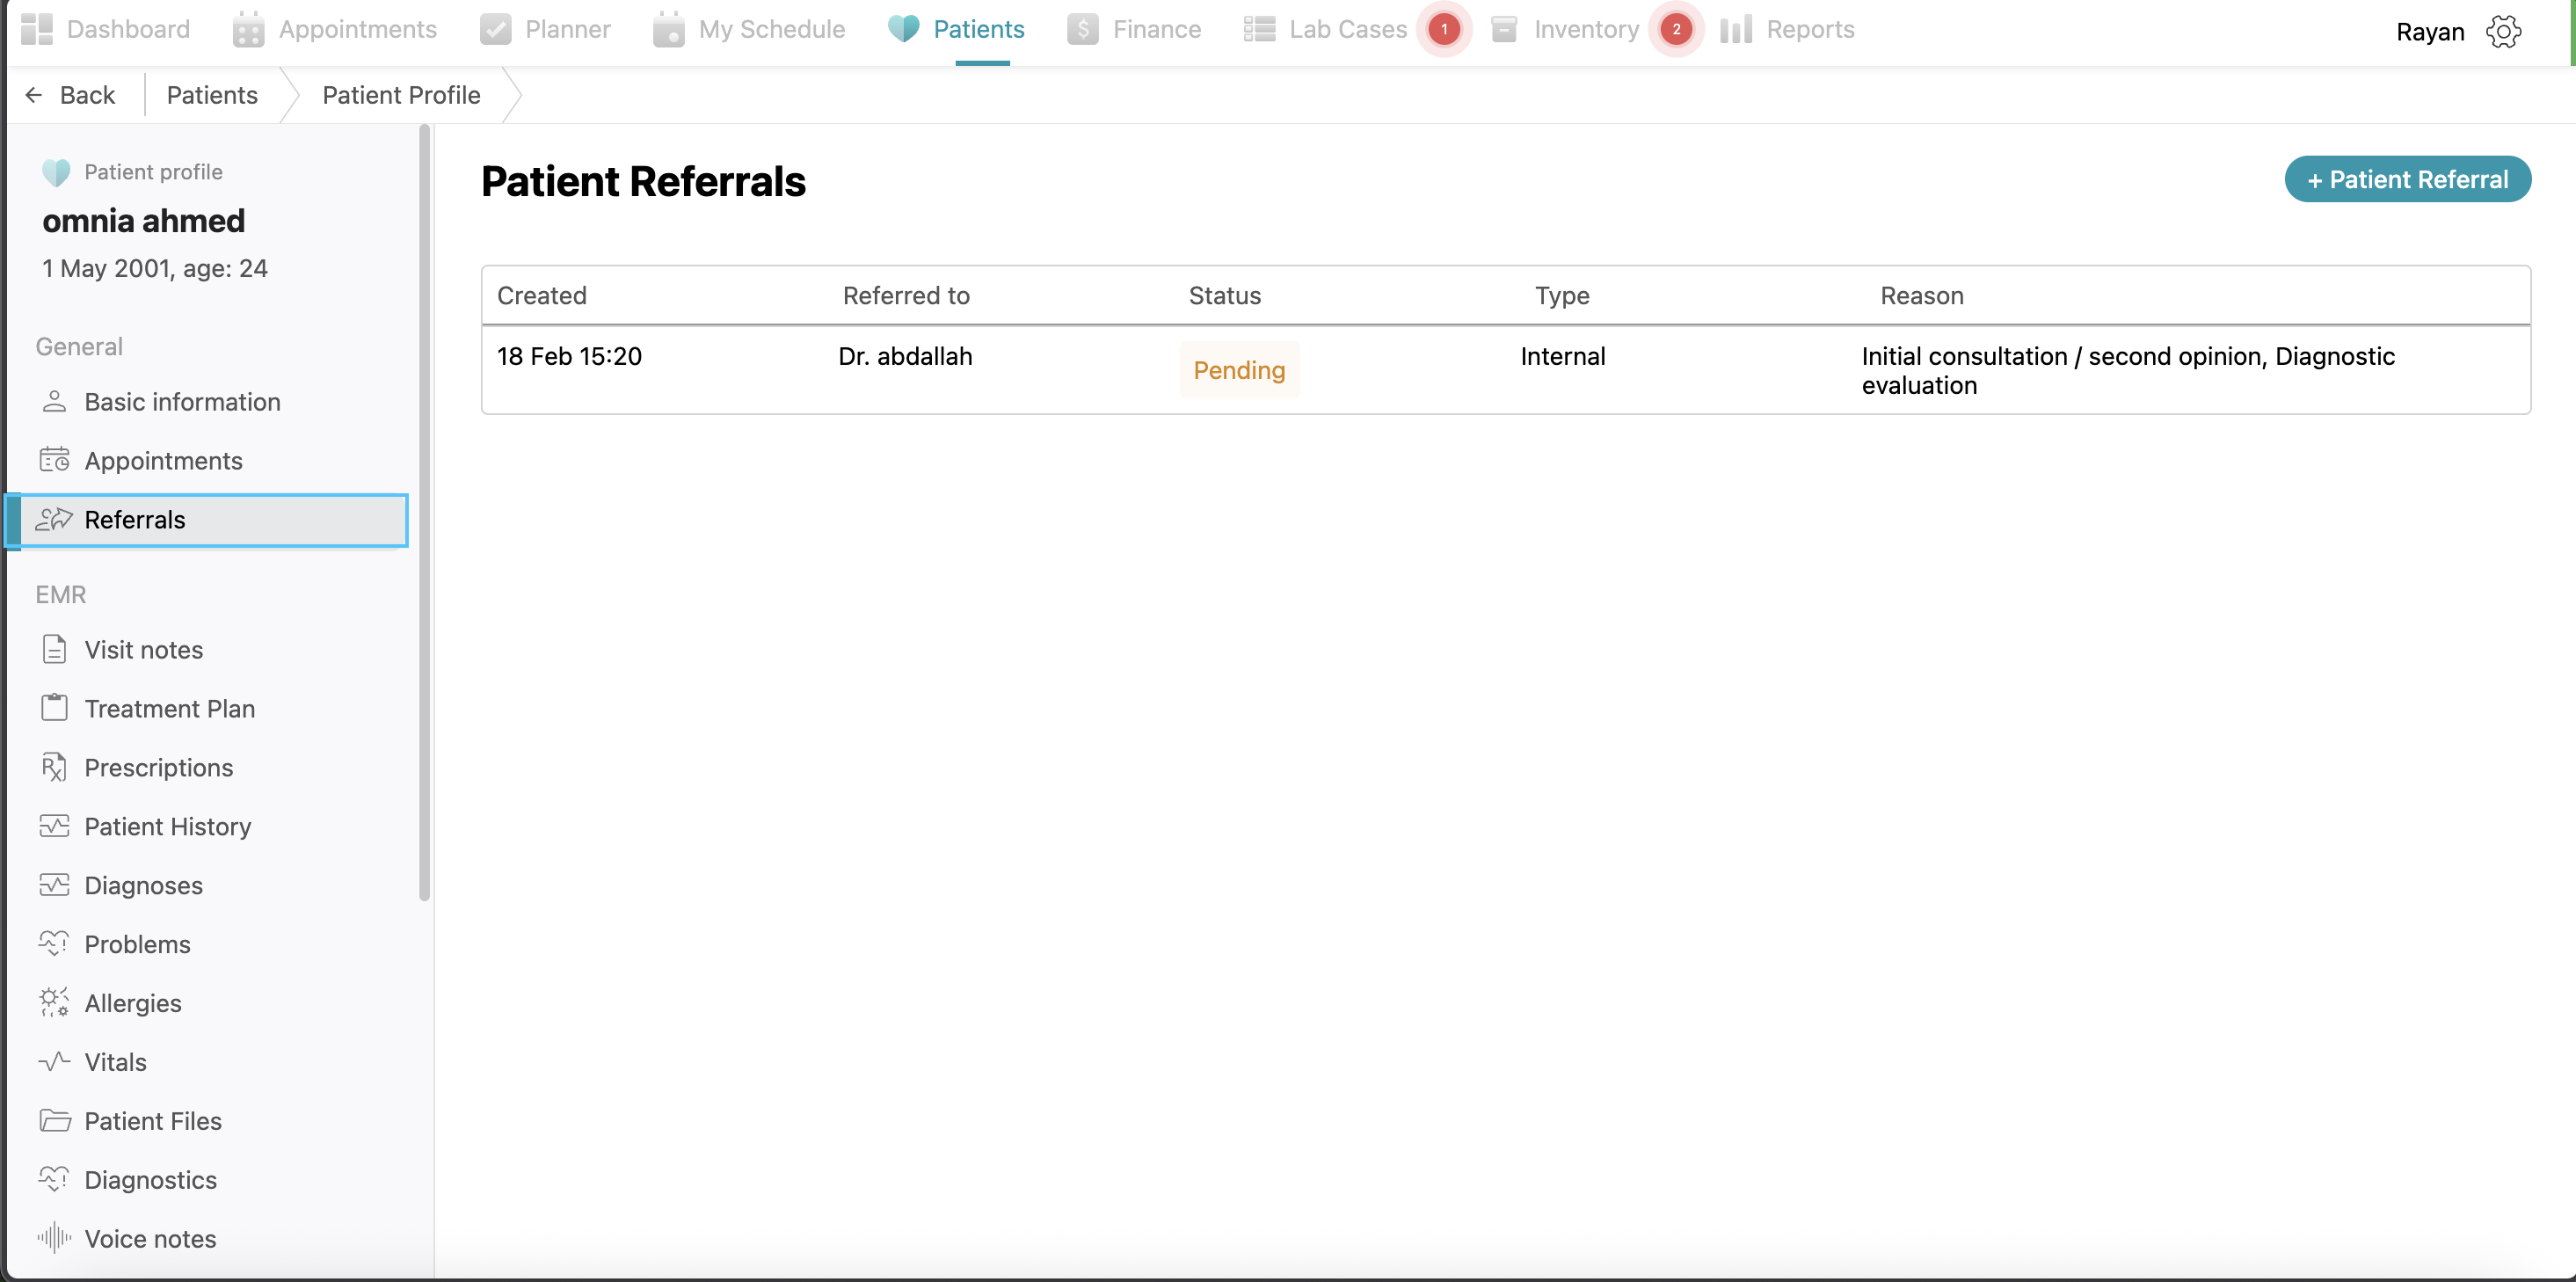
Referrals
If the patient has been referred to you from another doctor, it will appear in the patient referrals. Also, if you want to refer a patient to another doctor, you can use the "+ Patient Referral" button and follow the same steps as explained before.
Clinical Documentation (EMR Data)
-
Visit Notes: This section stores historical clinical data, including the duration of the patient's illness, Chief Complaint (C/O) and specific visit clinical notes from previous visits.

-
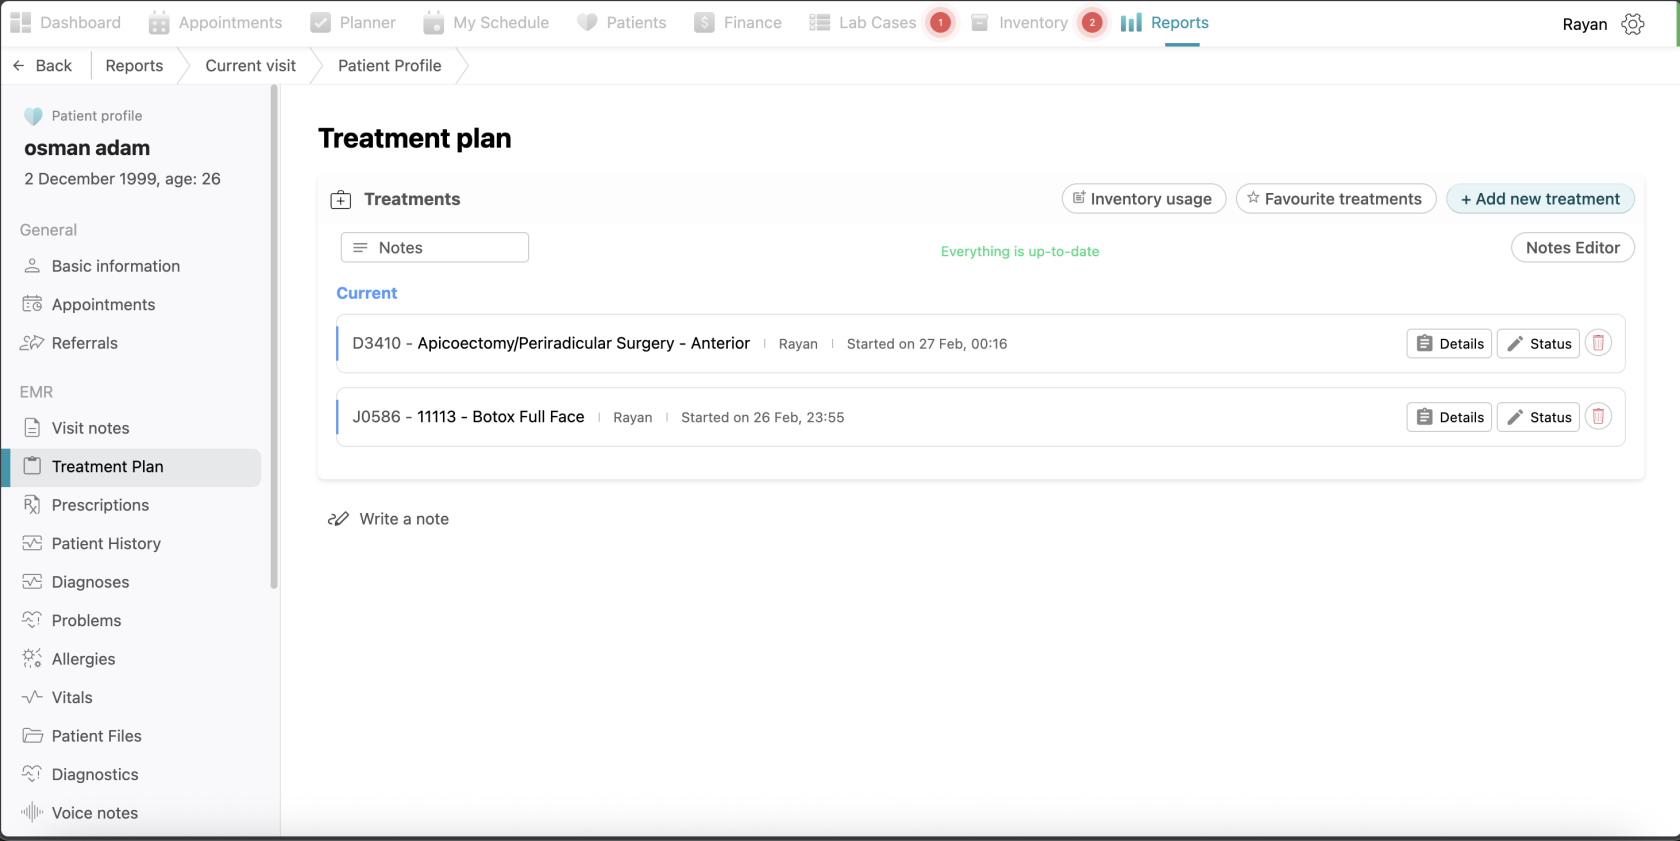
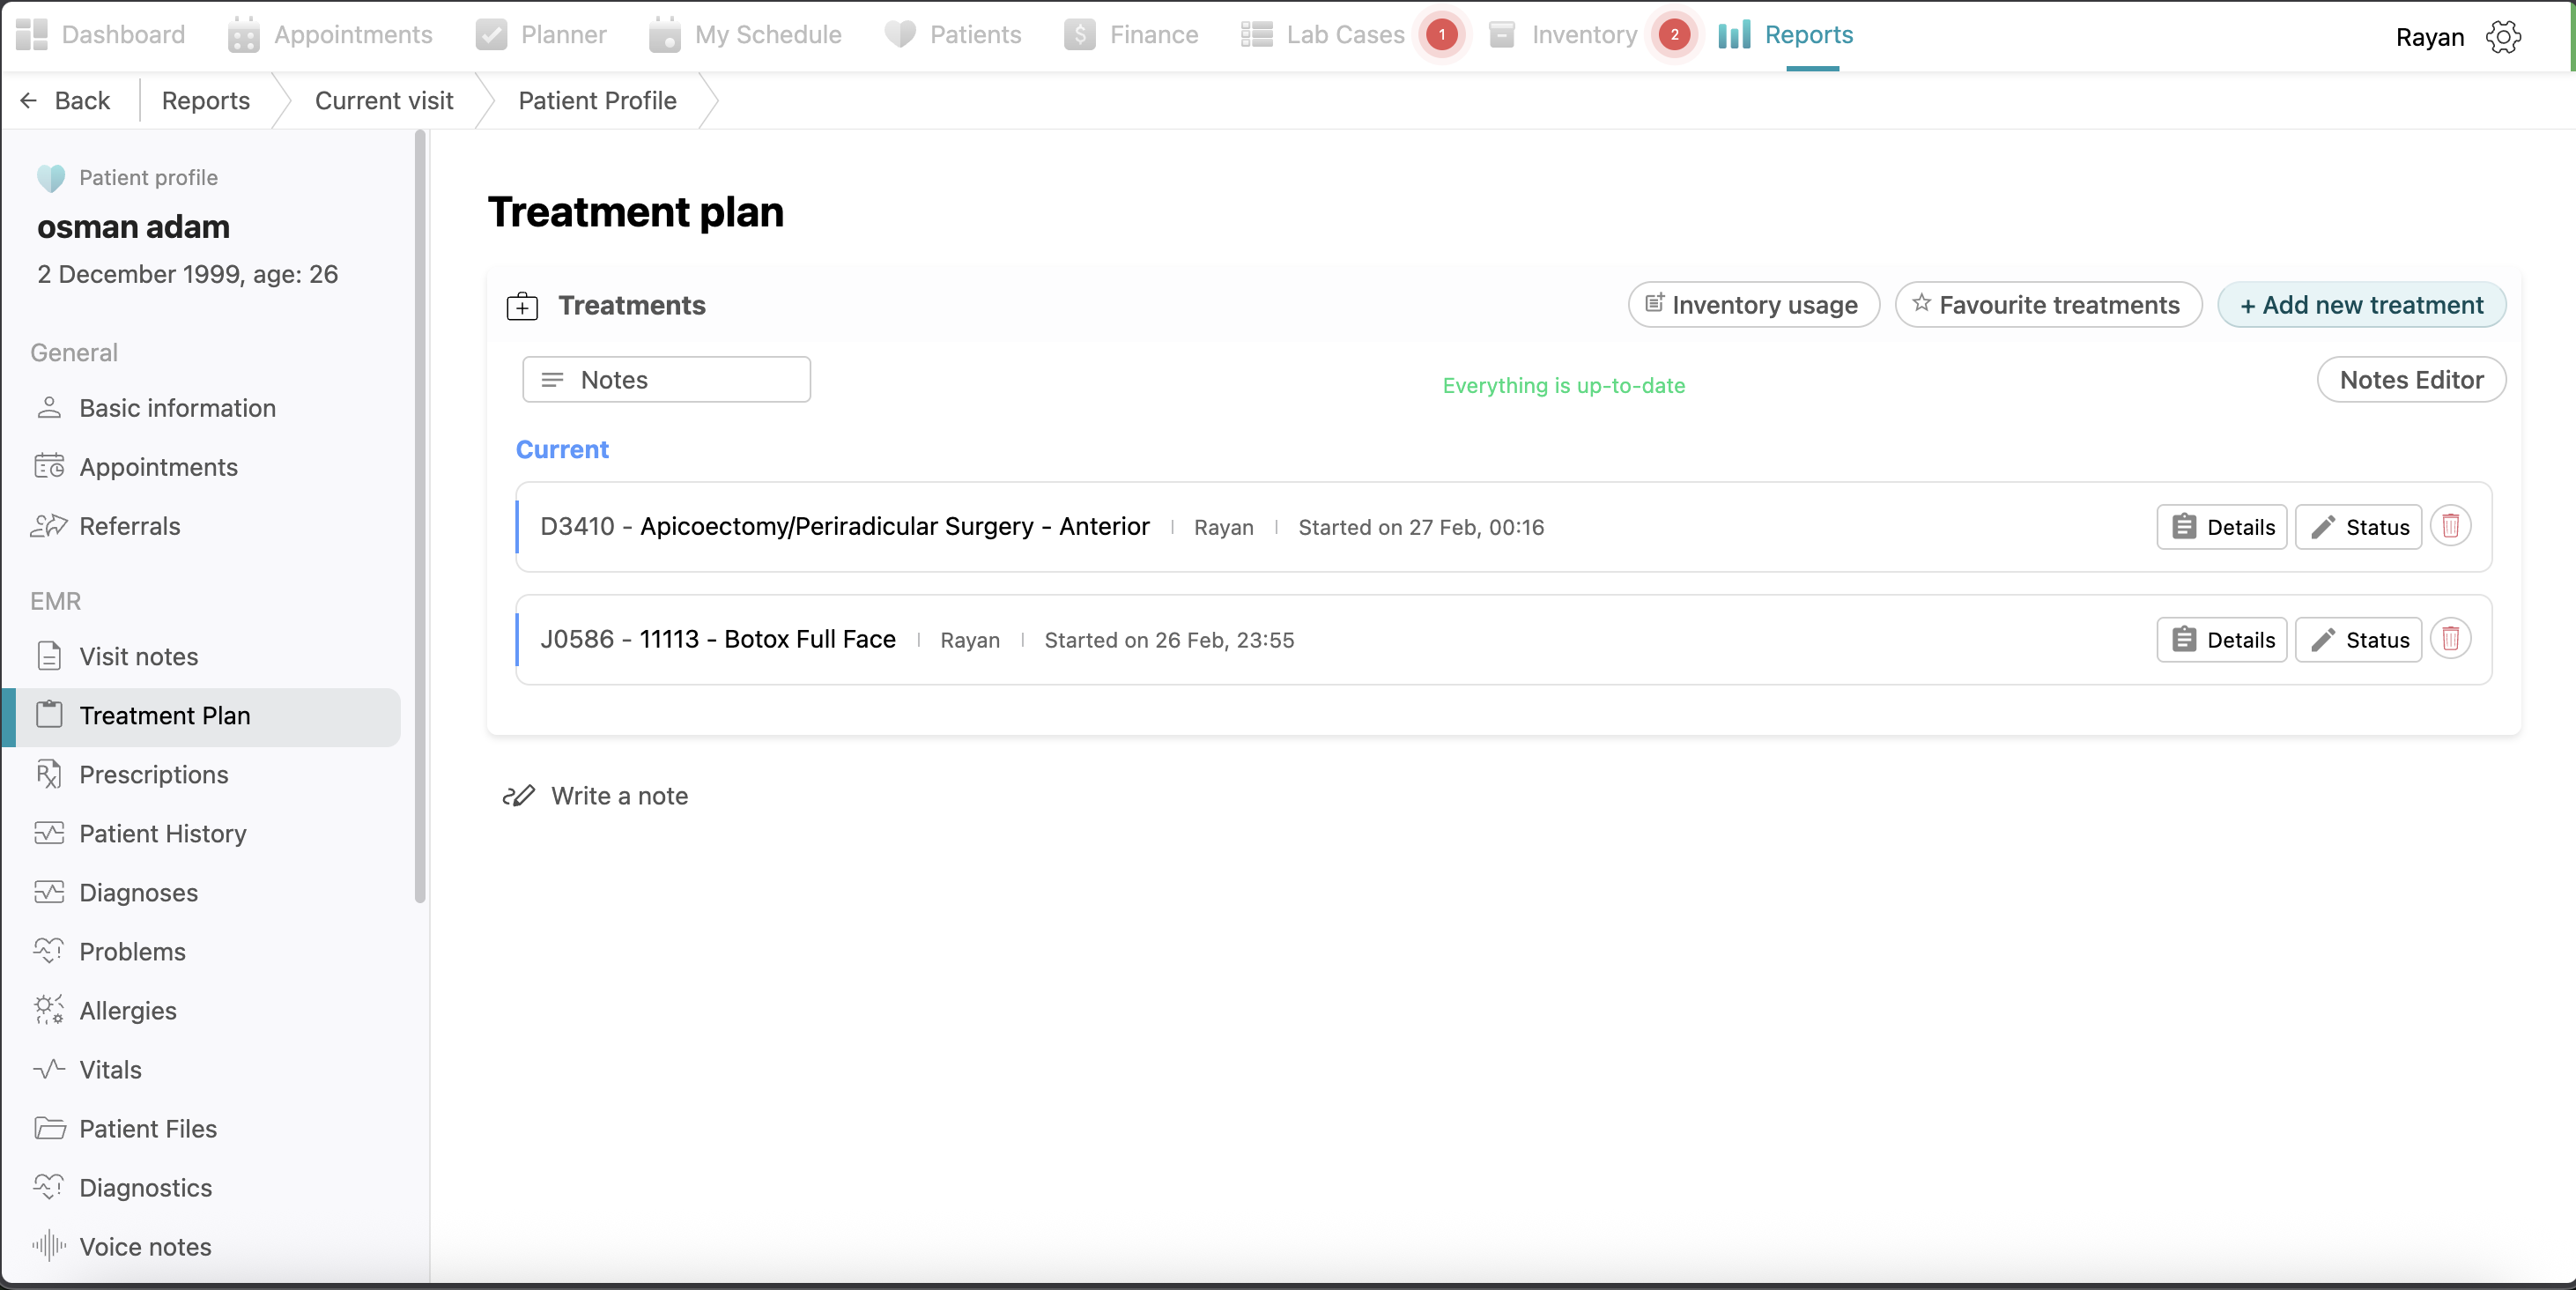
Treatment Plan: This section provides all treatments done to the patient with the same options of adding new treatments, managing favorites, notes editor, and adding inventory usage as explained above.
-
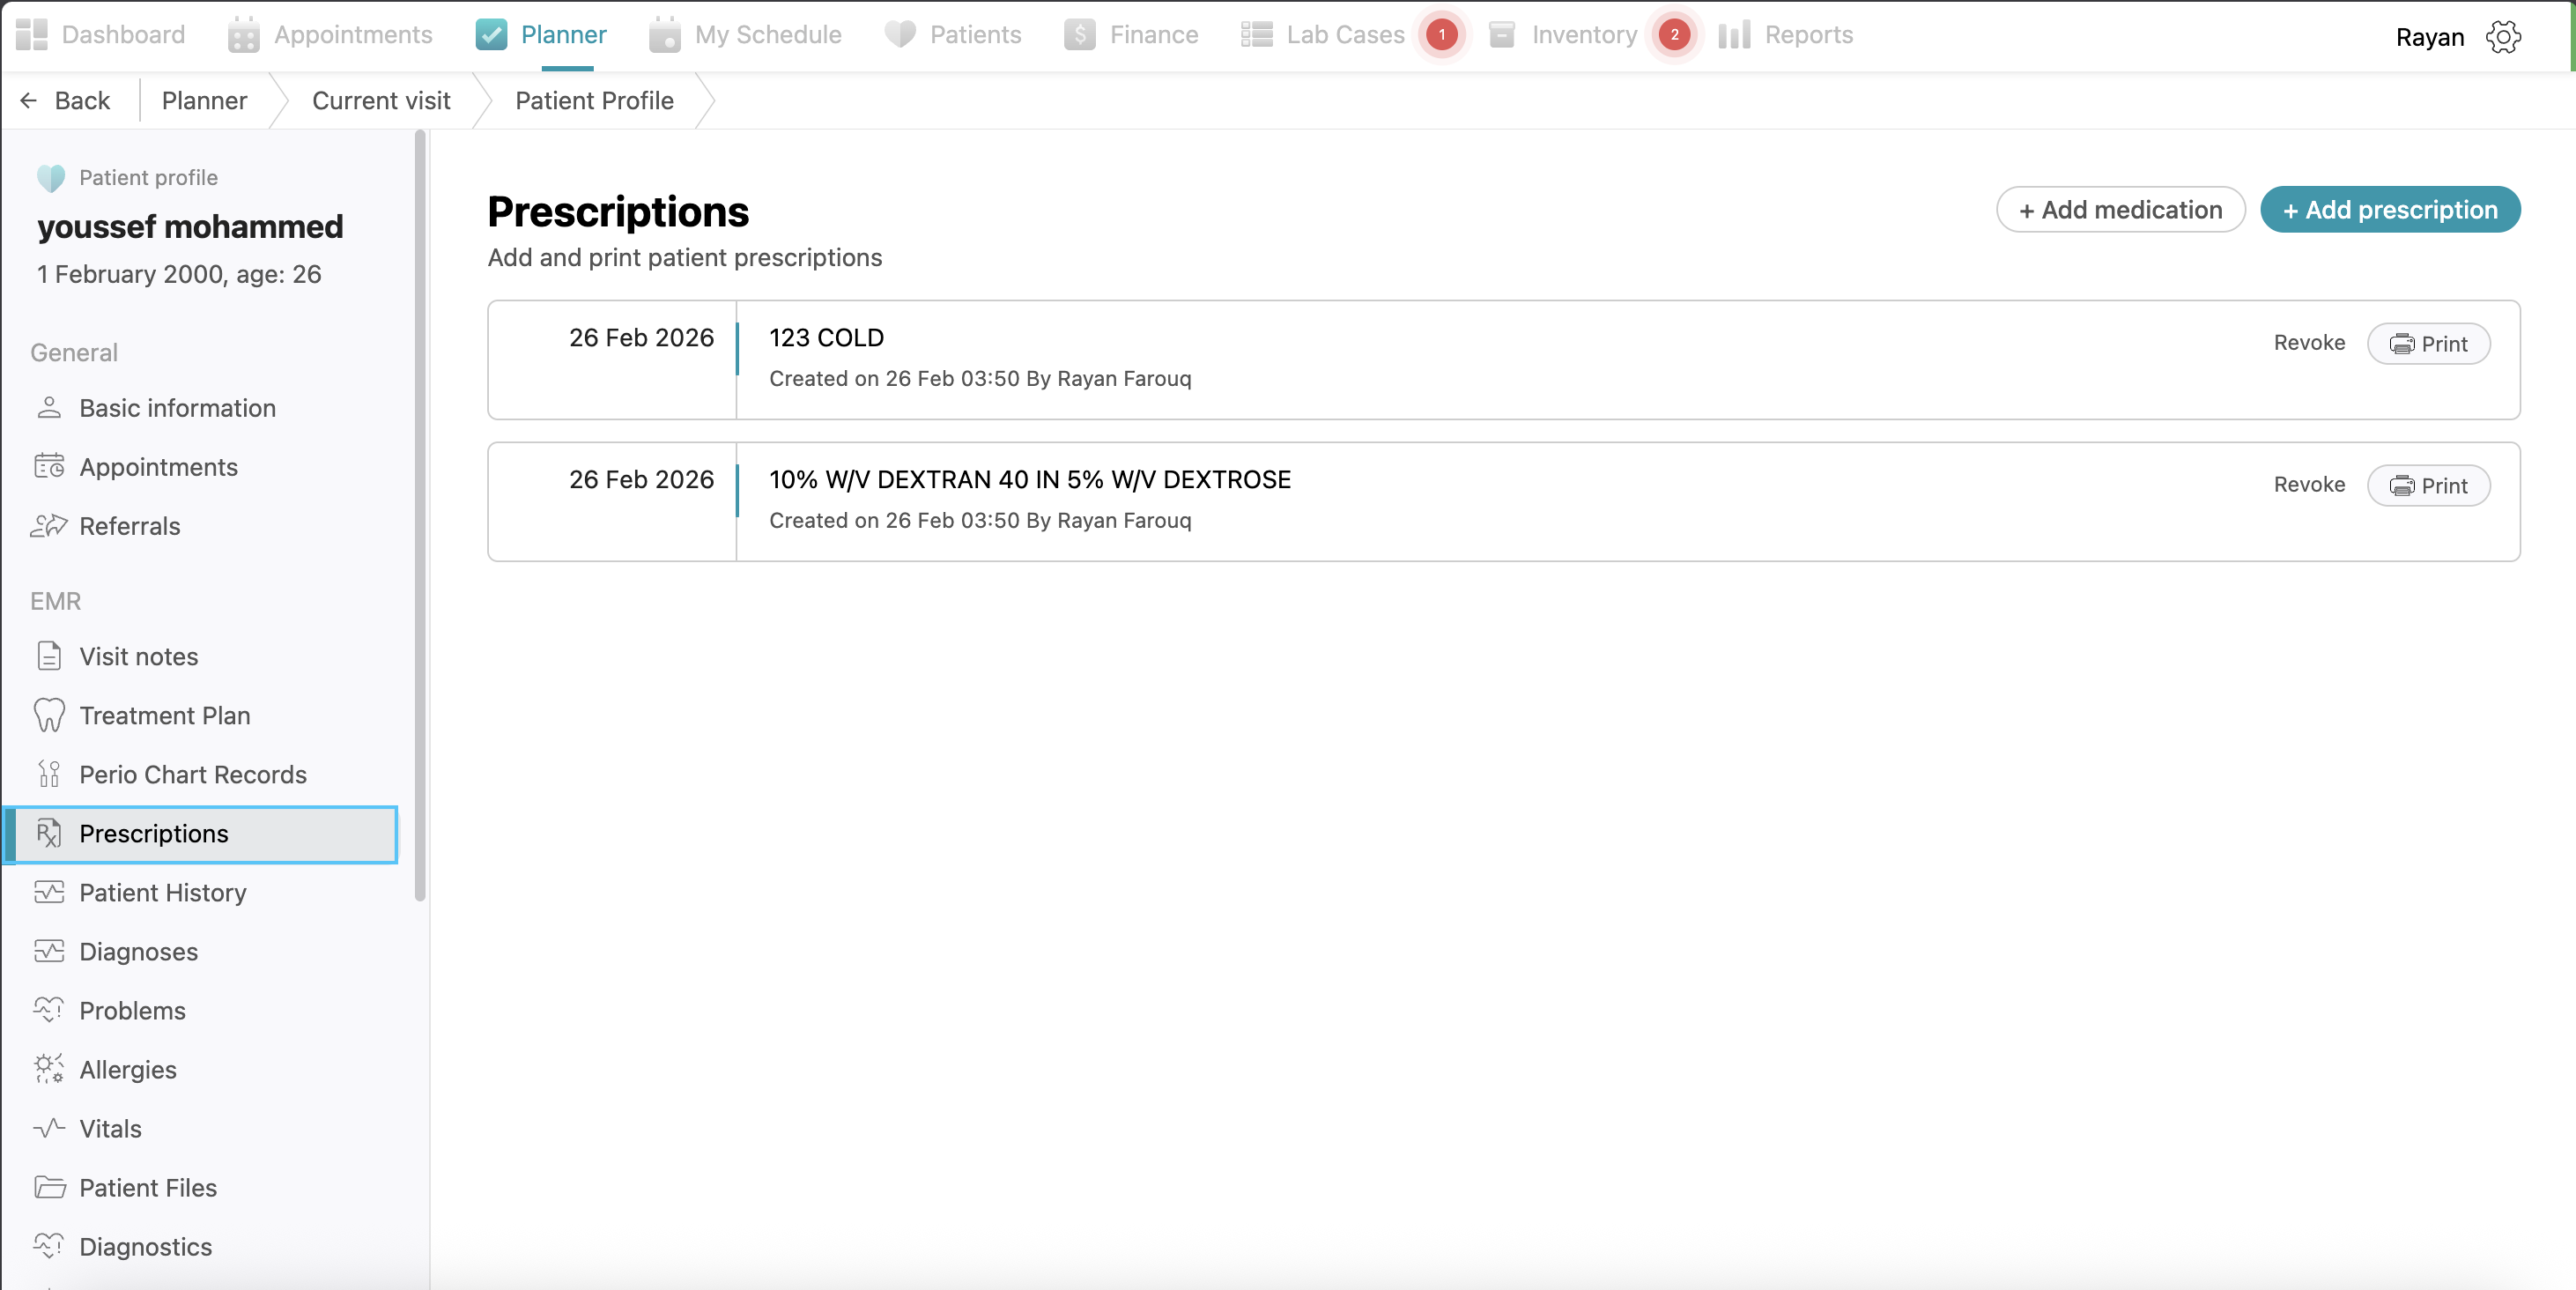
Prescriptions: This tab lists all medications prescribed to the patient, showing the date, the medication name, and the prescribing doctor. You can add prescriptions by clicking +add prescription button, then filling the information and clicking save. Follow the same process for adding medications.
-
Patient History: A comprehensive area to view medical alerts (like allergies or epilepsy), social history, family history, medical history and dental history. and established patient problems. You can add more details here the same way as explained before.
-
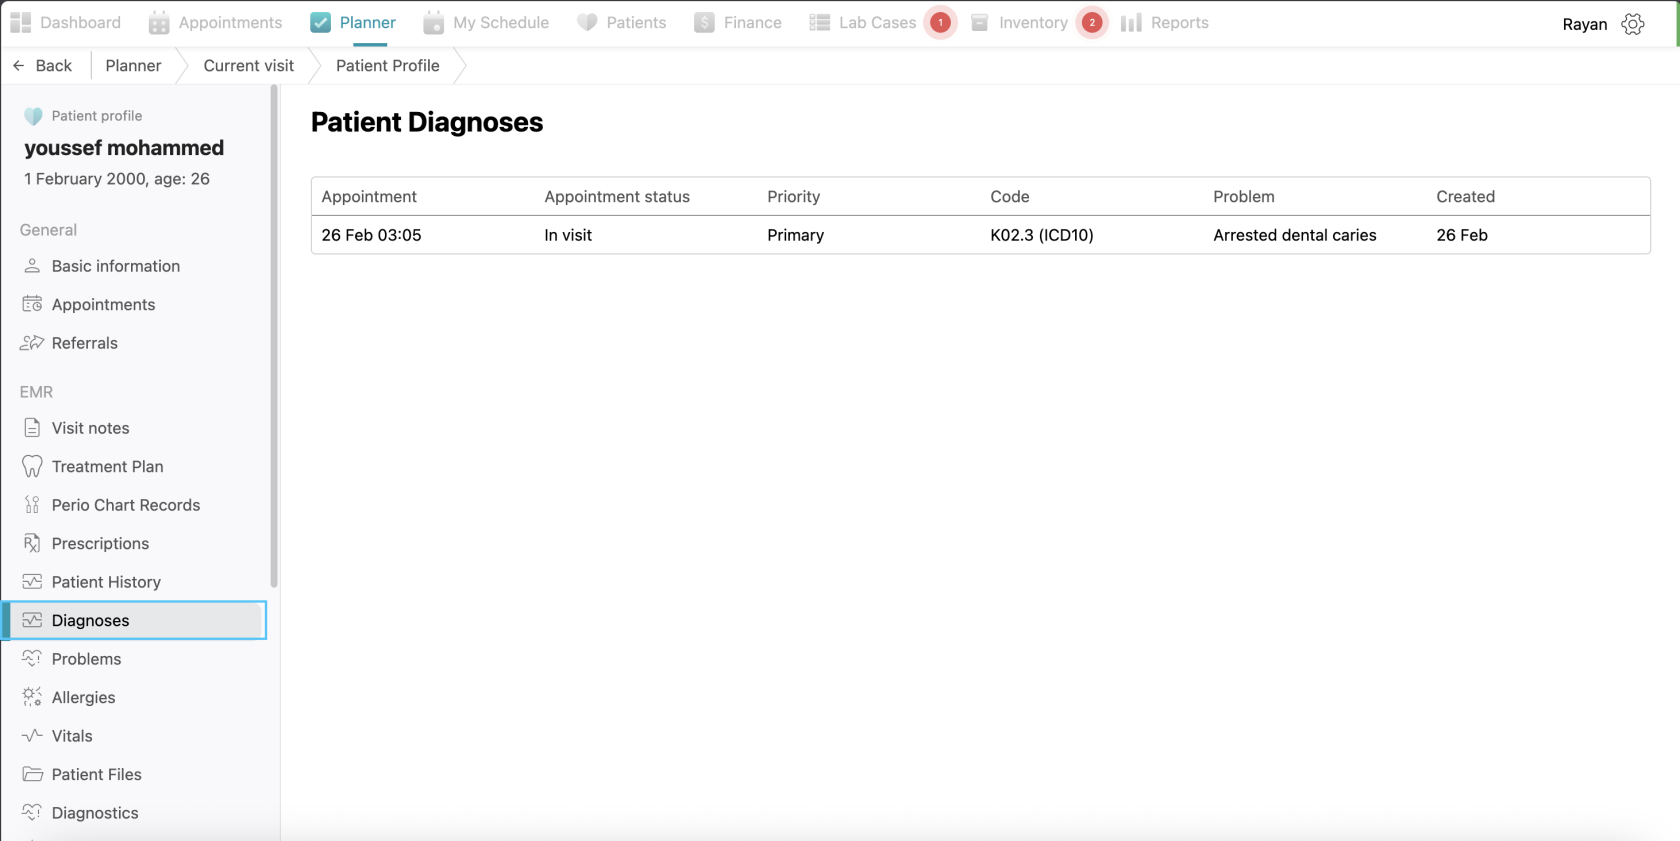
Diagnosis: Here you can see the patient’s diagnosis added before.
-
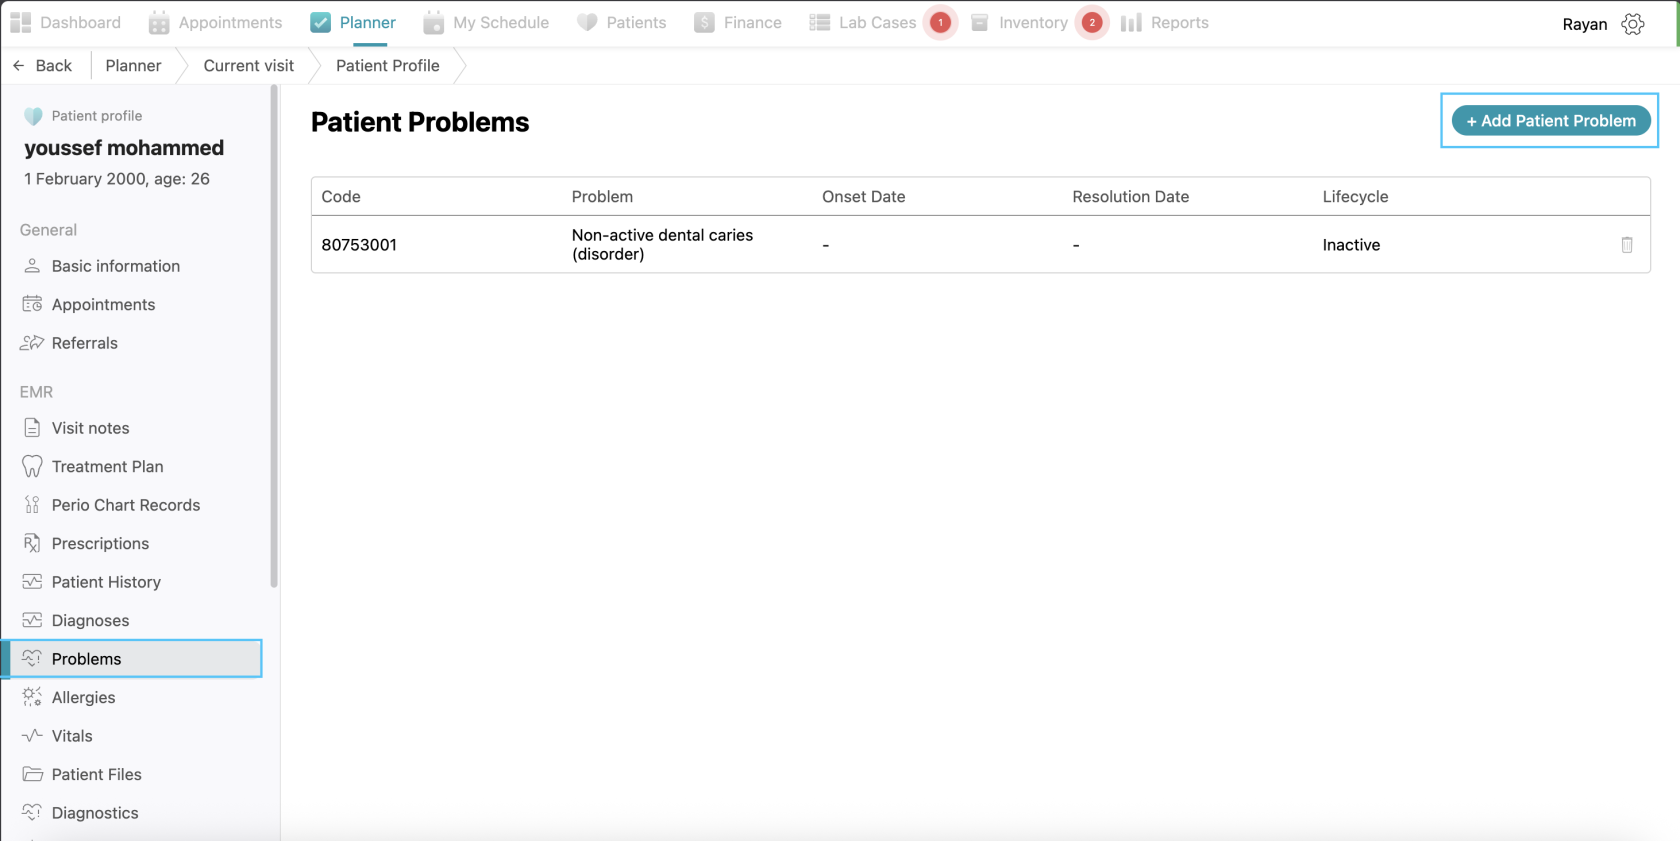
Problems: Here you can see all the patient’s problems added before with the problem name, onset date, resolution date, and life cycle. You can add a new problem here by clicking "+ Add Patient Problem", filling the information and clicking save.
-
Allergies: Here you can see all patient’s allergies with the allergy name, severity, reactions, identification date and status. You can add an allergy by clicking the +patient allergy button, fill the details and click save.
-
Vitals: you can view the patient’s vitals’ data and you can add vitals through the “record vital reading” button.
-
Patient Files: Here you will find all the patient’s files uploaded before and you can upload new patient files or folders through the same process explained before.
-
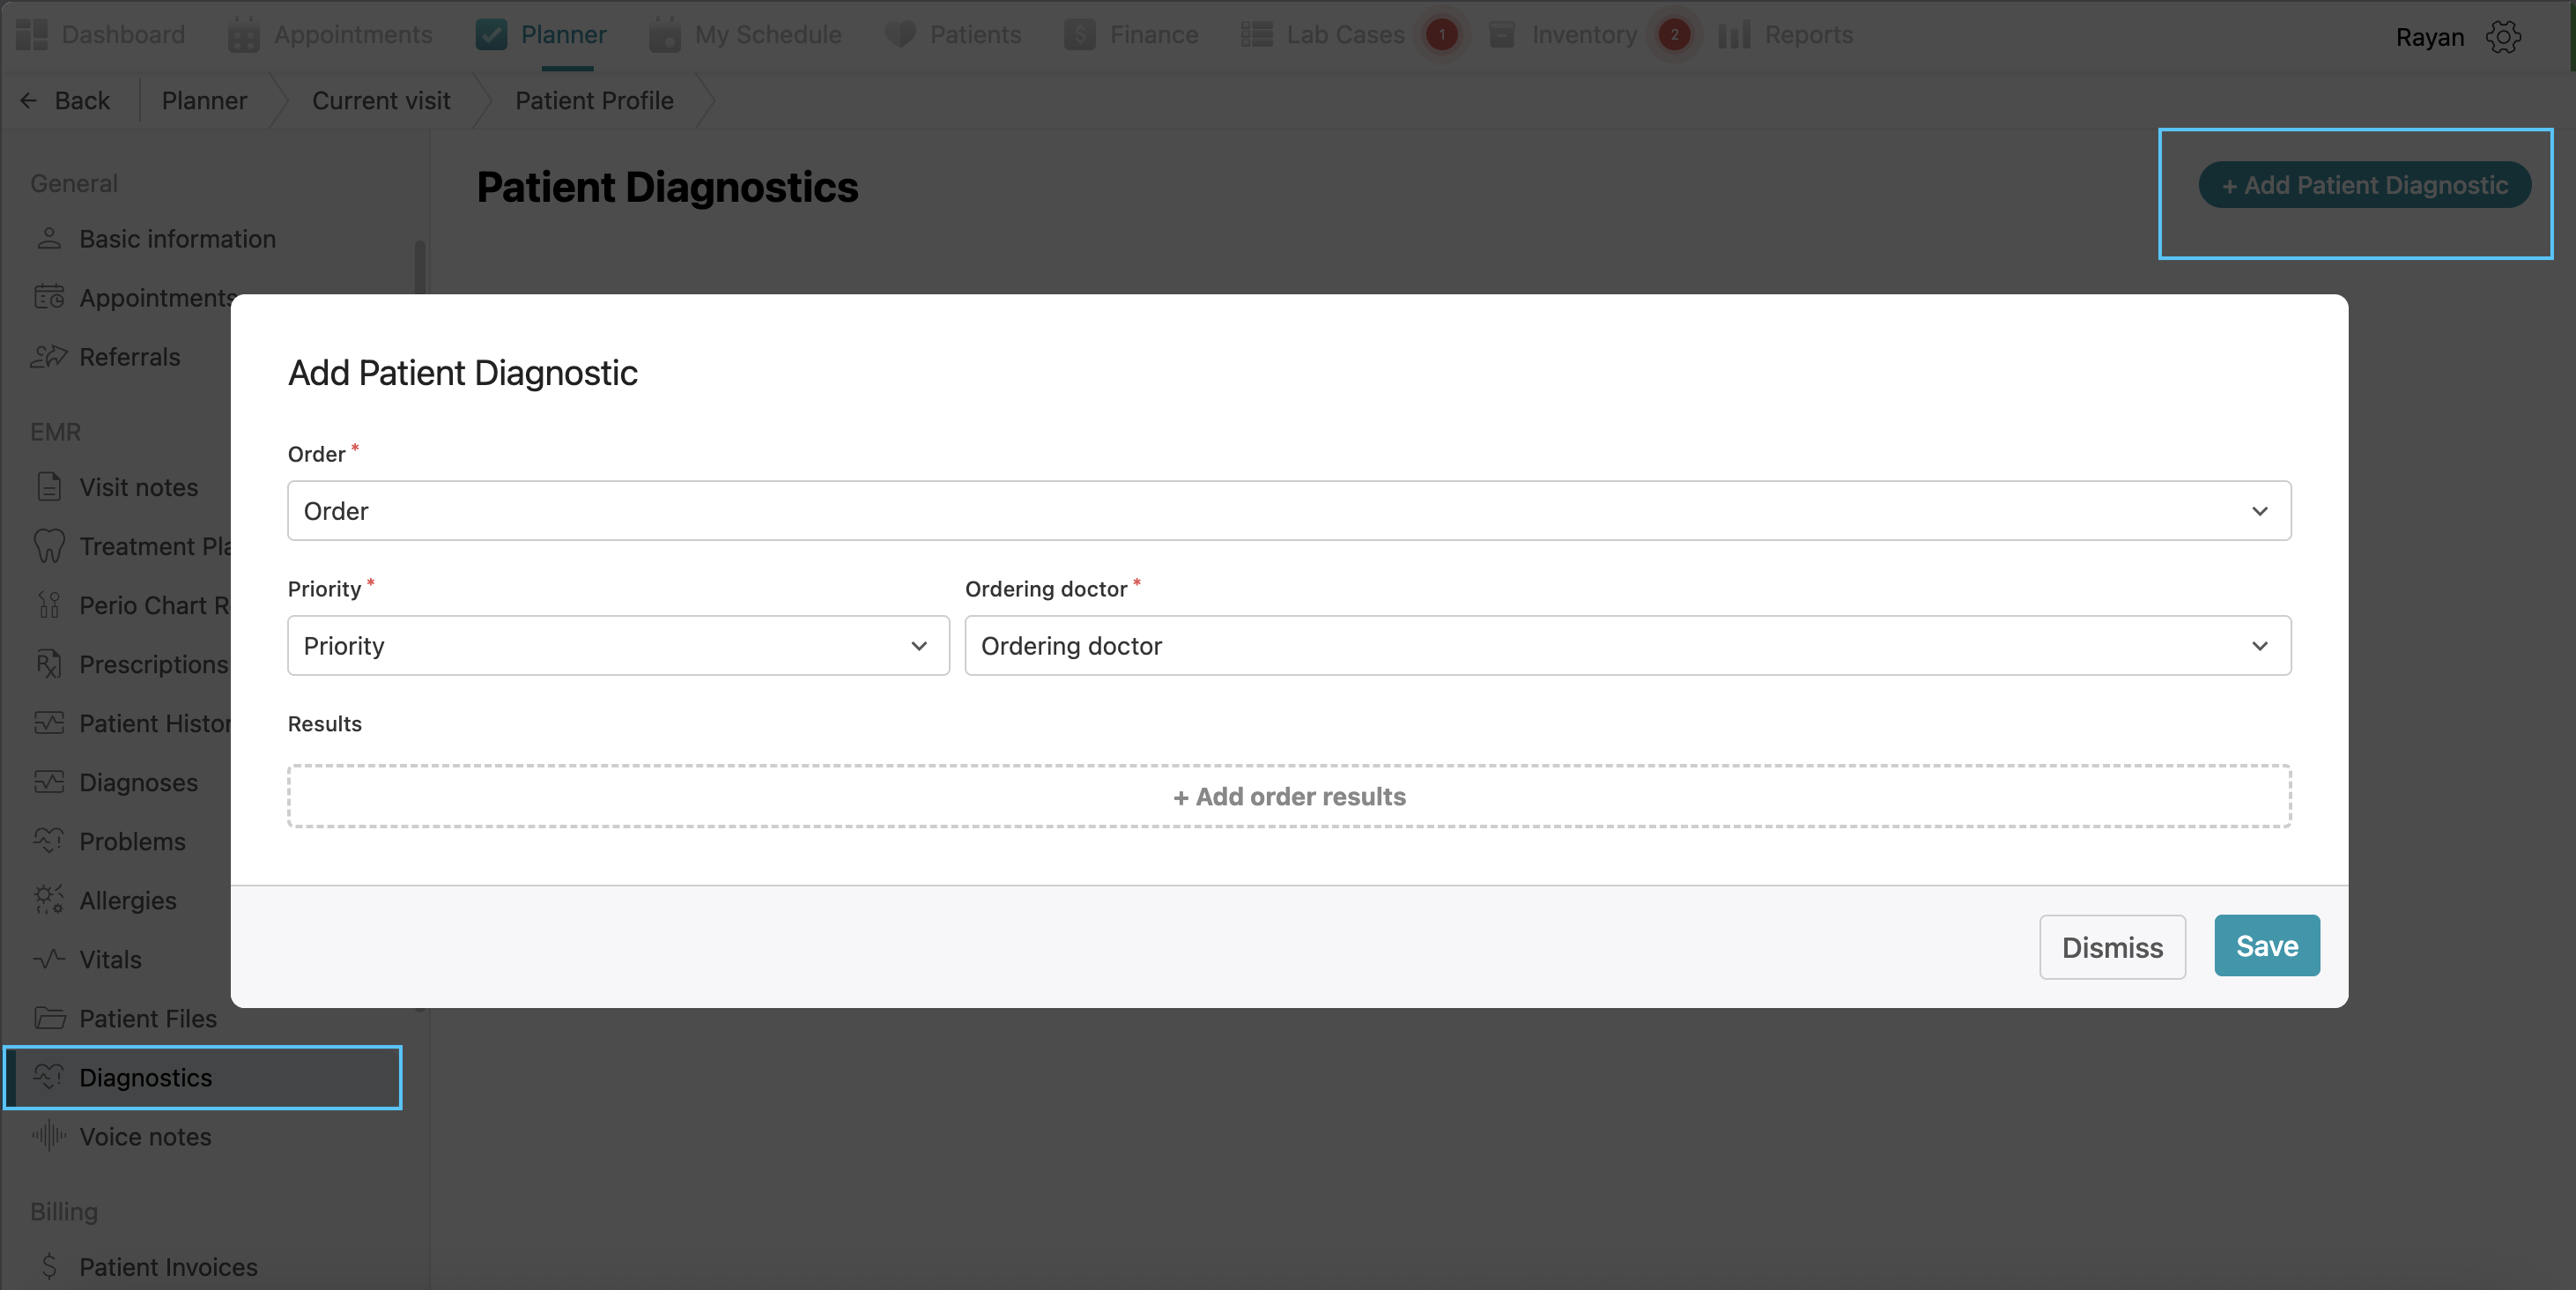
Diagnostics: Use this to order specific diagnostic tests and record the results directly in the patient's file. If you want to add diagnostics, click the “+add patient diagnostic” then select the order, priority, ordering doctor which are all mandatory, and then you can add order results by clicking the “+add order results” then selecting the result type (mandatory) and abnormal flag and clicking confirm.

-
Voice Notes: Here you will find all previous voice notes recorded, and you can record a new voice note by clicking “record voice notes button” then recording and clicking save.


Patient Reports
The Patient Reports tab provides a list of all patient’s forms like consent forms, insurance claims forms and also clinical reports generated for the patient. You can view the report title, the authoring doctor, and the creation date at a glance.
In this tab you will find “edit categories”, “manage reports templates”, “create new report” and “generate form”
Editing Reports Categories
If you want to edit categories, click on “edit categories” then write the category name, choose its color and click confirm then it will be added.
Managing Reports Templates
If you want to add a new report template, click on the “manage report templates” button, click on “+add report template” write the title of the report, then the content and click save.
Generating forms
For generating a patient form, it's the same process as explained above when we talked about the left side of the current visit page
Creating a Patient Report
If you want to create a report for the patient, click the “Create new report” button at the top right of the page. you can create a new empty report for the patient, or select from a report template you have or Select “Clinical notes report” or "Clinical Visit Report" from the drop-down menu under predefined reports. The system will automatically generate a PDF report including the patient’s basic info, visit notes, and historical treatments, which can then be printed or downloaded.
No Comments